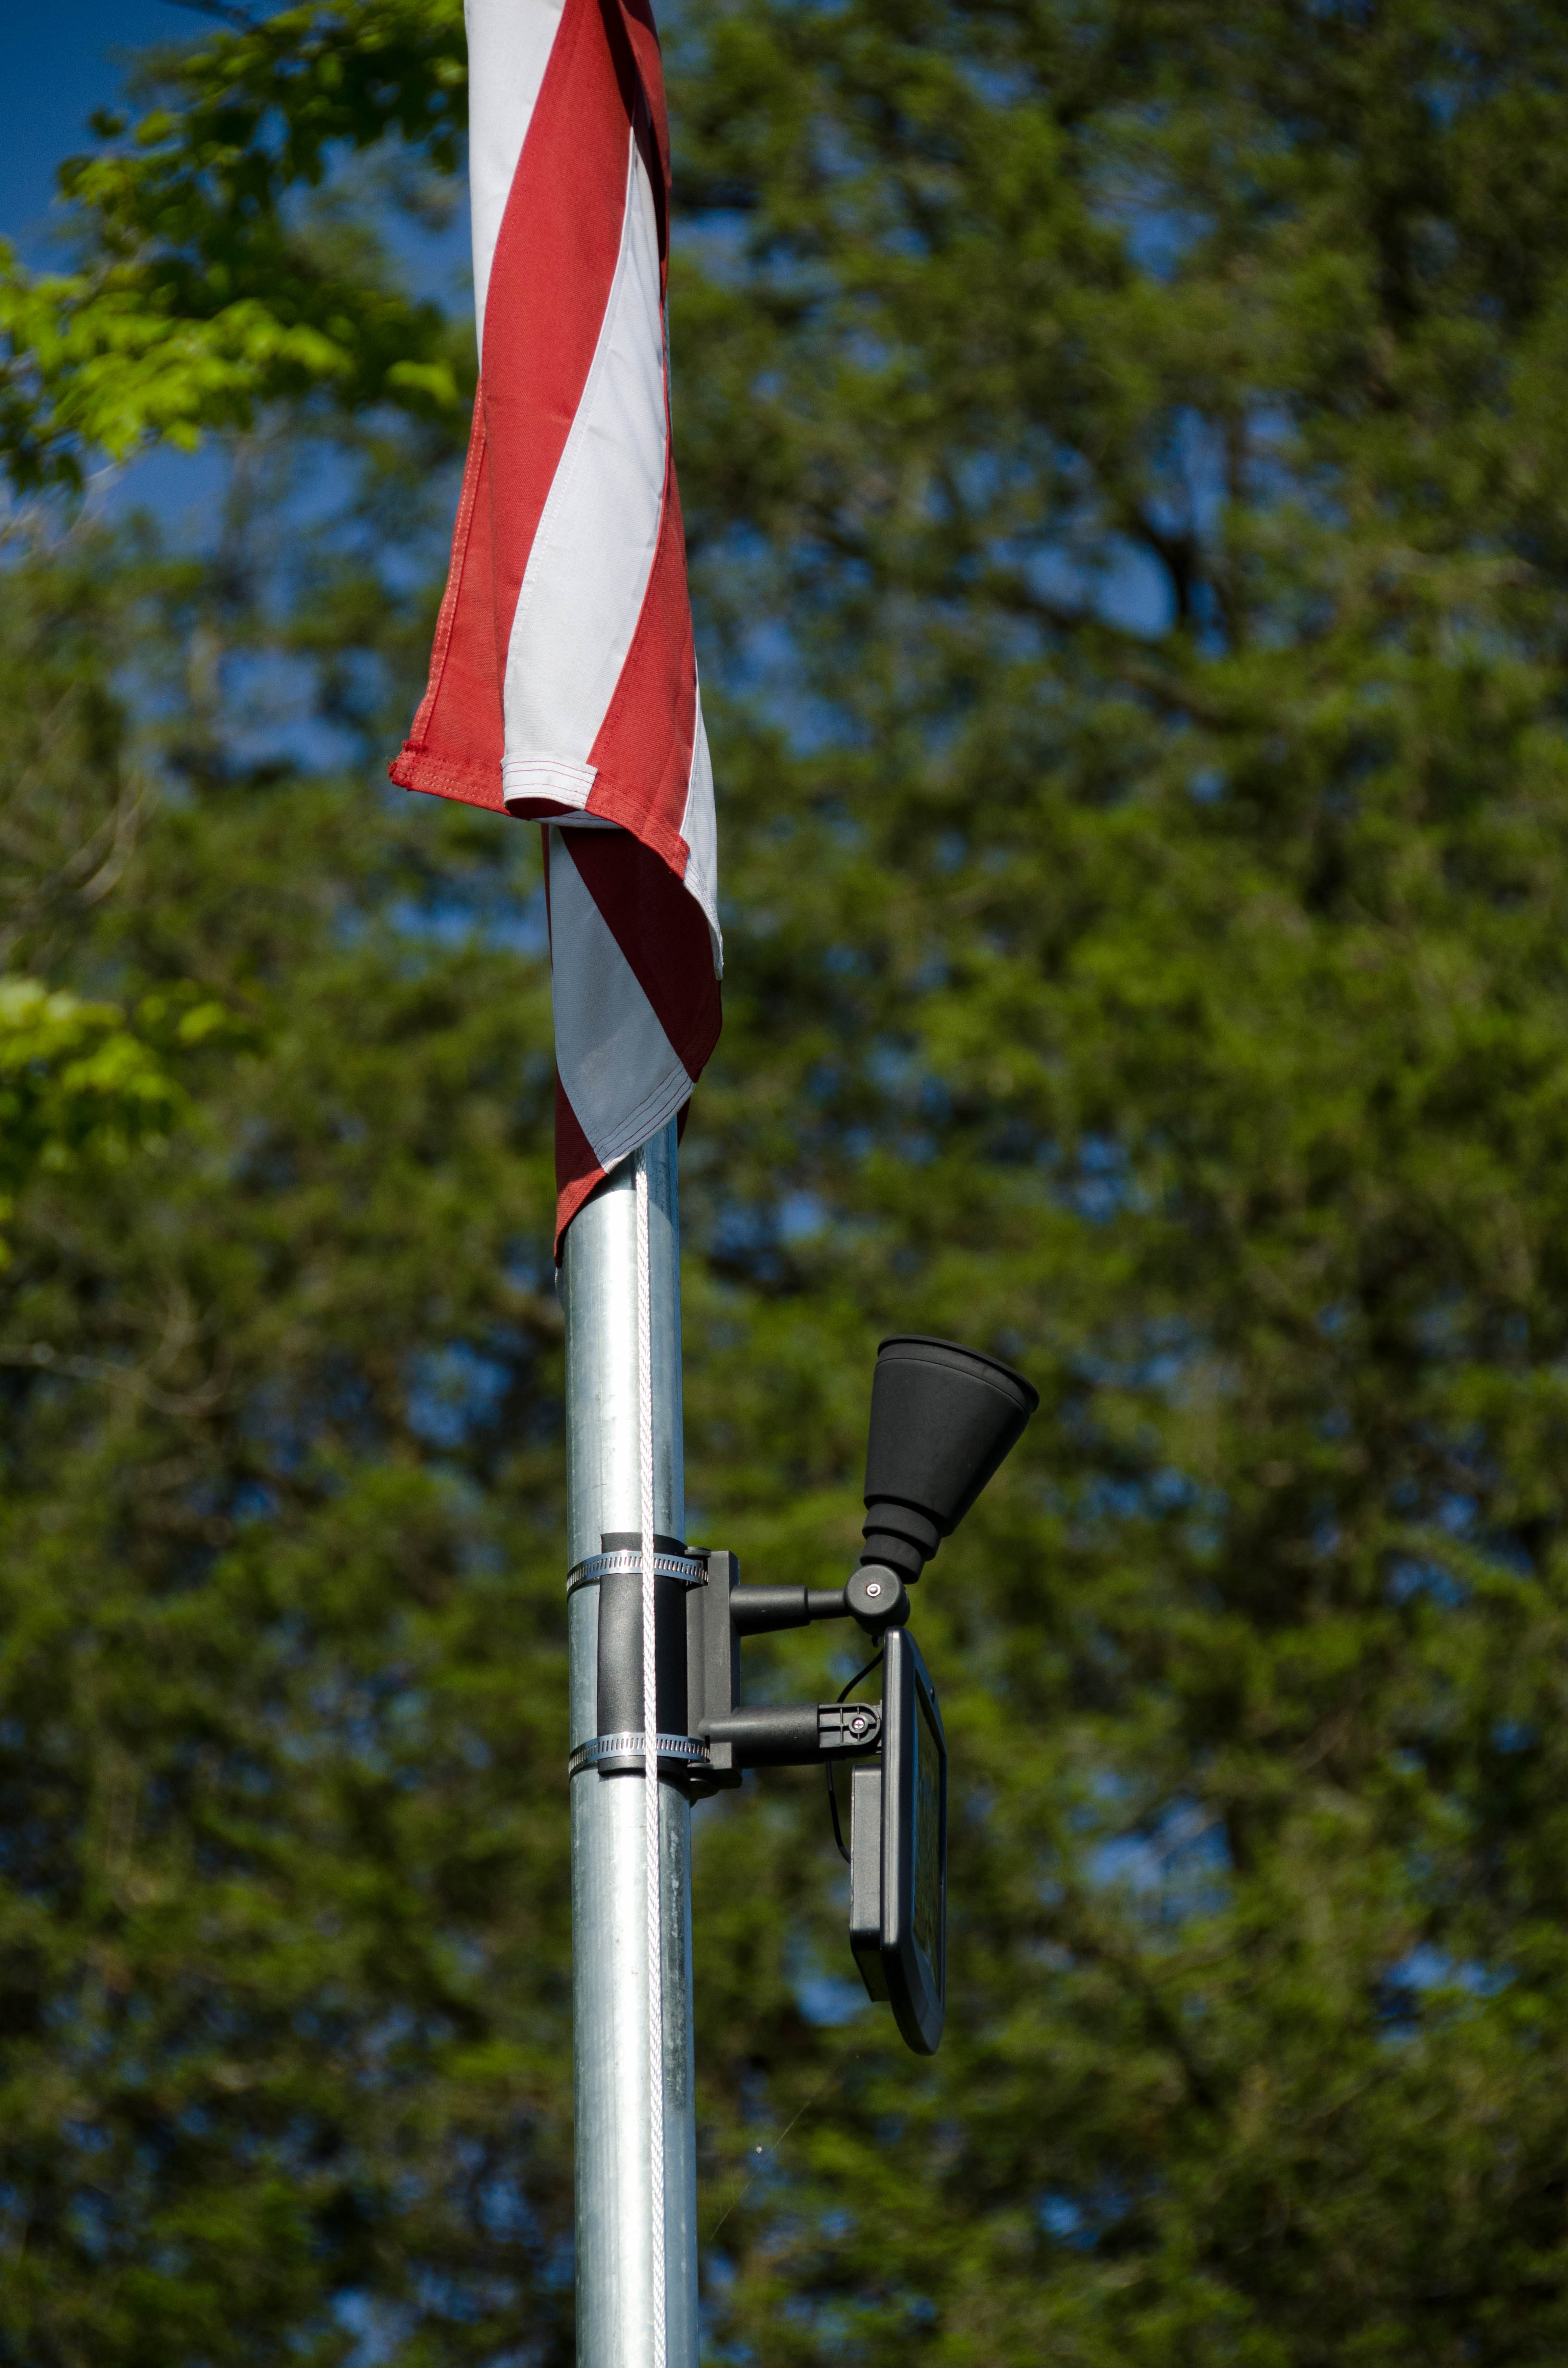
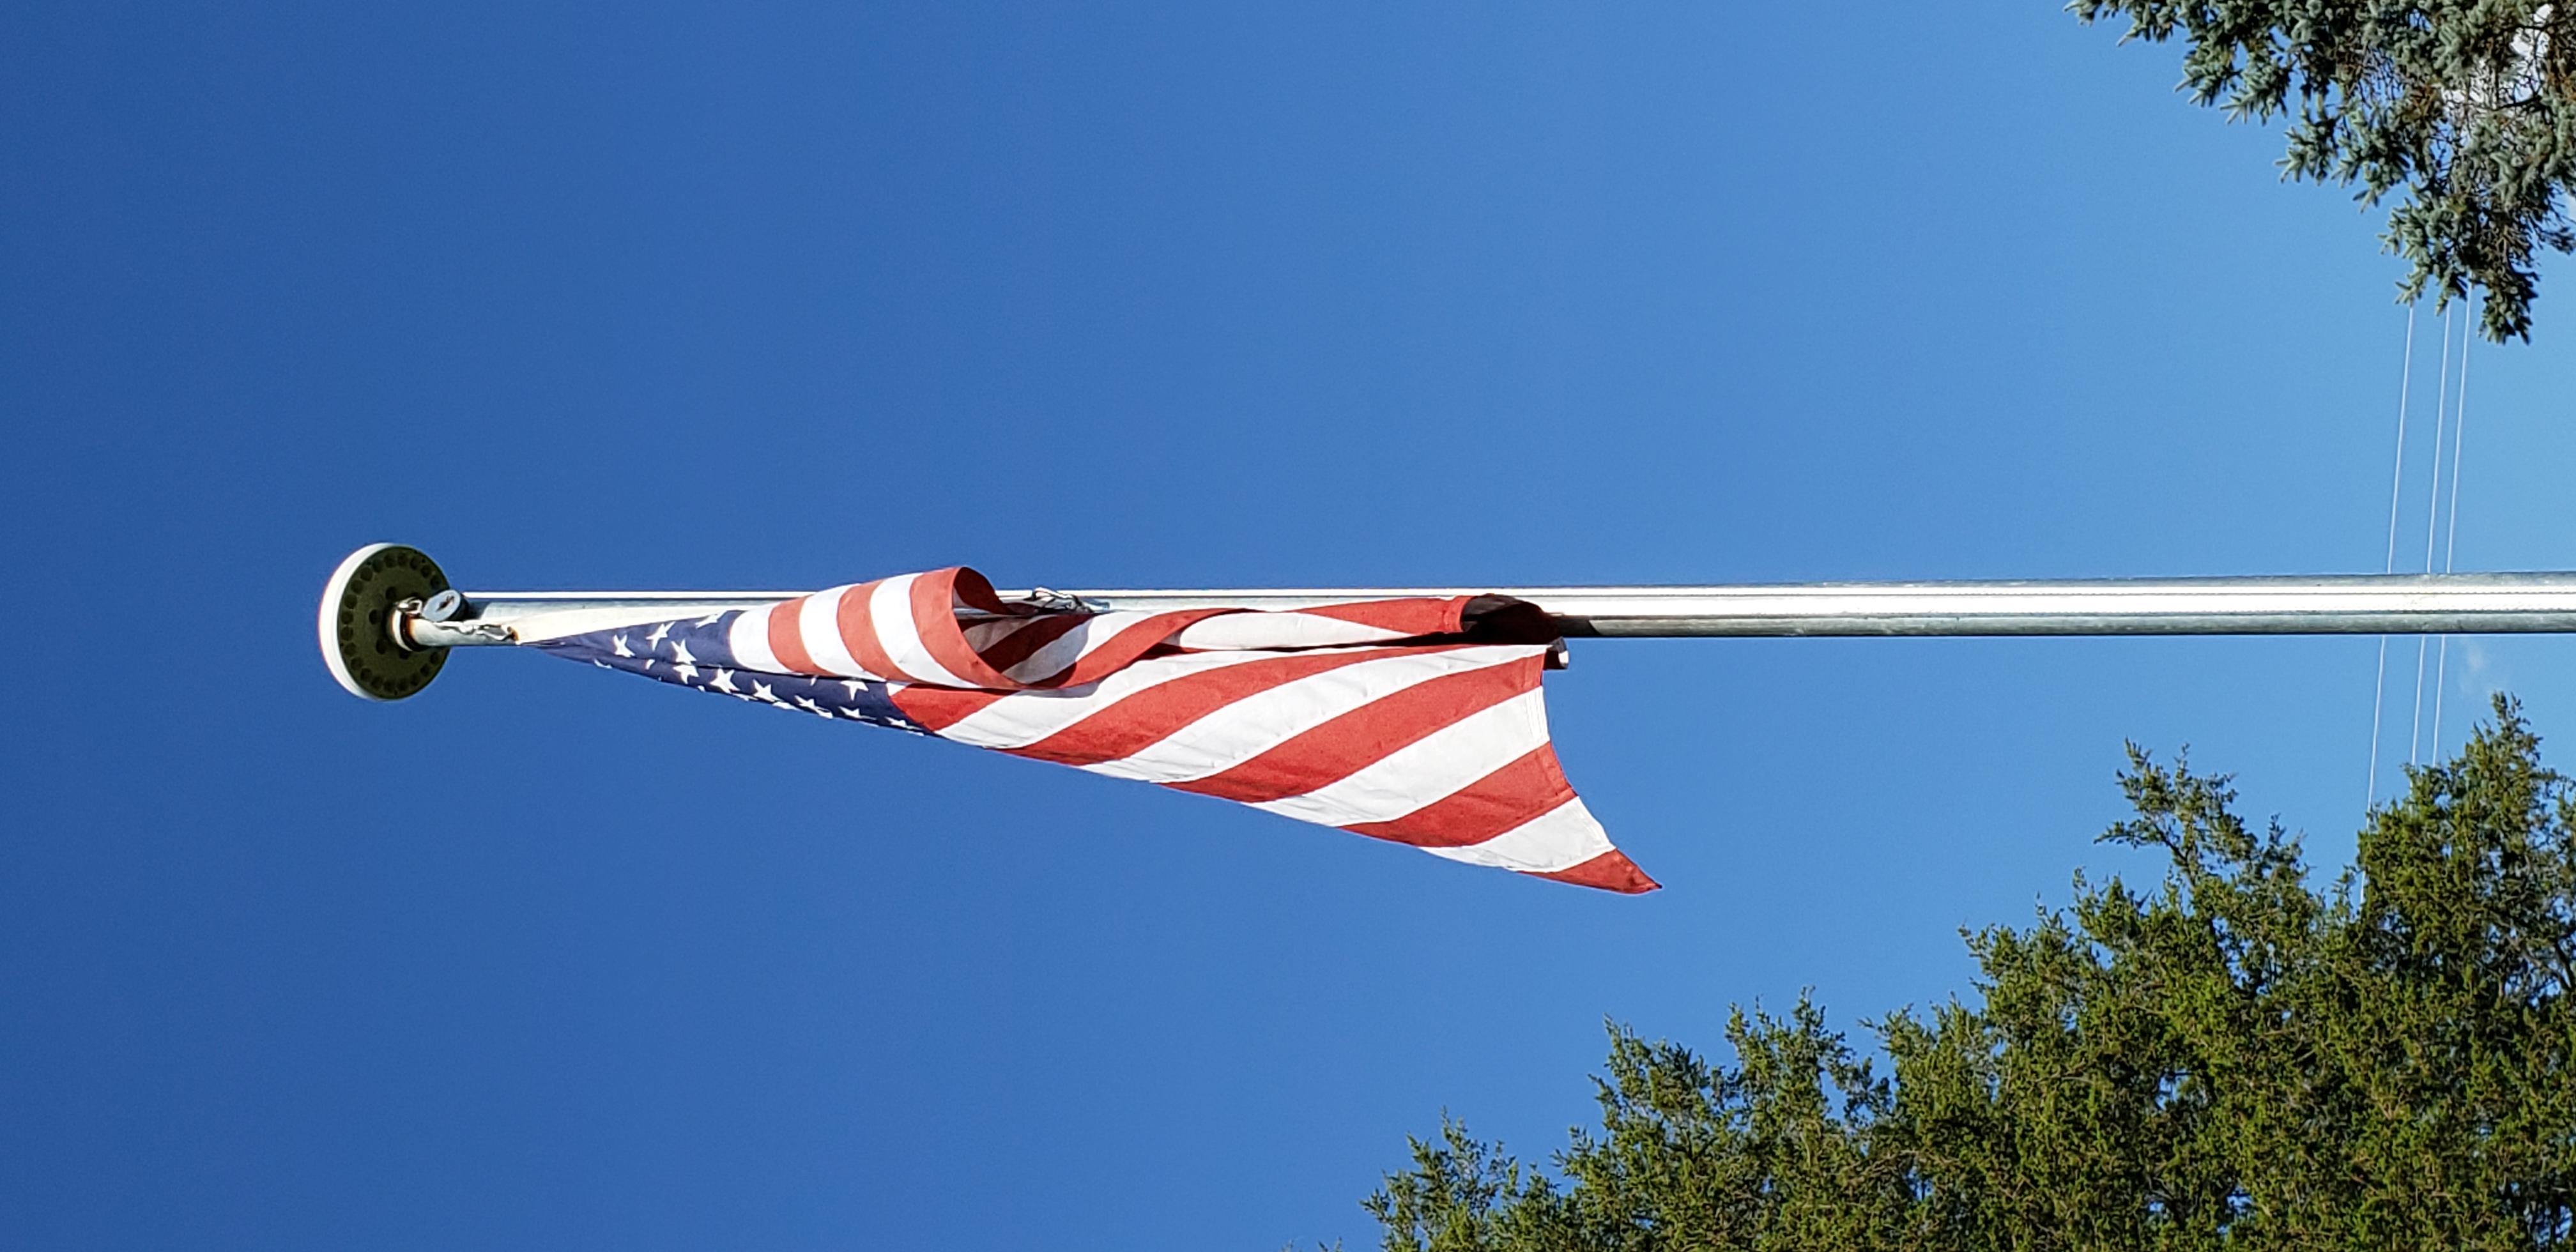
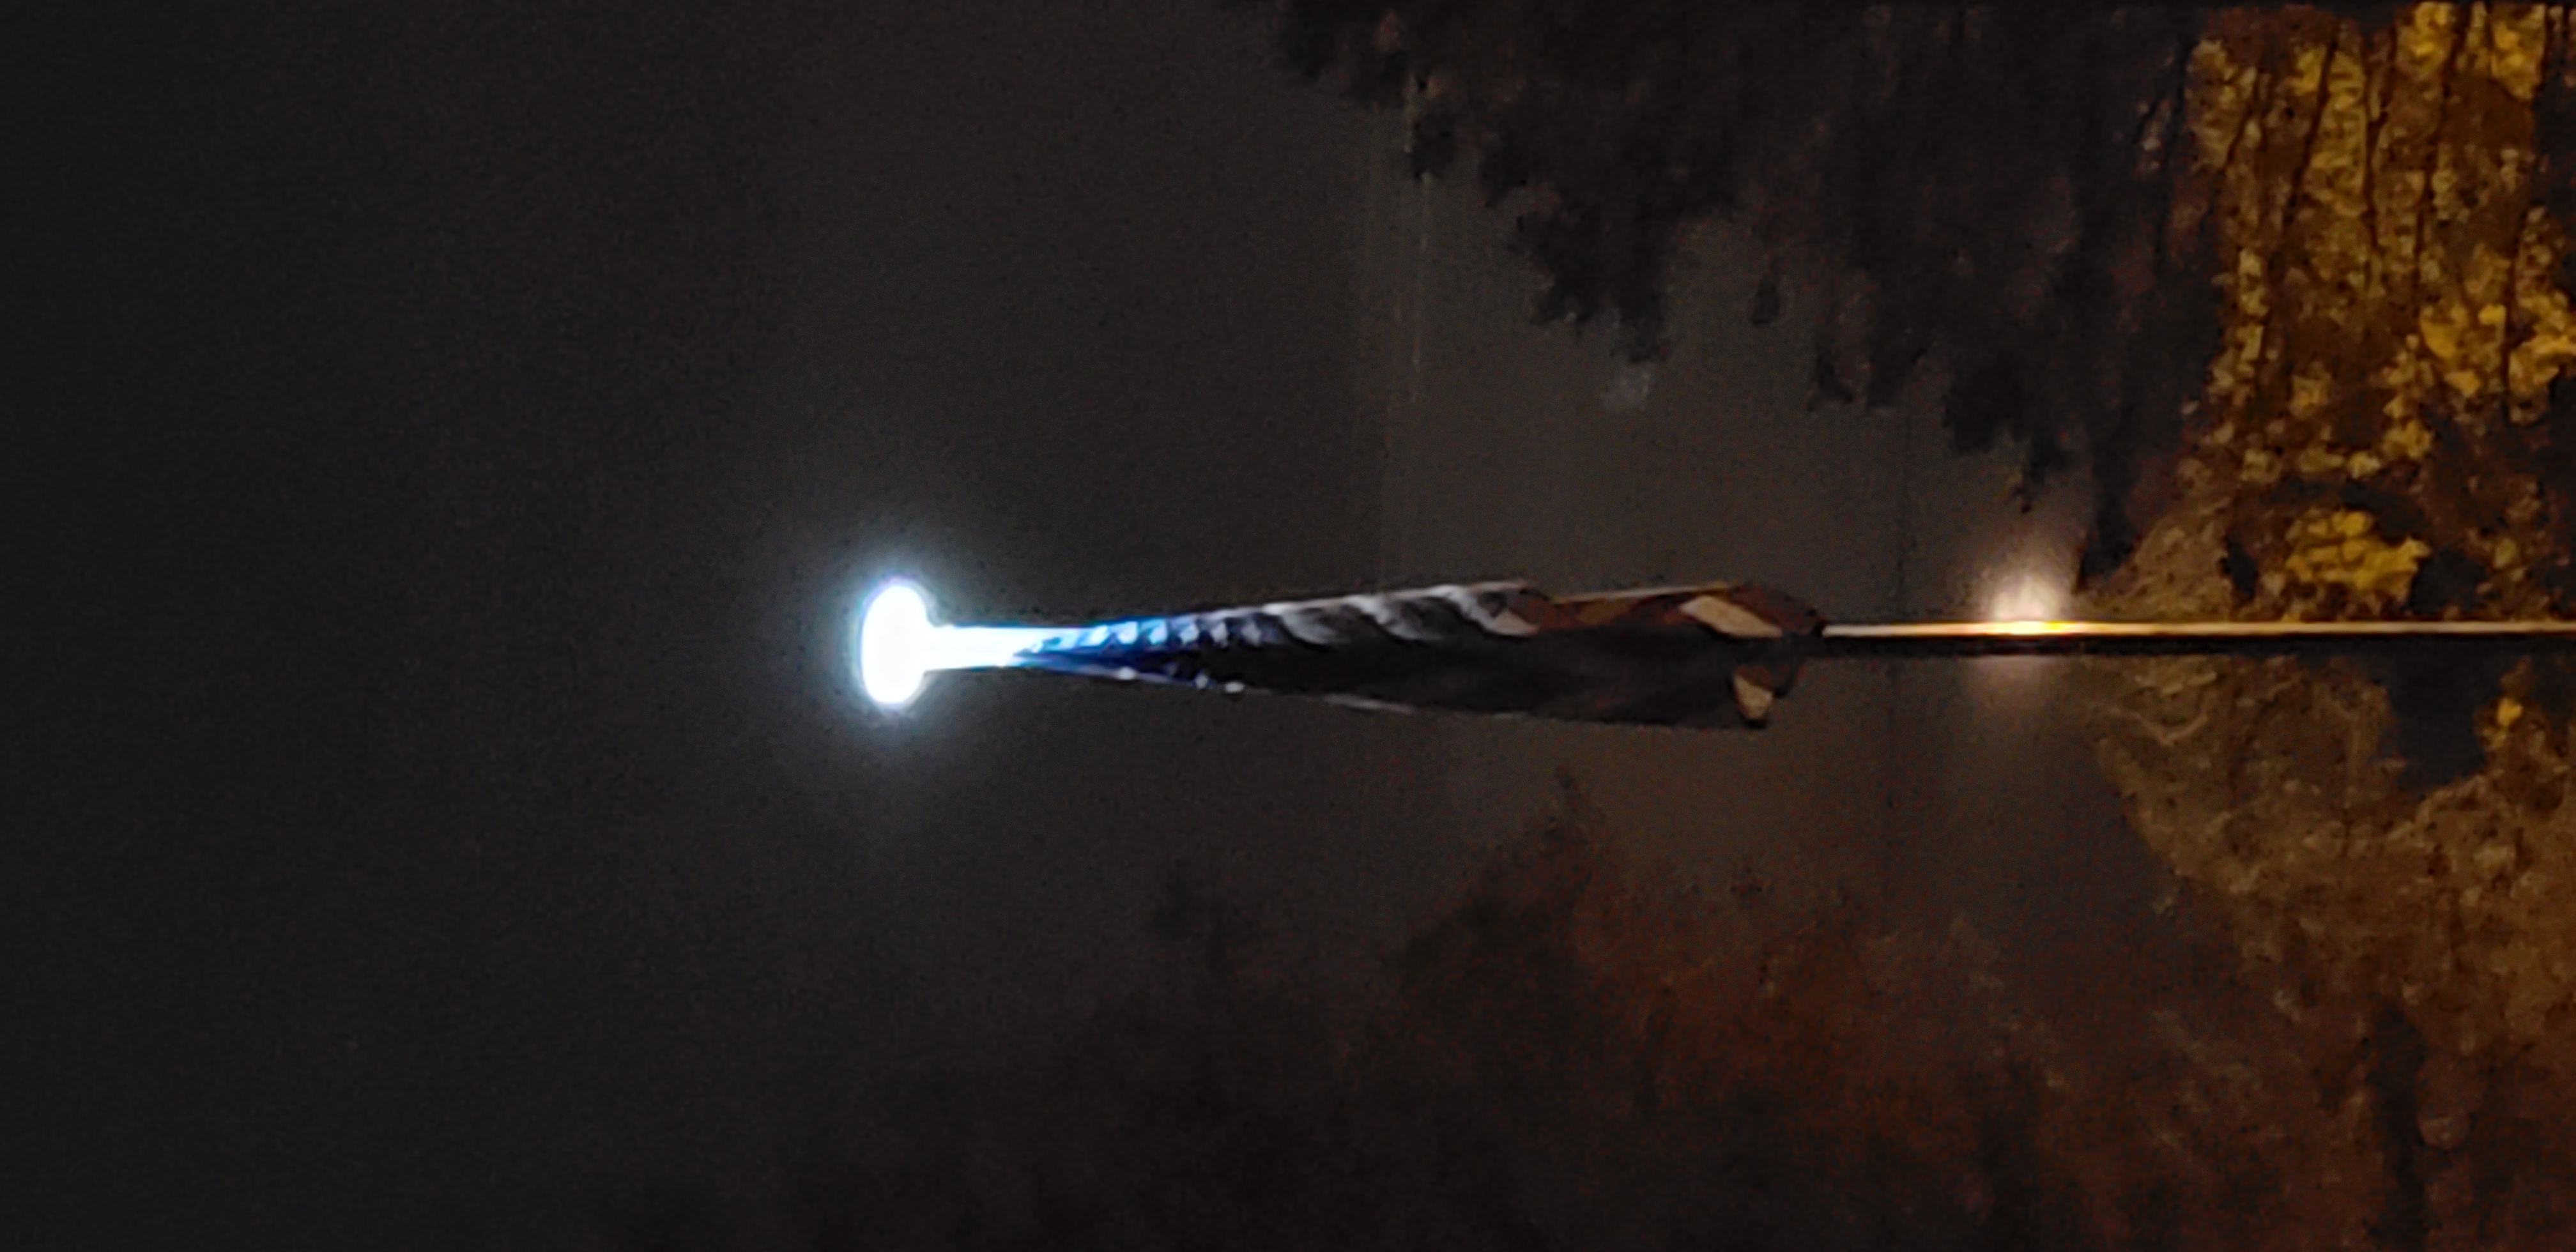
Last summer I DIY’d a flagpole using some galvanized schedule 40 pipe. Here’s a link to the article covering that project. Shortly after installing the flagpole, I added a solar powered light.
That light works pretty well, but there are a couple things I don’t like about it:
1 The rope sometimes gets caught on the mount that clamps around the pole. It’s not a huge problem, but I’m afraid it will chafe the rope over time and cause it to break.
2 The light really only illuminates the flag well if the wind is low and the flag is hanging straight down or if the wind has the flag blowing out toward the side of the pole where the light is mounted. If it blows out the other directions, it gets almost no light at all.
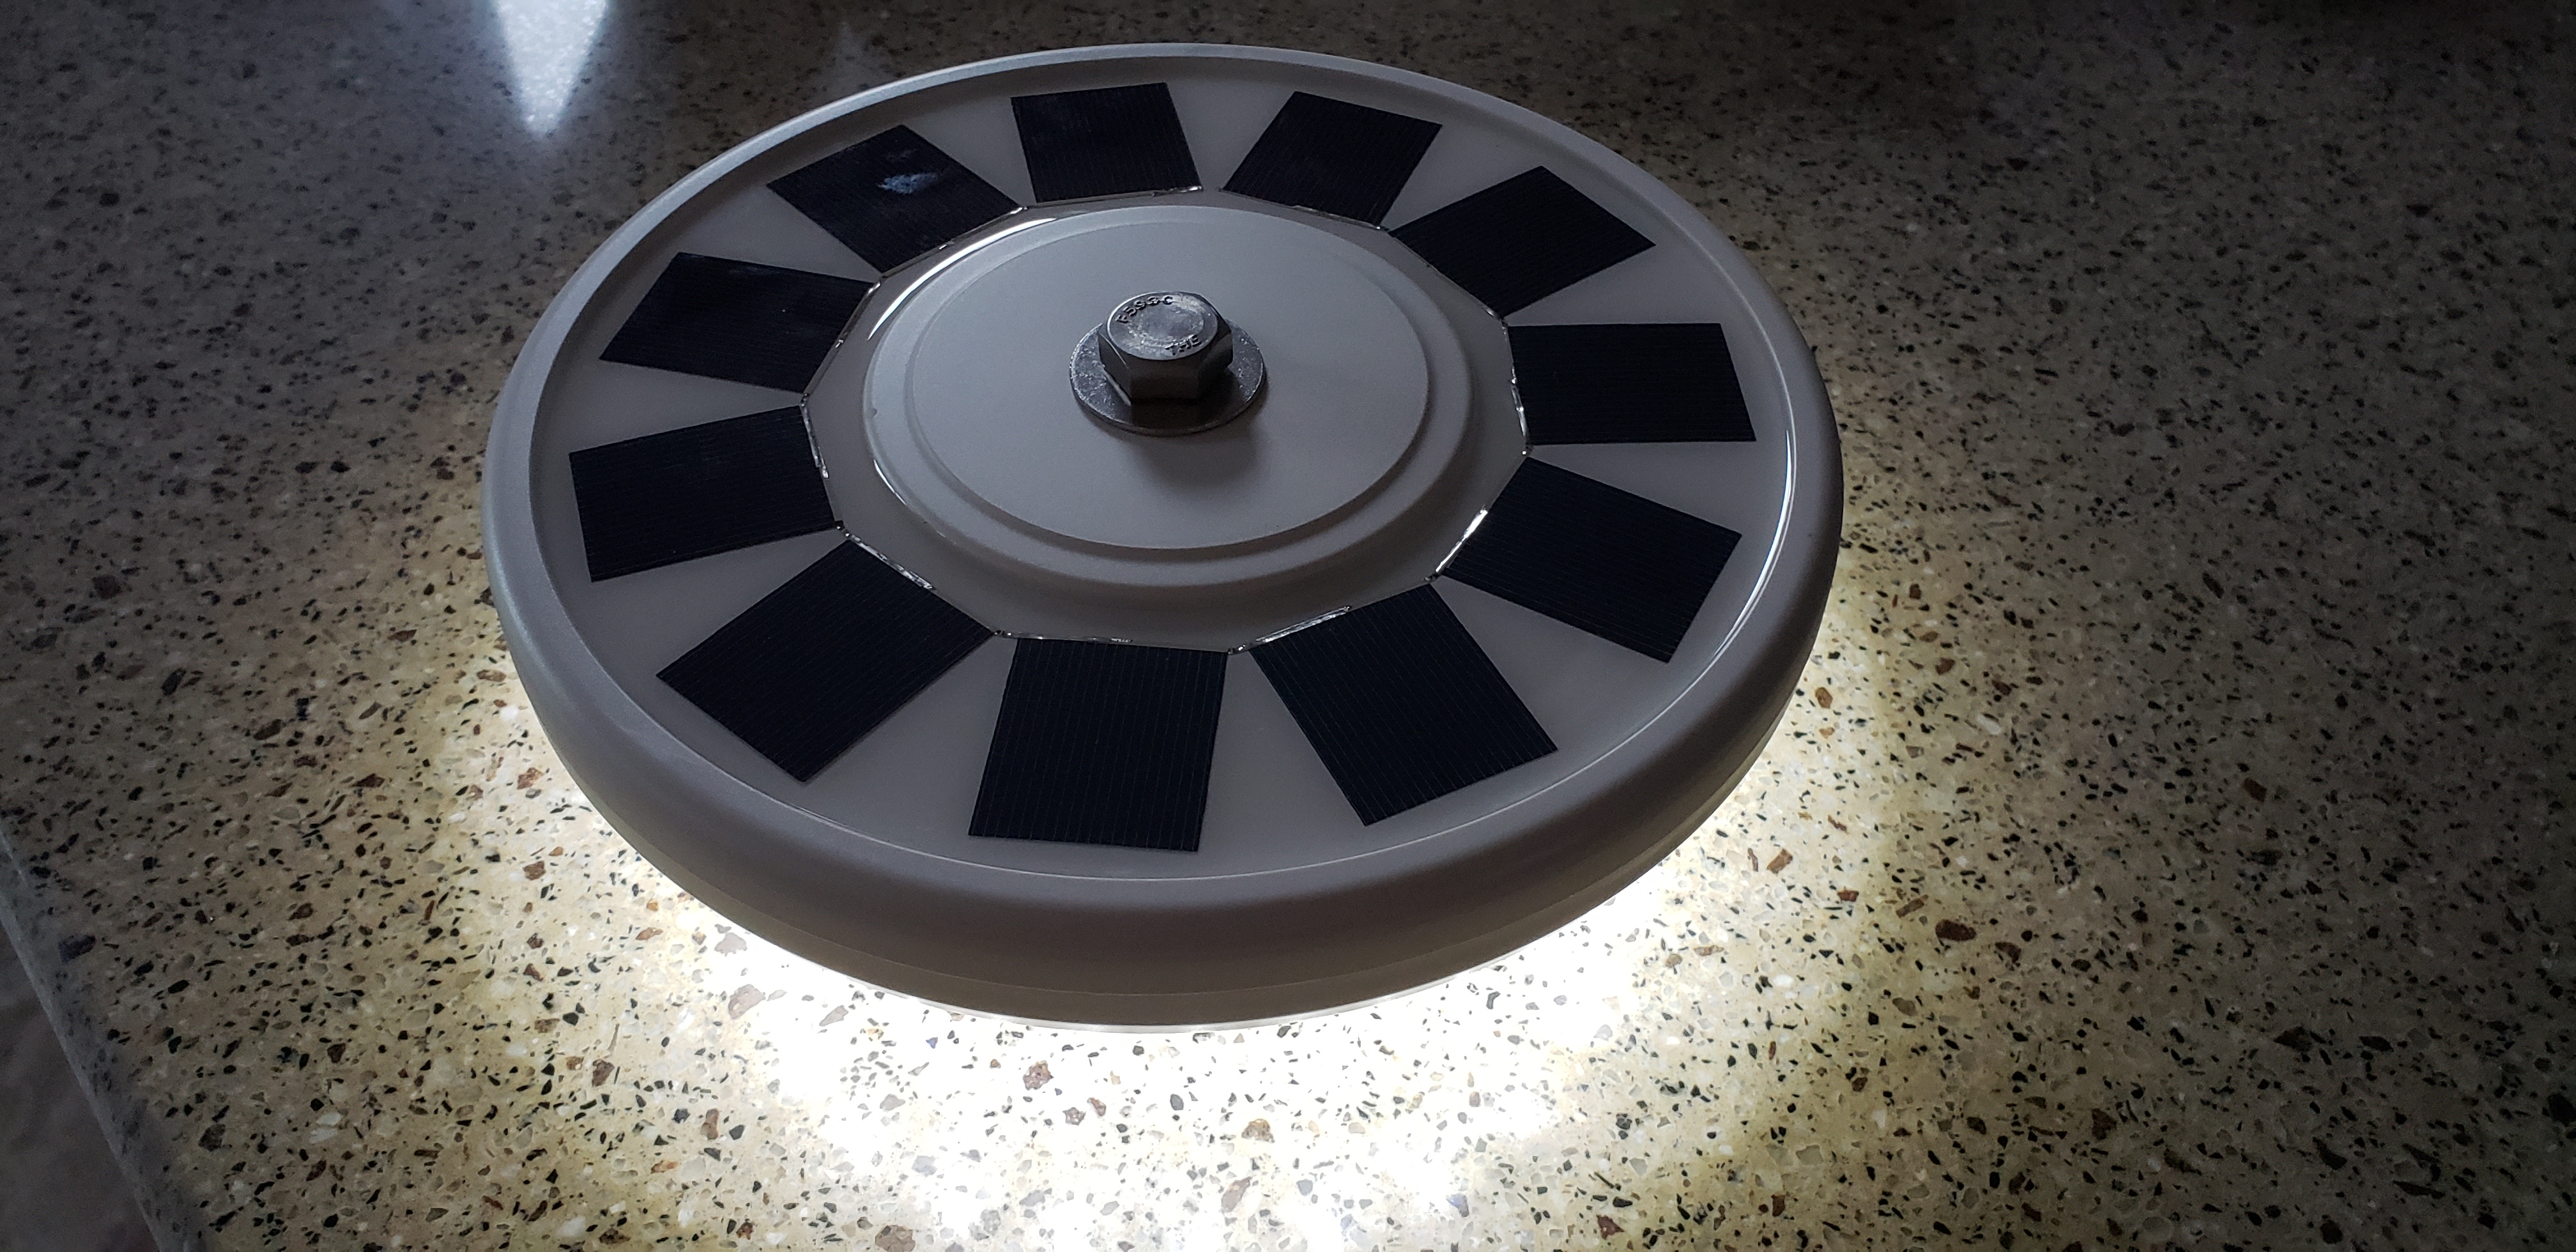
My solution is to replace the pole-mounted light with a top-mount version. I bought this unit as the replacement. Since my flagpole is all DIY, it doesn’t have the standard 1/2" rod at the top. That’s an easy fix though.
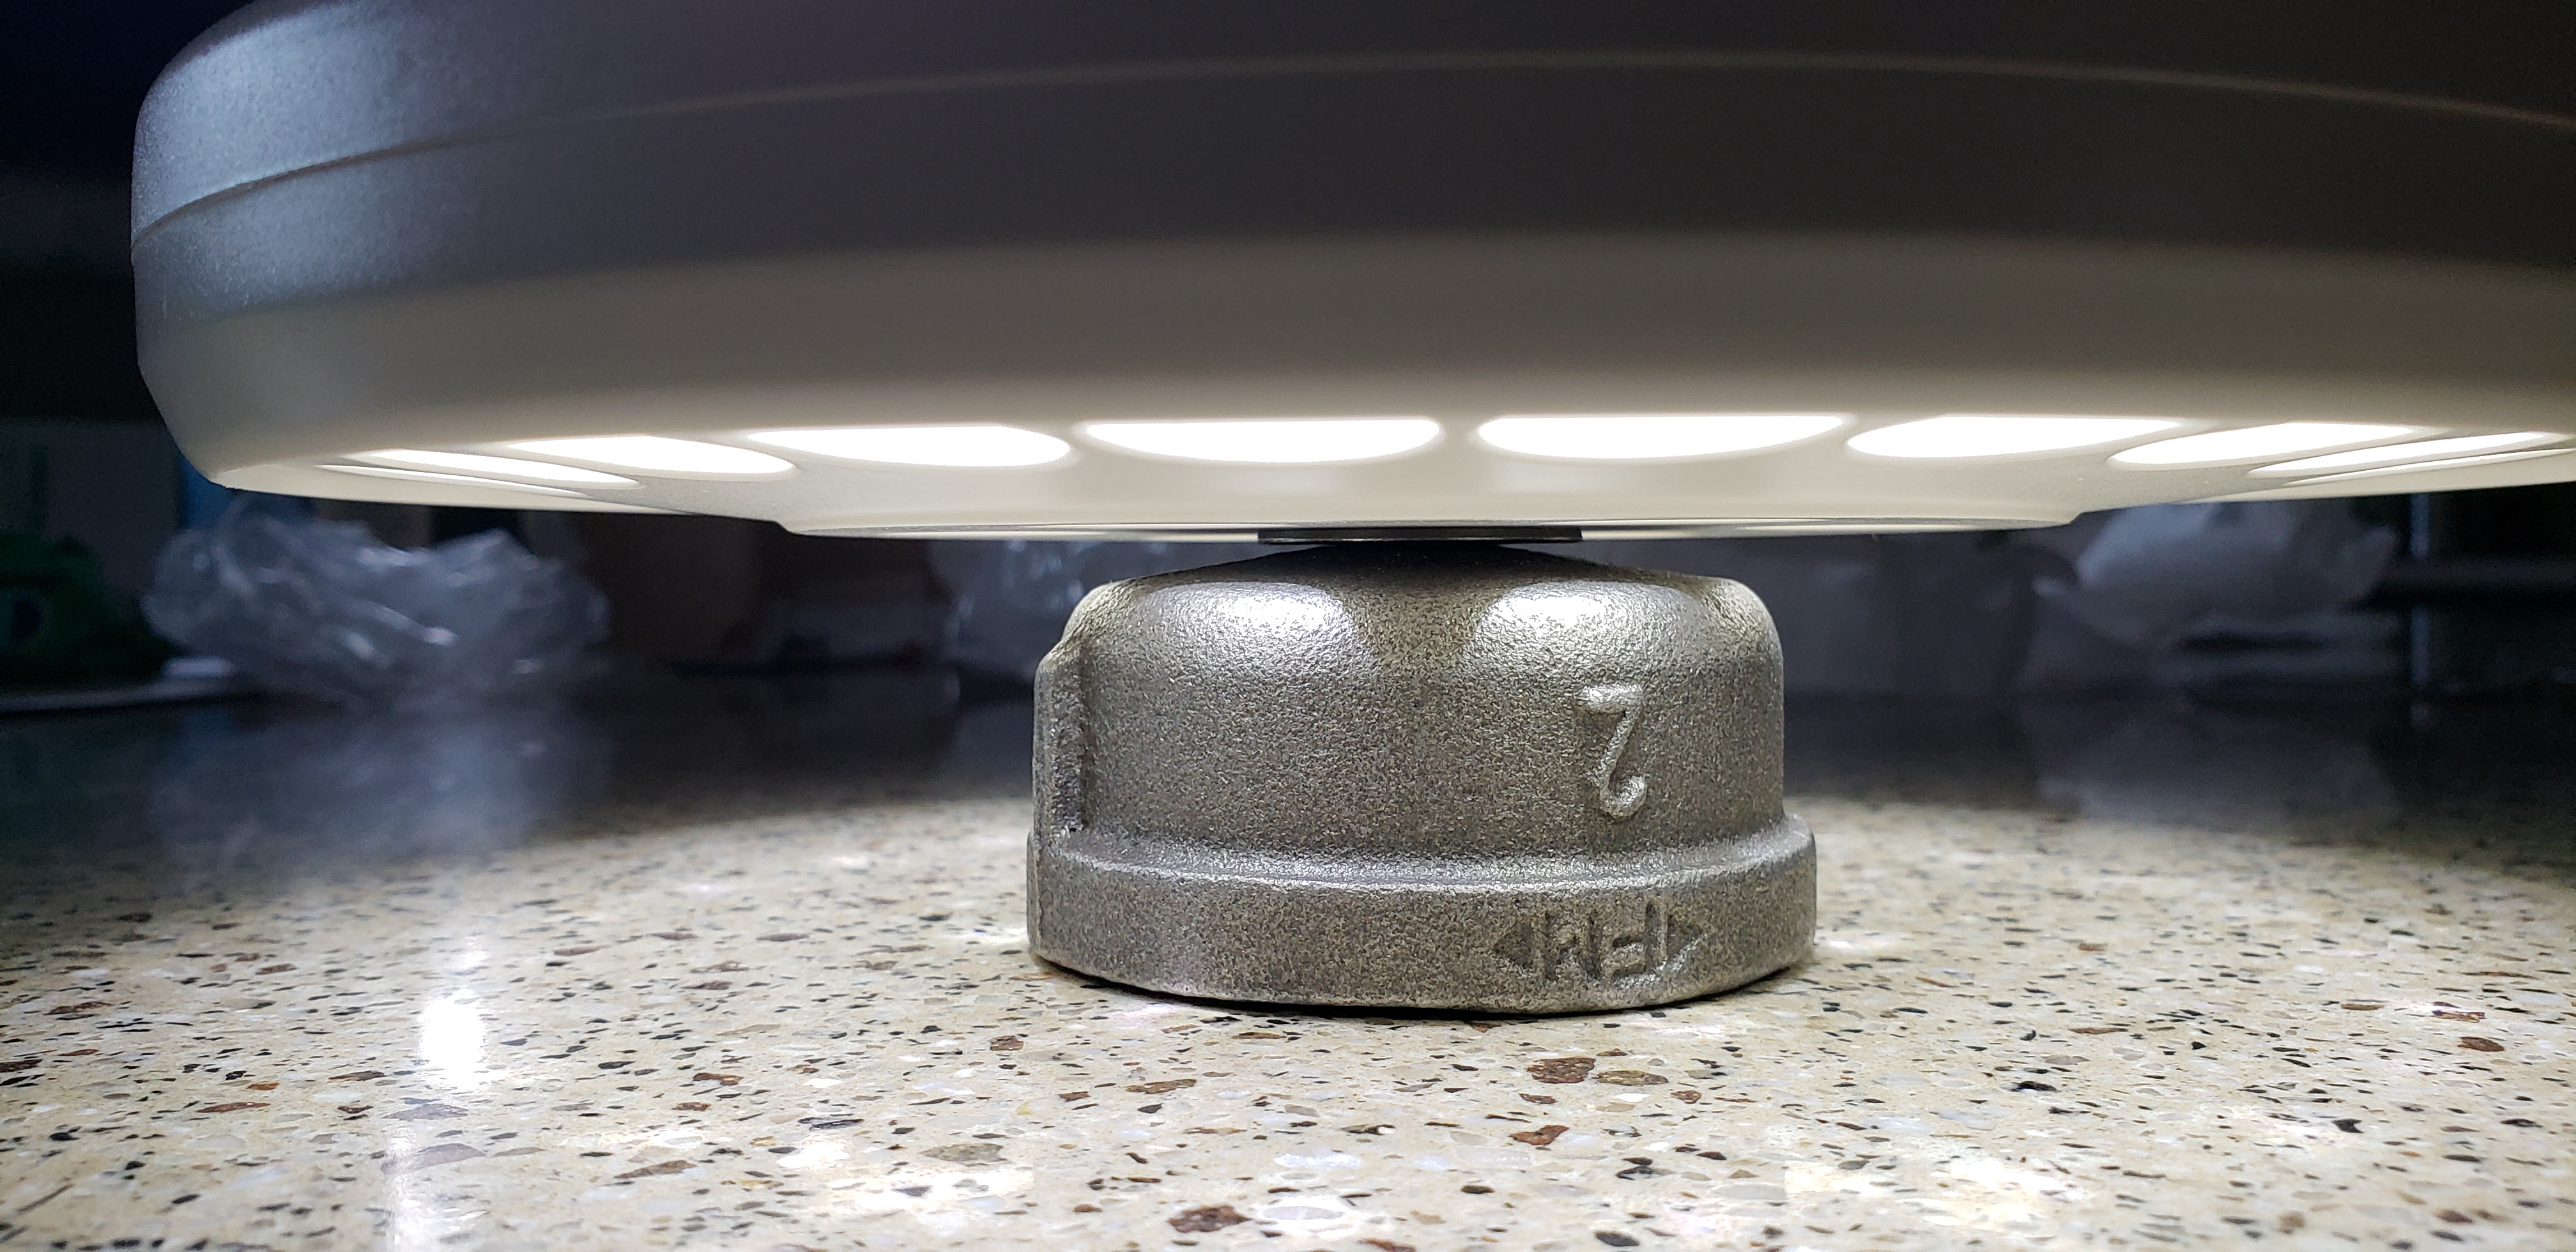
I got a 1/2"-13 x 3 inch stainless steel bolt, 2 stainless 1/2" fender washers, and a new pipe cap at Menards. I was guessing at the required length because I didn’t have the light fixture with me at Menards. I could have gotten away with a 2-1/2" long bolt. That doesn’t matter though. The extra threads run down into the flagpole where they can’t be seen. Also, in hindsight, I should have used a fine thread 1/2"-20 bolt instead of the course thread. The top of the pipe cap is about 3/16 thick or less. The fine thread would have resulted into more thread contact into the cap. But this isn’t a high-stress connection, so I’m sure it will be fine.
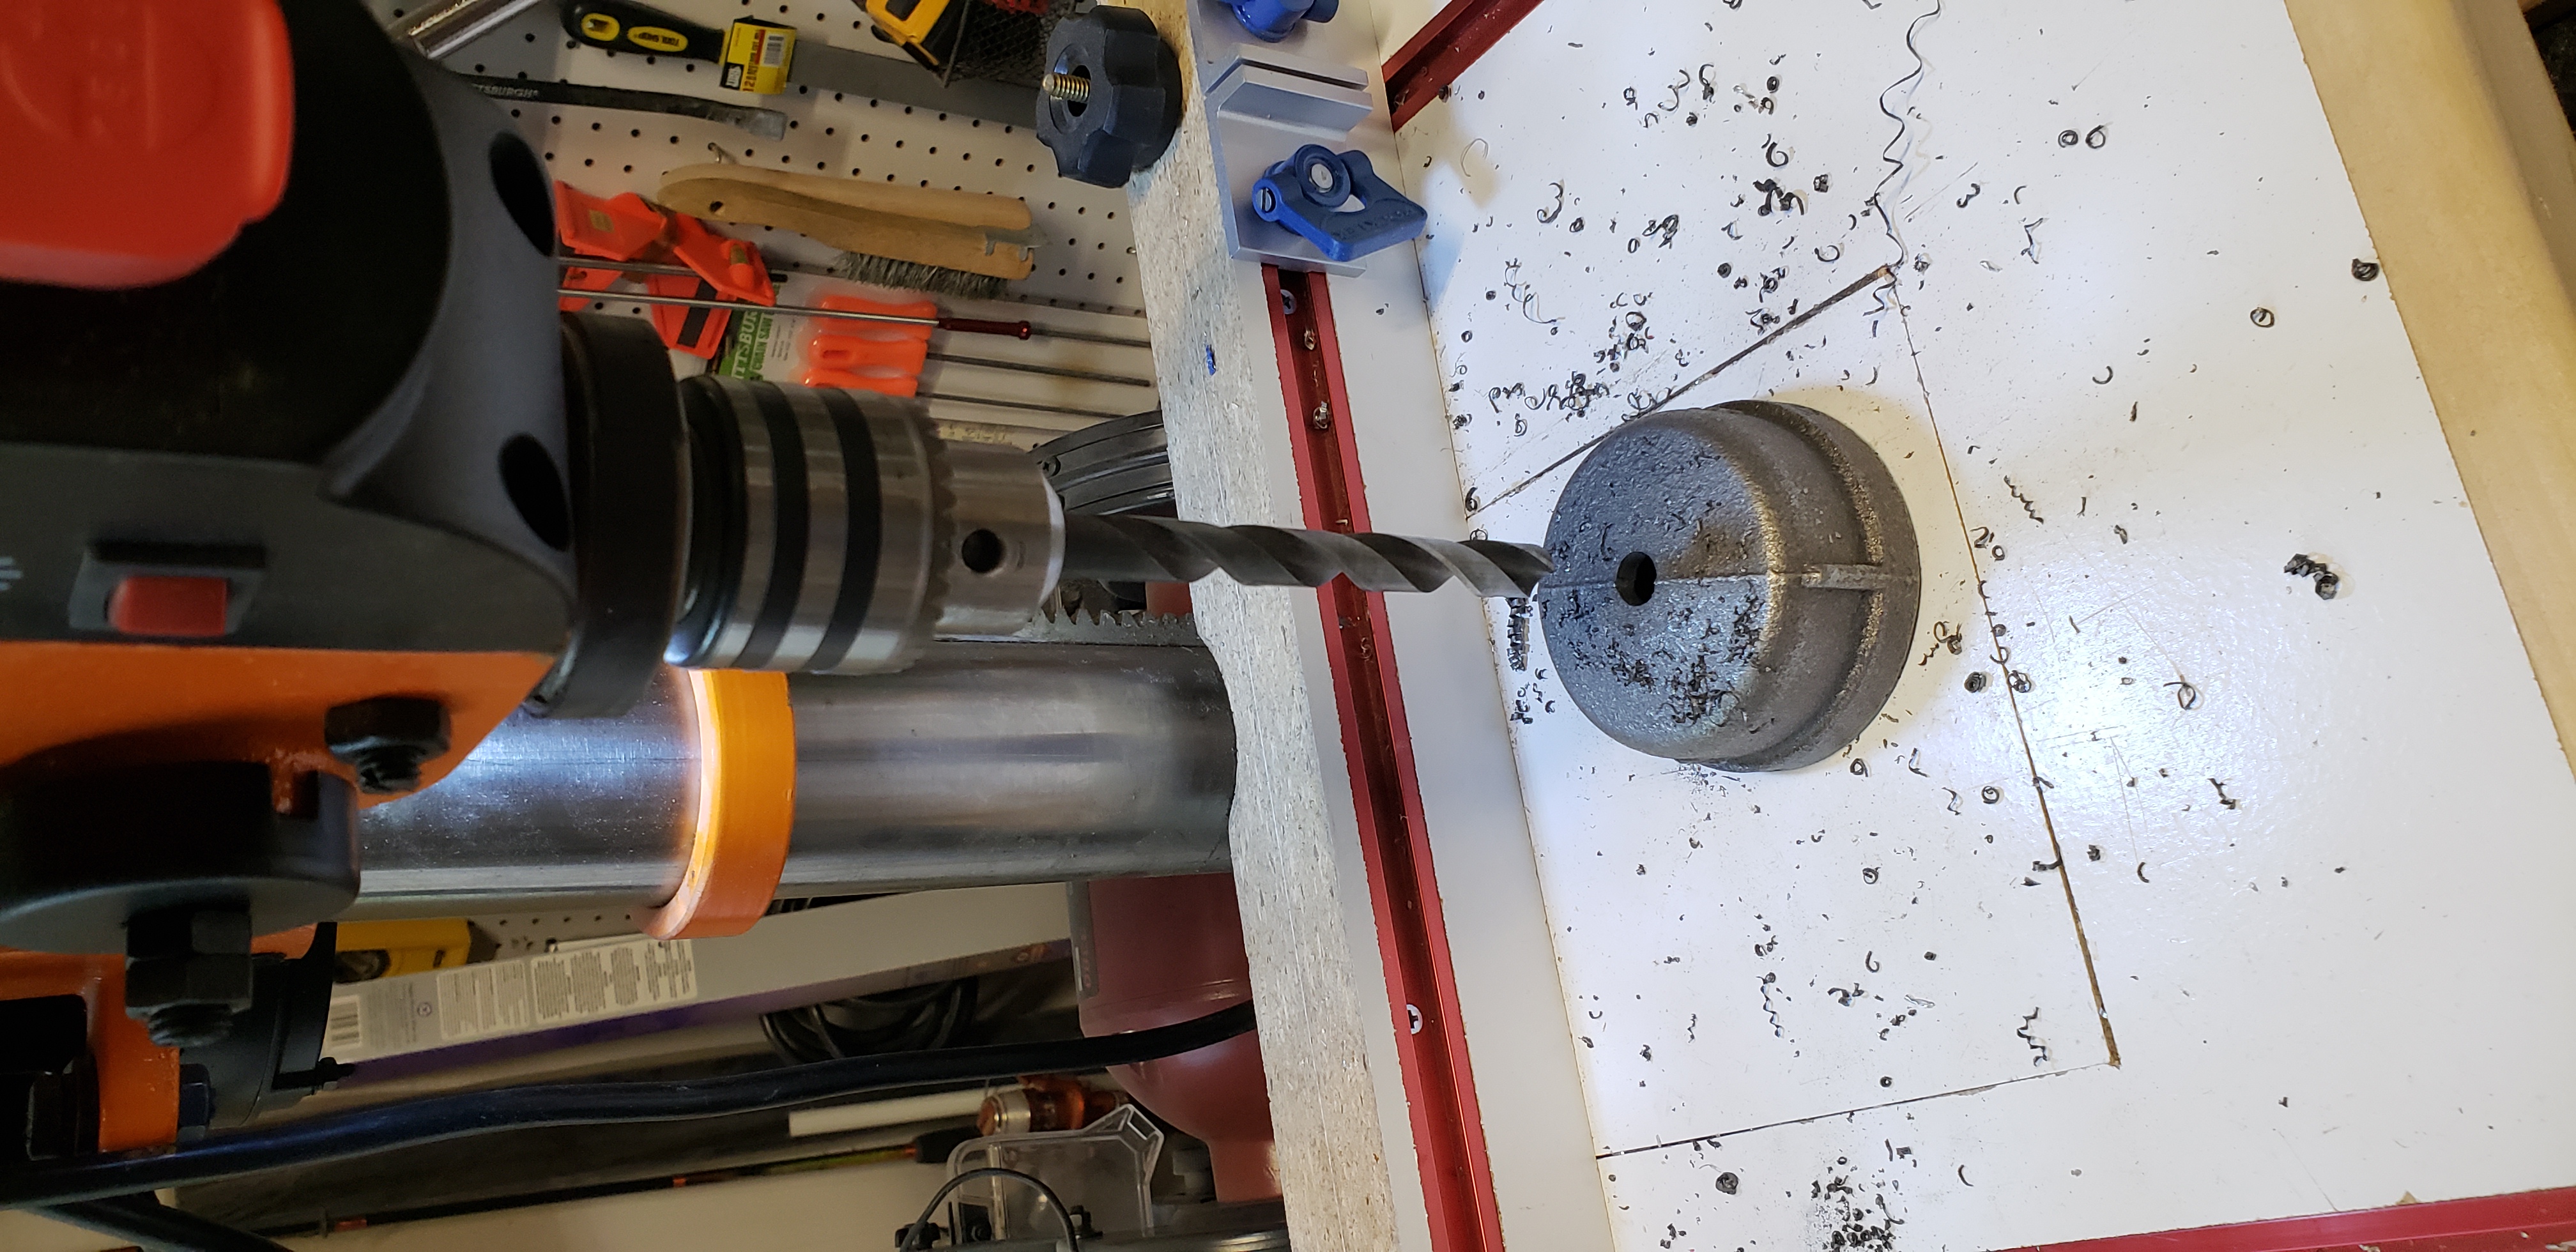
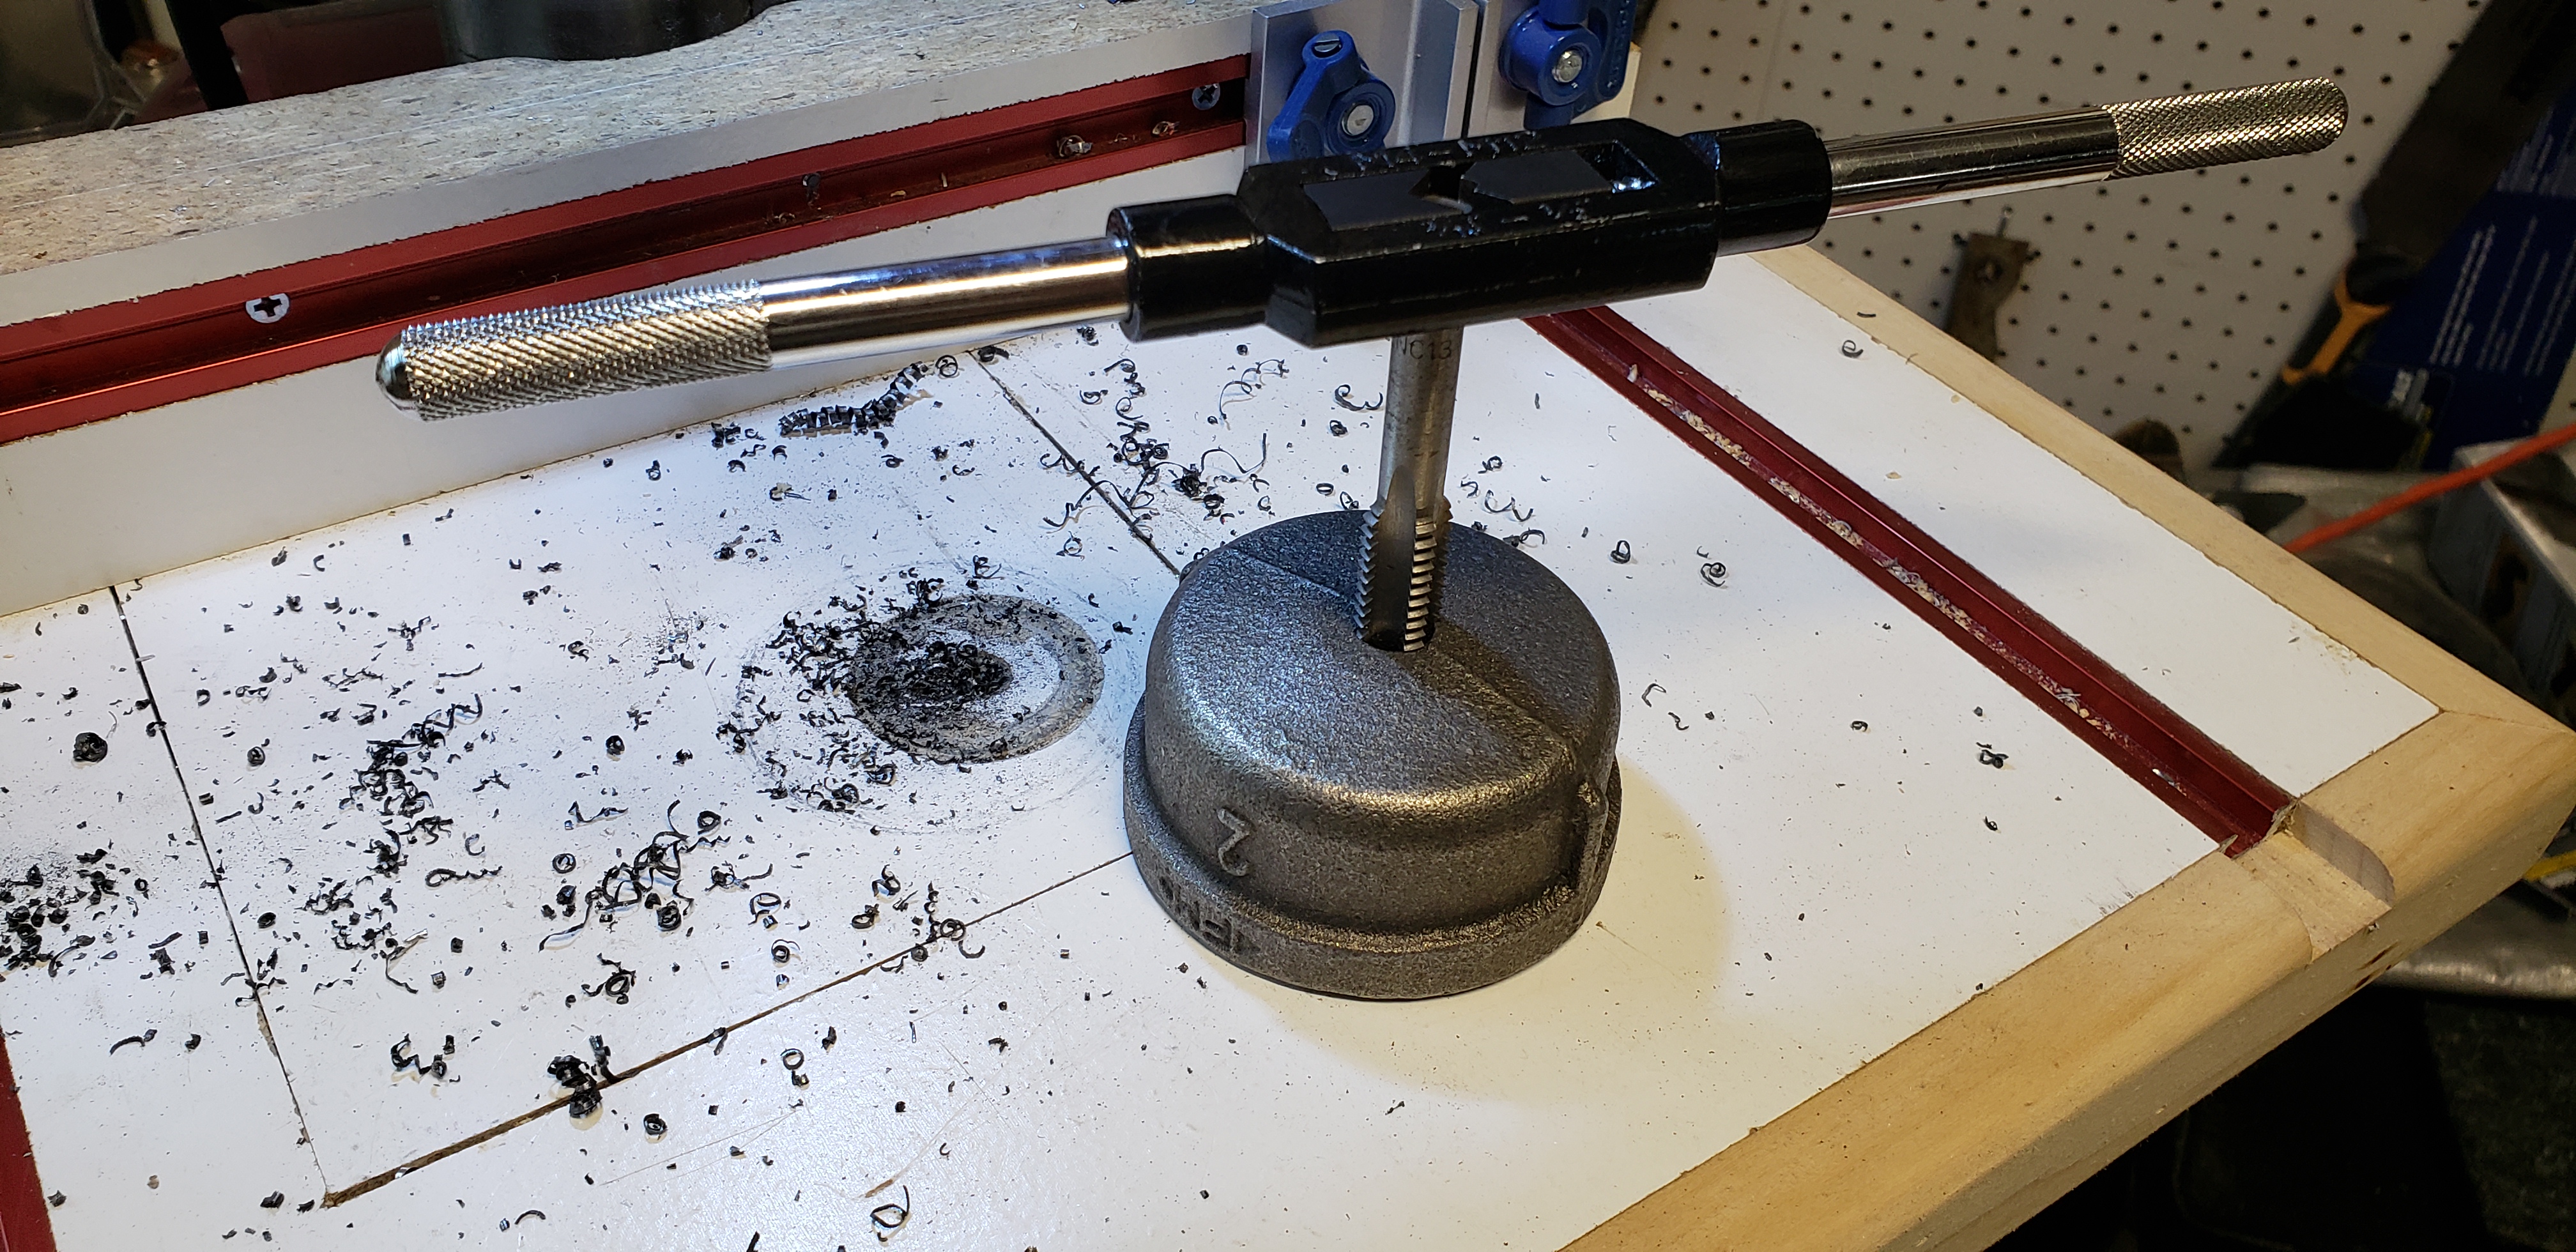
I center-punched a starting hole in the cap and used several drill bits to gradually work my way up to a 27/64" bit, which is the proper drill size for a 1/2-13 thread tap.
Here is a handy reference I use for pilot holes for tapping threads.
The cap is pretty soft metal. I didn’t need any cutting oil to thread the hole.
Here’s the new light fixture test-fitted onto the drilled and tapped cap.
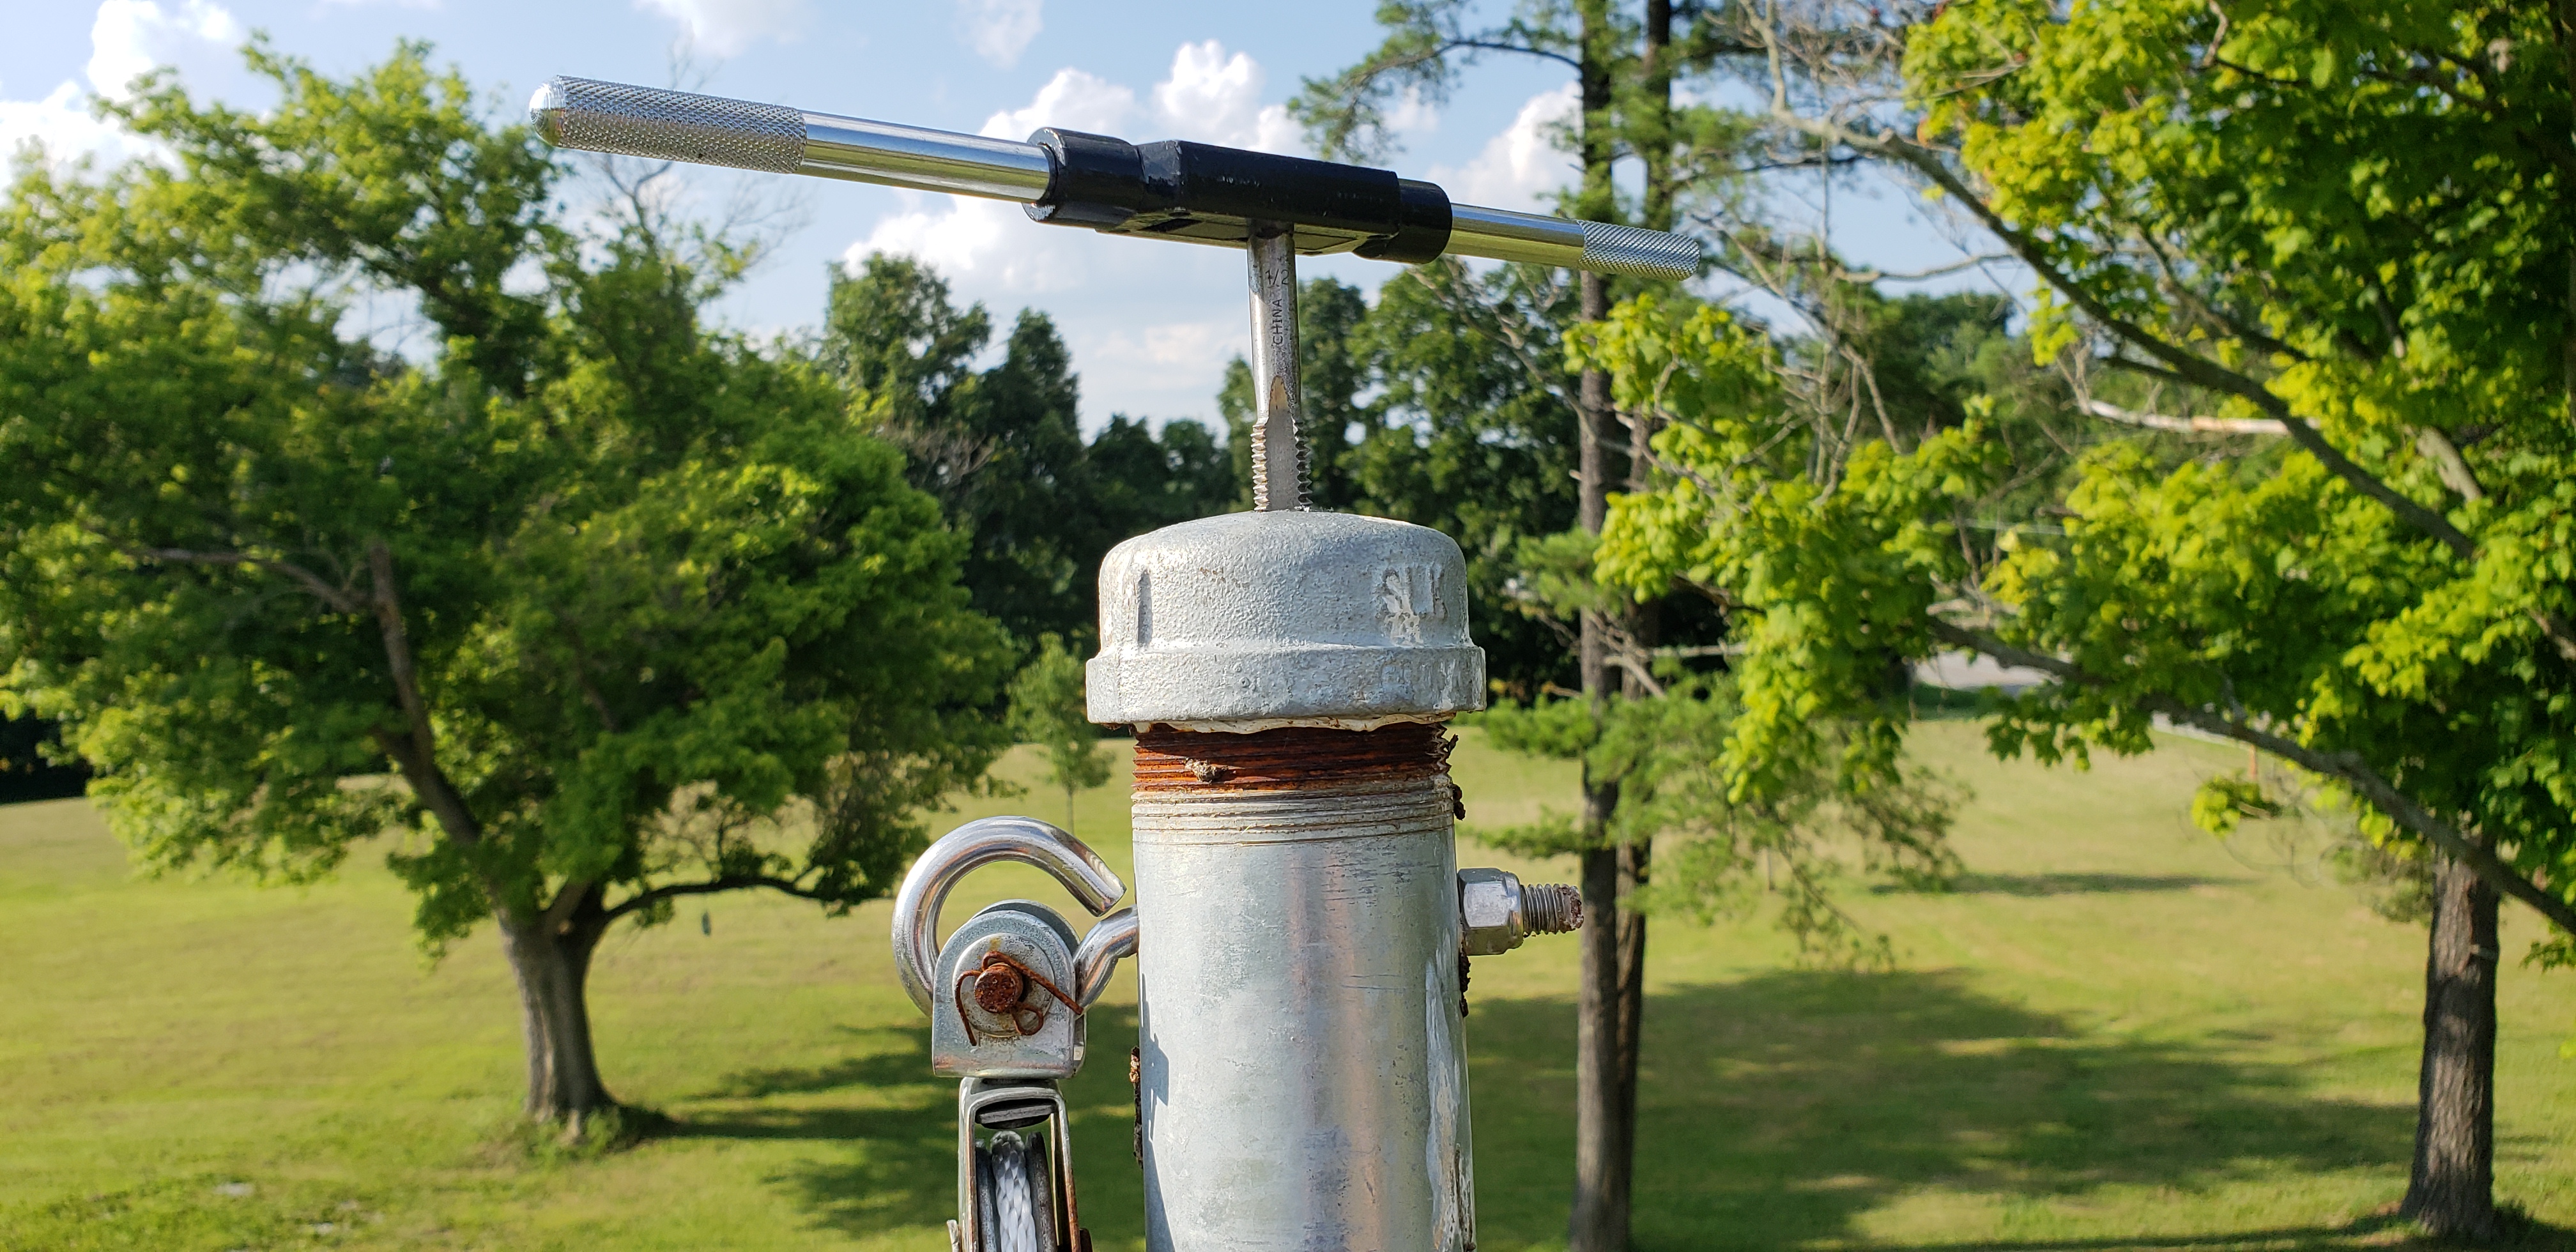
Here’s where the plan went off the rails a little bit… I got the new pipe cap so I could do all of the drilling and tapping on the ground and then climb up the shaky ladder and just swap caps and be done. That was the plan. When I went to swap the caps, I found the original cap was seized onto the pole with rust. I used teflon plumbers tape last year when I built the flagpole, hoping it would keep water out and therefore prevent rust. That didn’t work. I carried a pipe wrench up to the top (18 feet off the ground), but as soon as I put a little bit of pressure on the wrench, the ladder moved so I stopped. Plan B was to carry a center punch, my Ryobi cordless drill, and a series of drill bits up to the top and drill and tap the cap in place. I once again worked up through a series of drill bit sizes until I got to 27/64". I then carried up my 1/2-13 tap and handle and cut in new threads in the old cap.
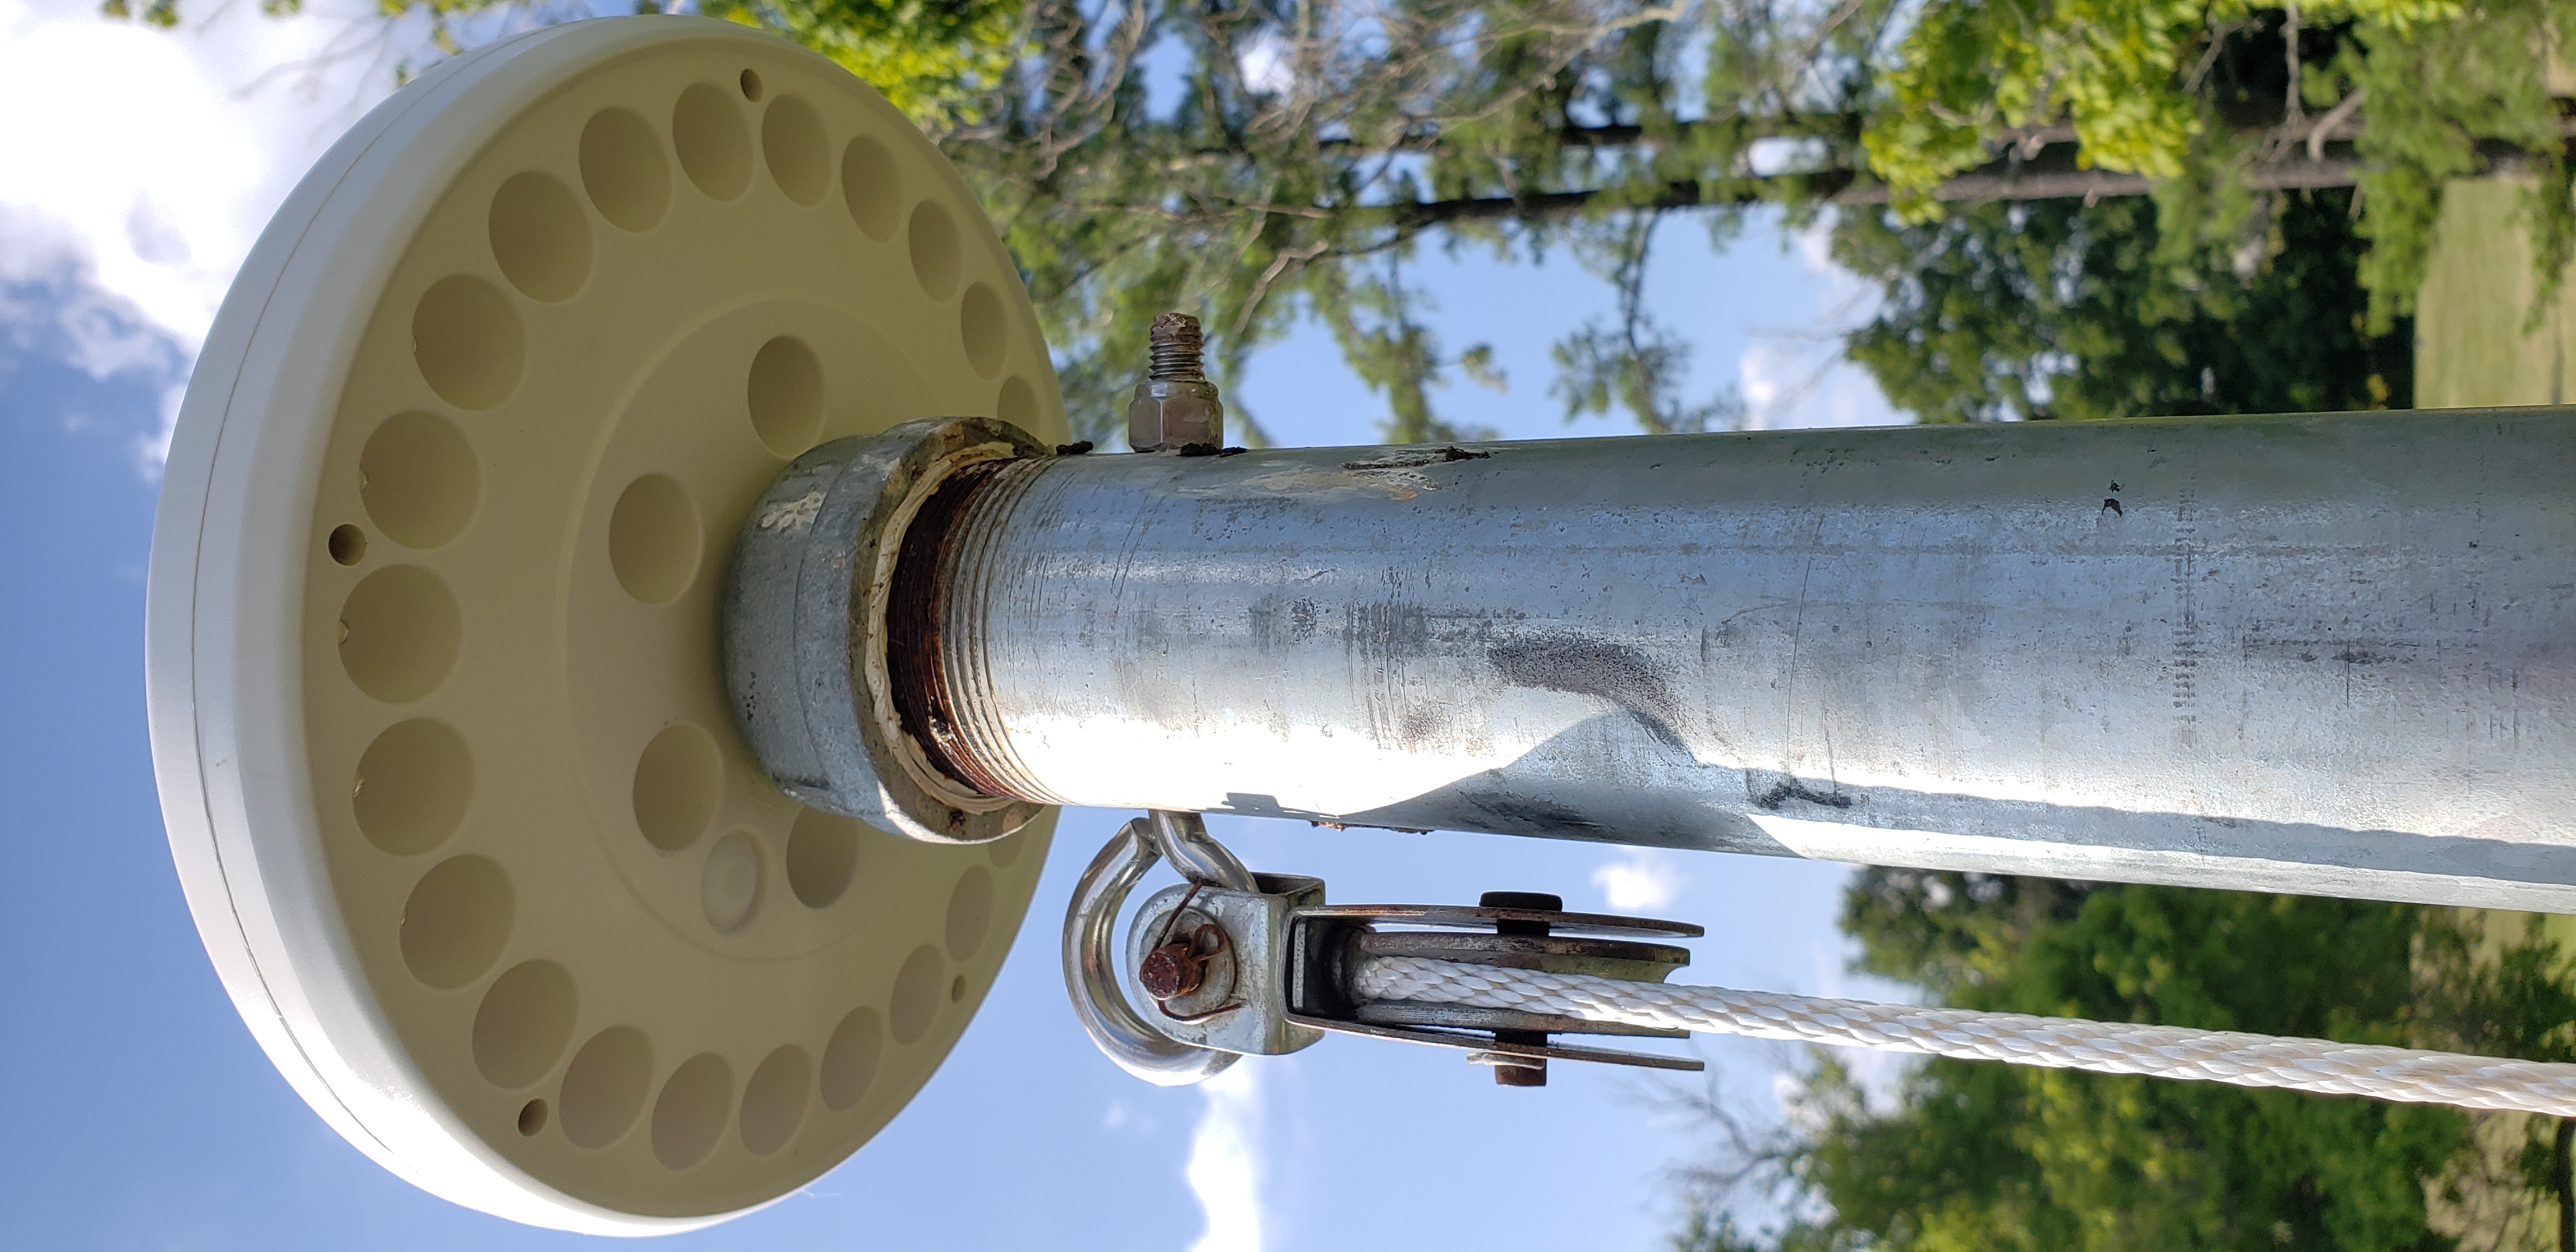
After that, the new light and bolt went on easily. I put a few drops of blue loctite thread sealer on the stainless bolt. Not because I’m worried about it backing out, but to keep moisture out of the threads. I didn’t tighten the bolt down. It is just snug enough to almost touch the plastic housing. Just in case the plastic house swells a bit in the hot sun, I don’t want it to crack because there’s no room for expansion.
The installation didn’t go according to plan, but I adapted the plan on the fly and it all worked out in the end. I am extremely happy with the results.
“We are a participant in the Amazon Services LLC Associates Program, an affiliate advertising program designed to provide a means for us to earn fees by linking to Amazon.com and affiliated sites.”
