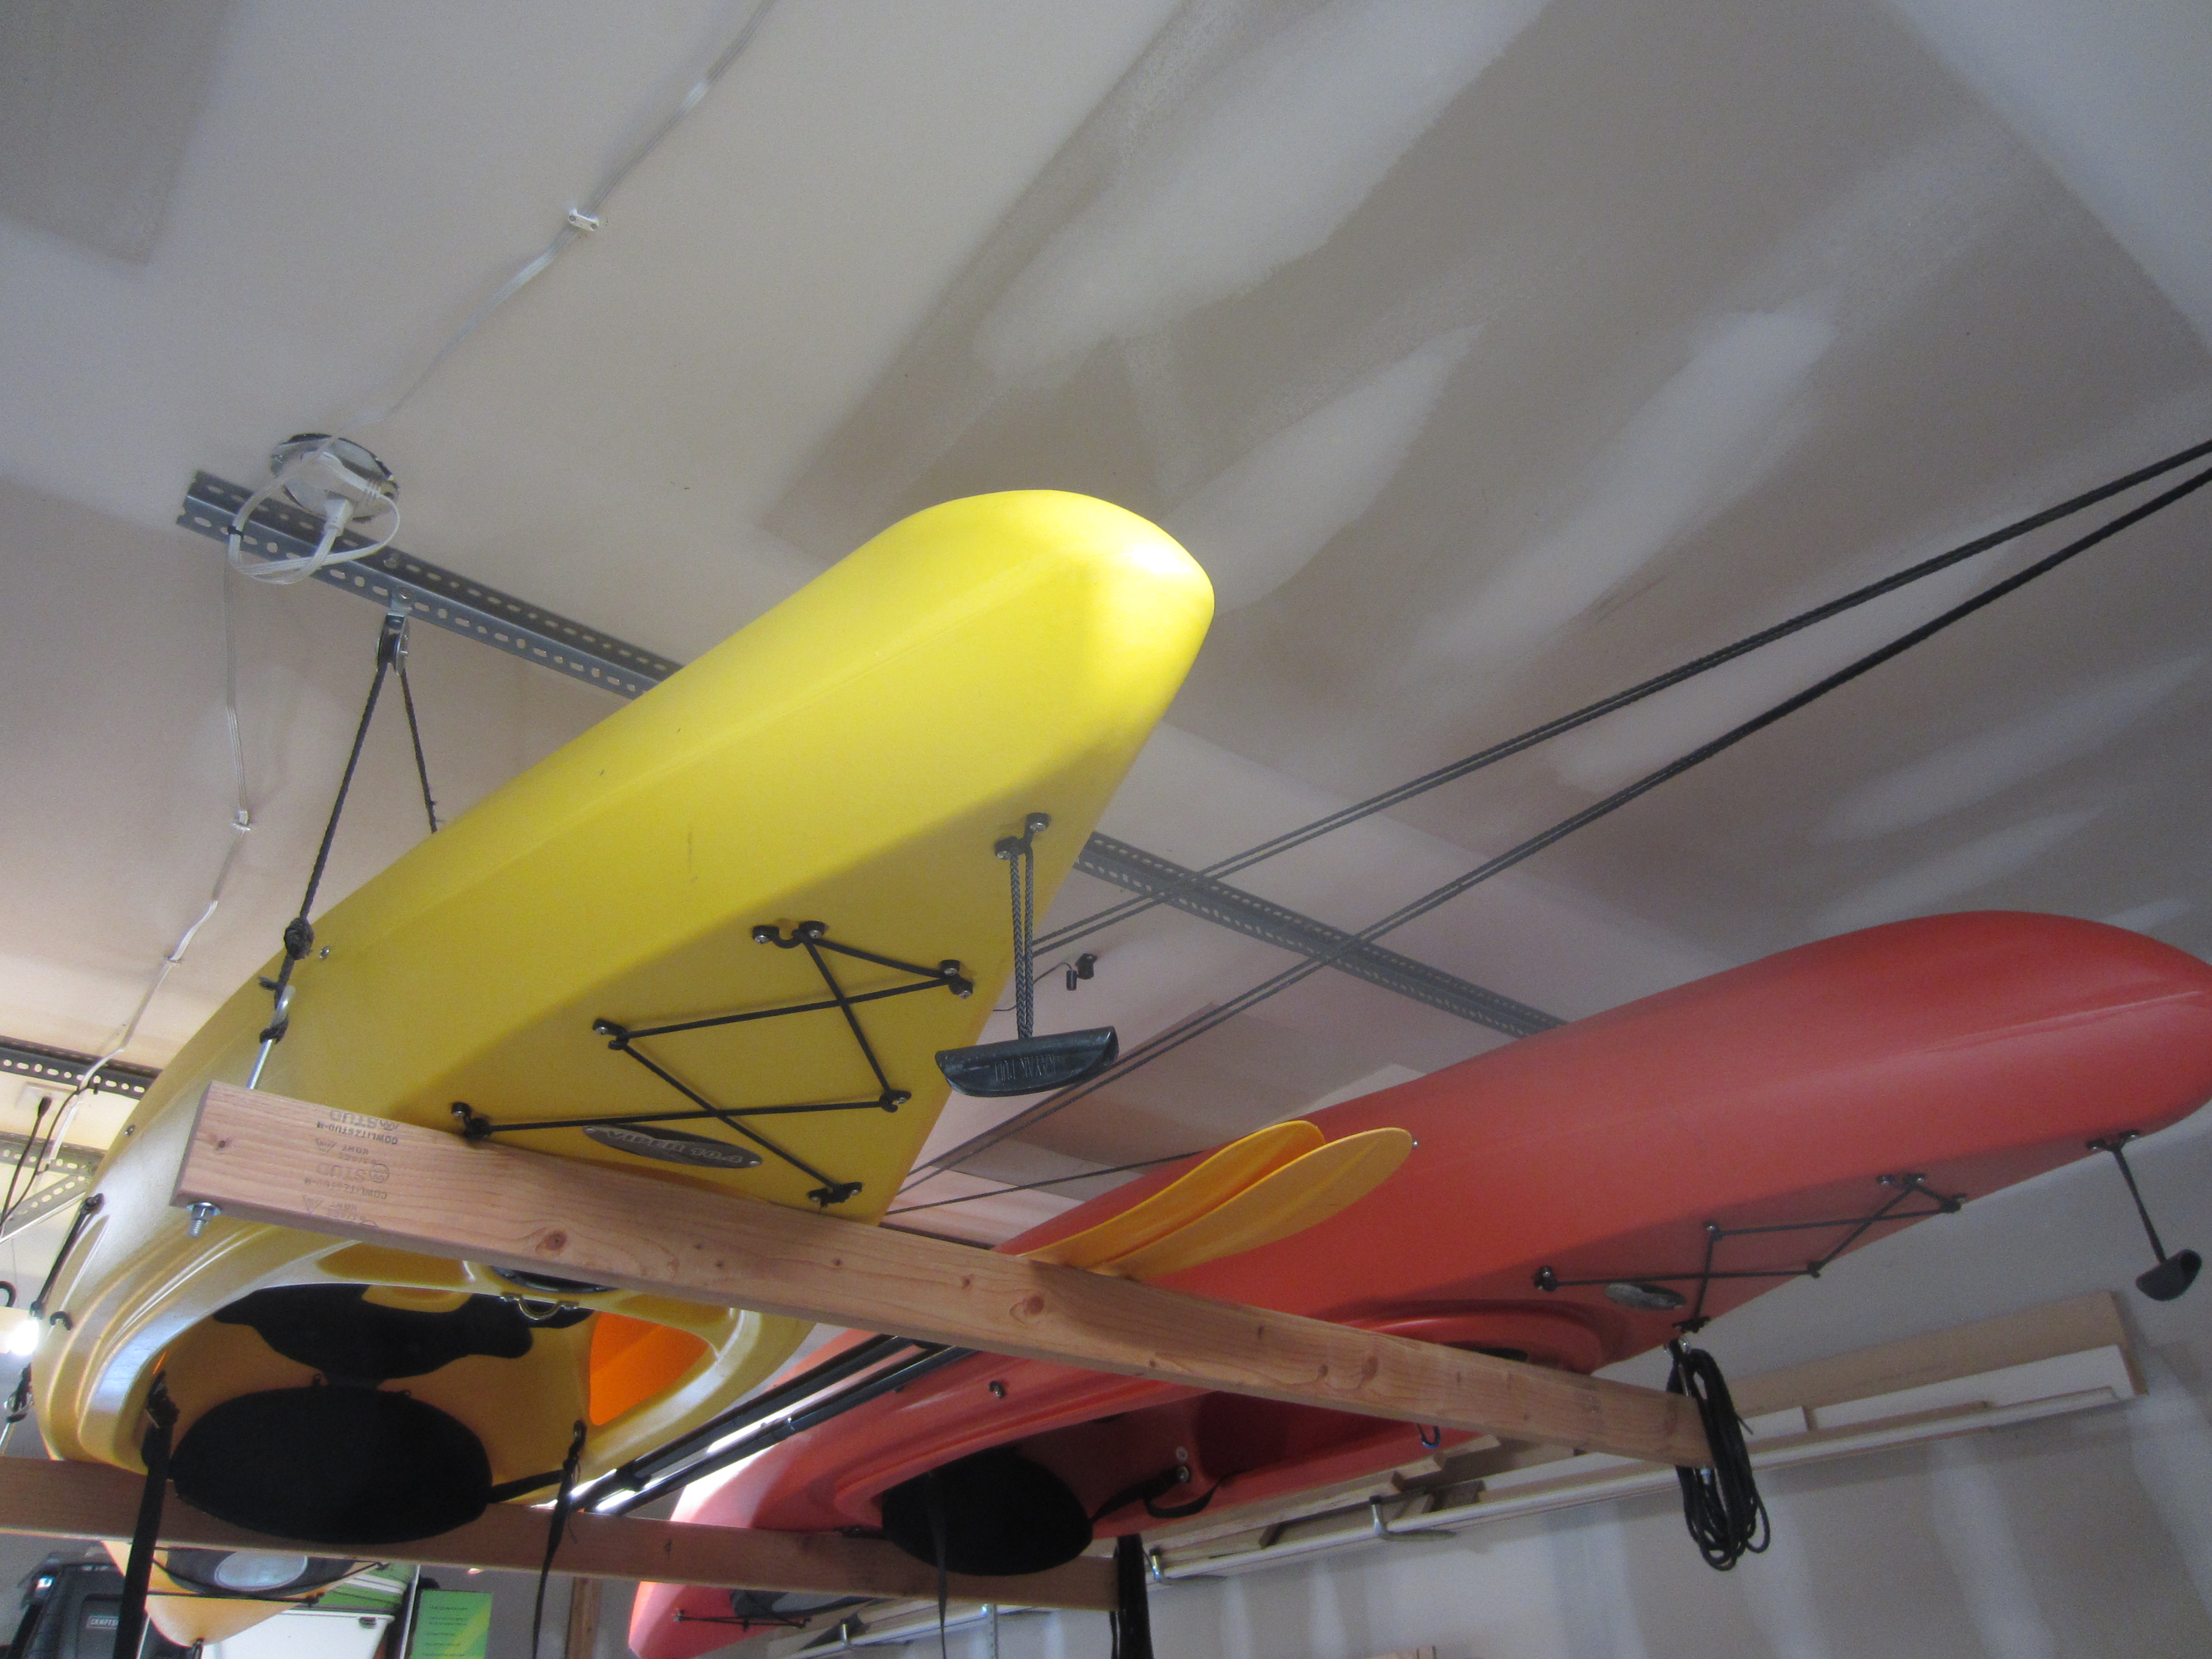
I own a pair of 10 foot kayaks that I bought at Menards several years ago. Shortly after we got them, I built a basic hoist system in the garage. It was two 2x4’s suspended from nylon rope. The rope ran up to pulleys anchored in the ceiling and then to the hook of a steel winch line. That winch line ran through another set of pulleys to redirect the line down along a wall and finally onto the spool of a manual hand crank winch I got from Harbor Freight.
Here is the support structure for the kayaks:
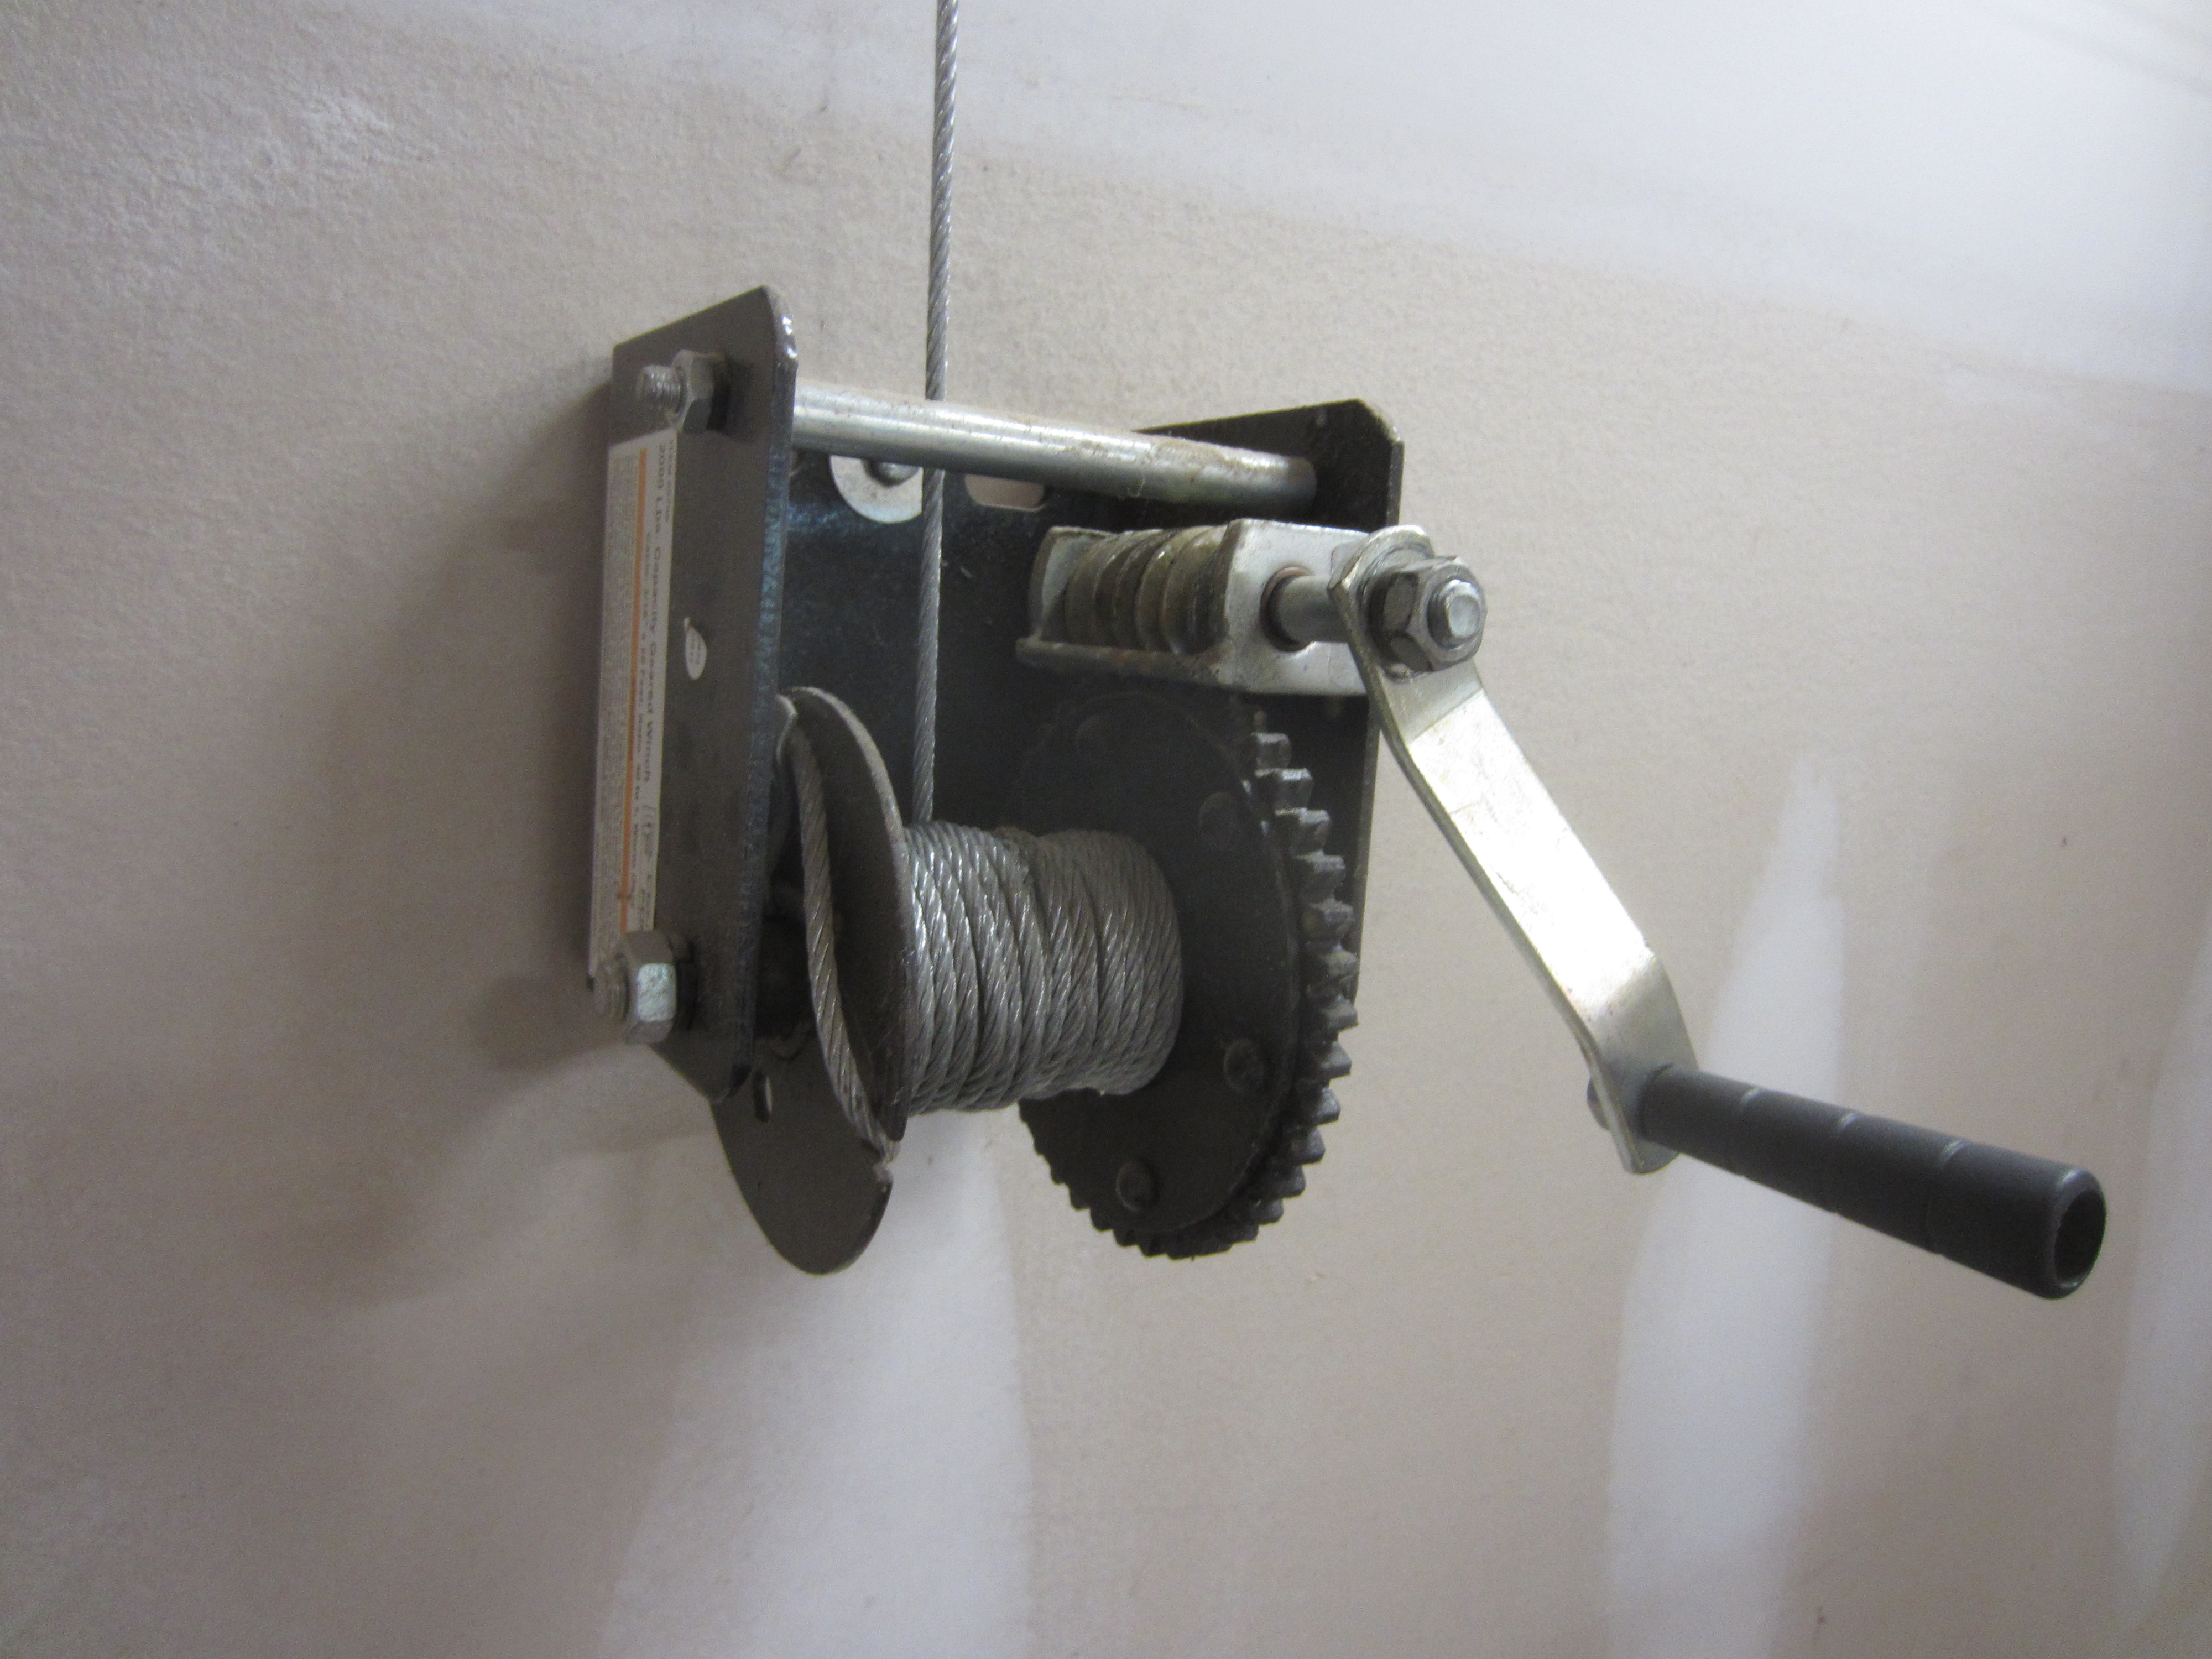
And here is the hand crank (torture device):
This setup functioned properly, but because of the reduction of the worm-gear drive, it took a LOT of cranking and a LOT of energy to hoist the kayaks about 9 feet up in the air. Keep in mind that I was normally doing this cranking after just finishing a kayak trip, so my arms were already partially worn out.
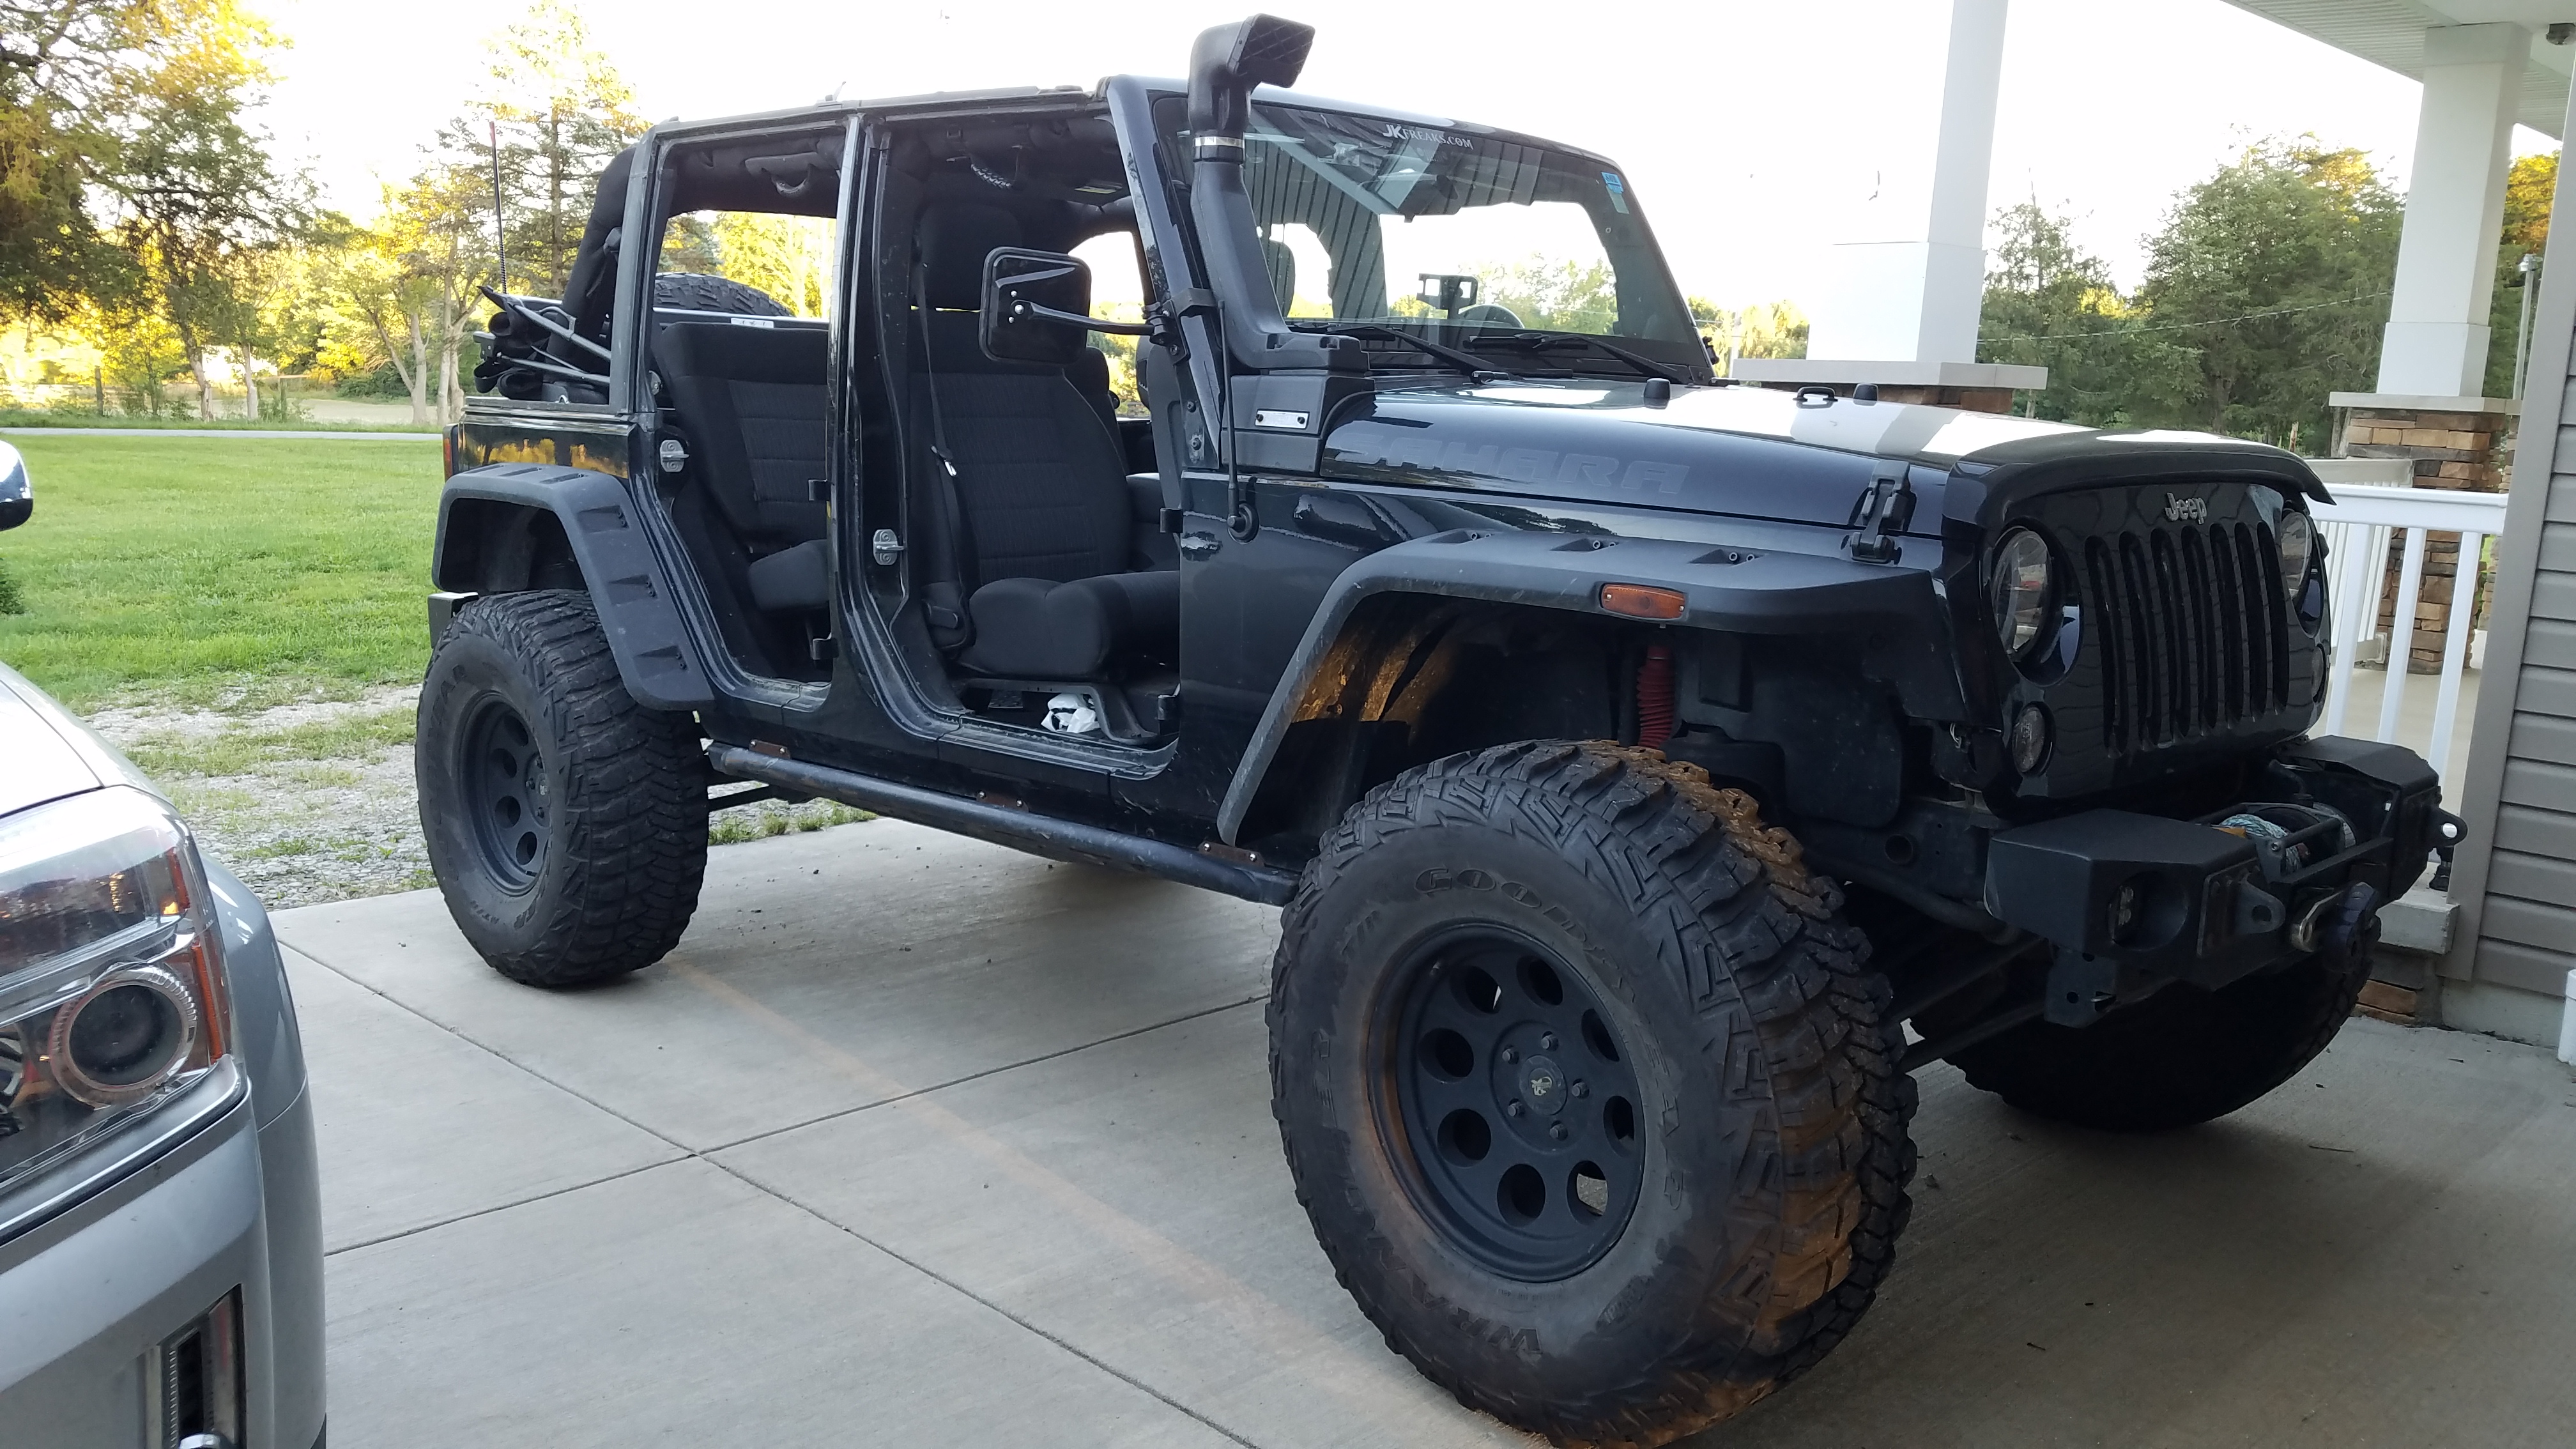
My motto is that if it’s worth doing, it’s worth over-doing. Well, that and “safety third”. So it is finally time to over-engineer a solution to all that cranking and try to add some cool factor in as well. I own a big, modified Jeep that I like to take offroad. I have a winch on the front bumper, so I used that as stylistic inspiration for this creation. Here’s a shot of my Jeep for reference:
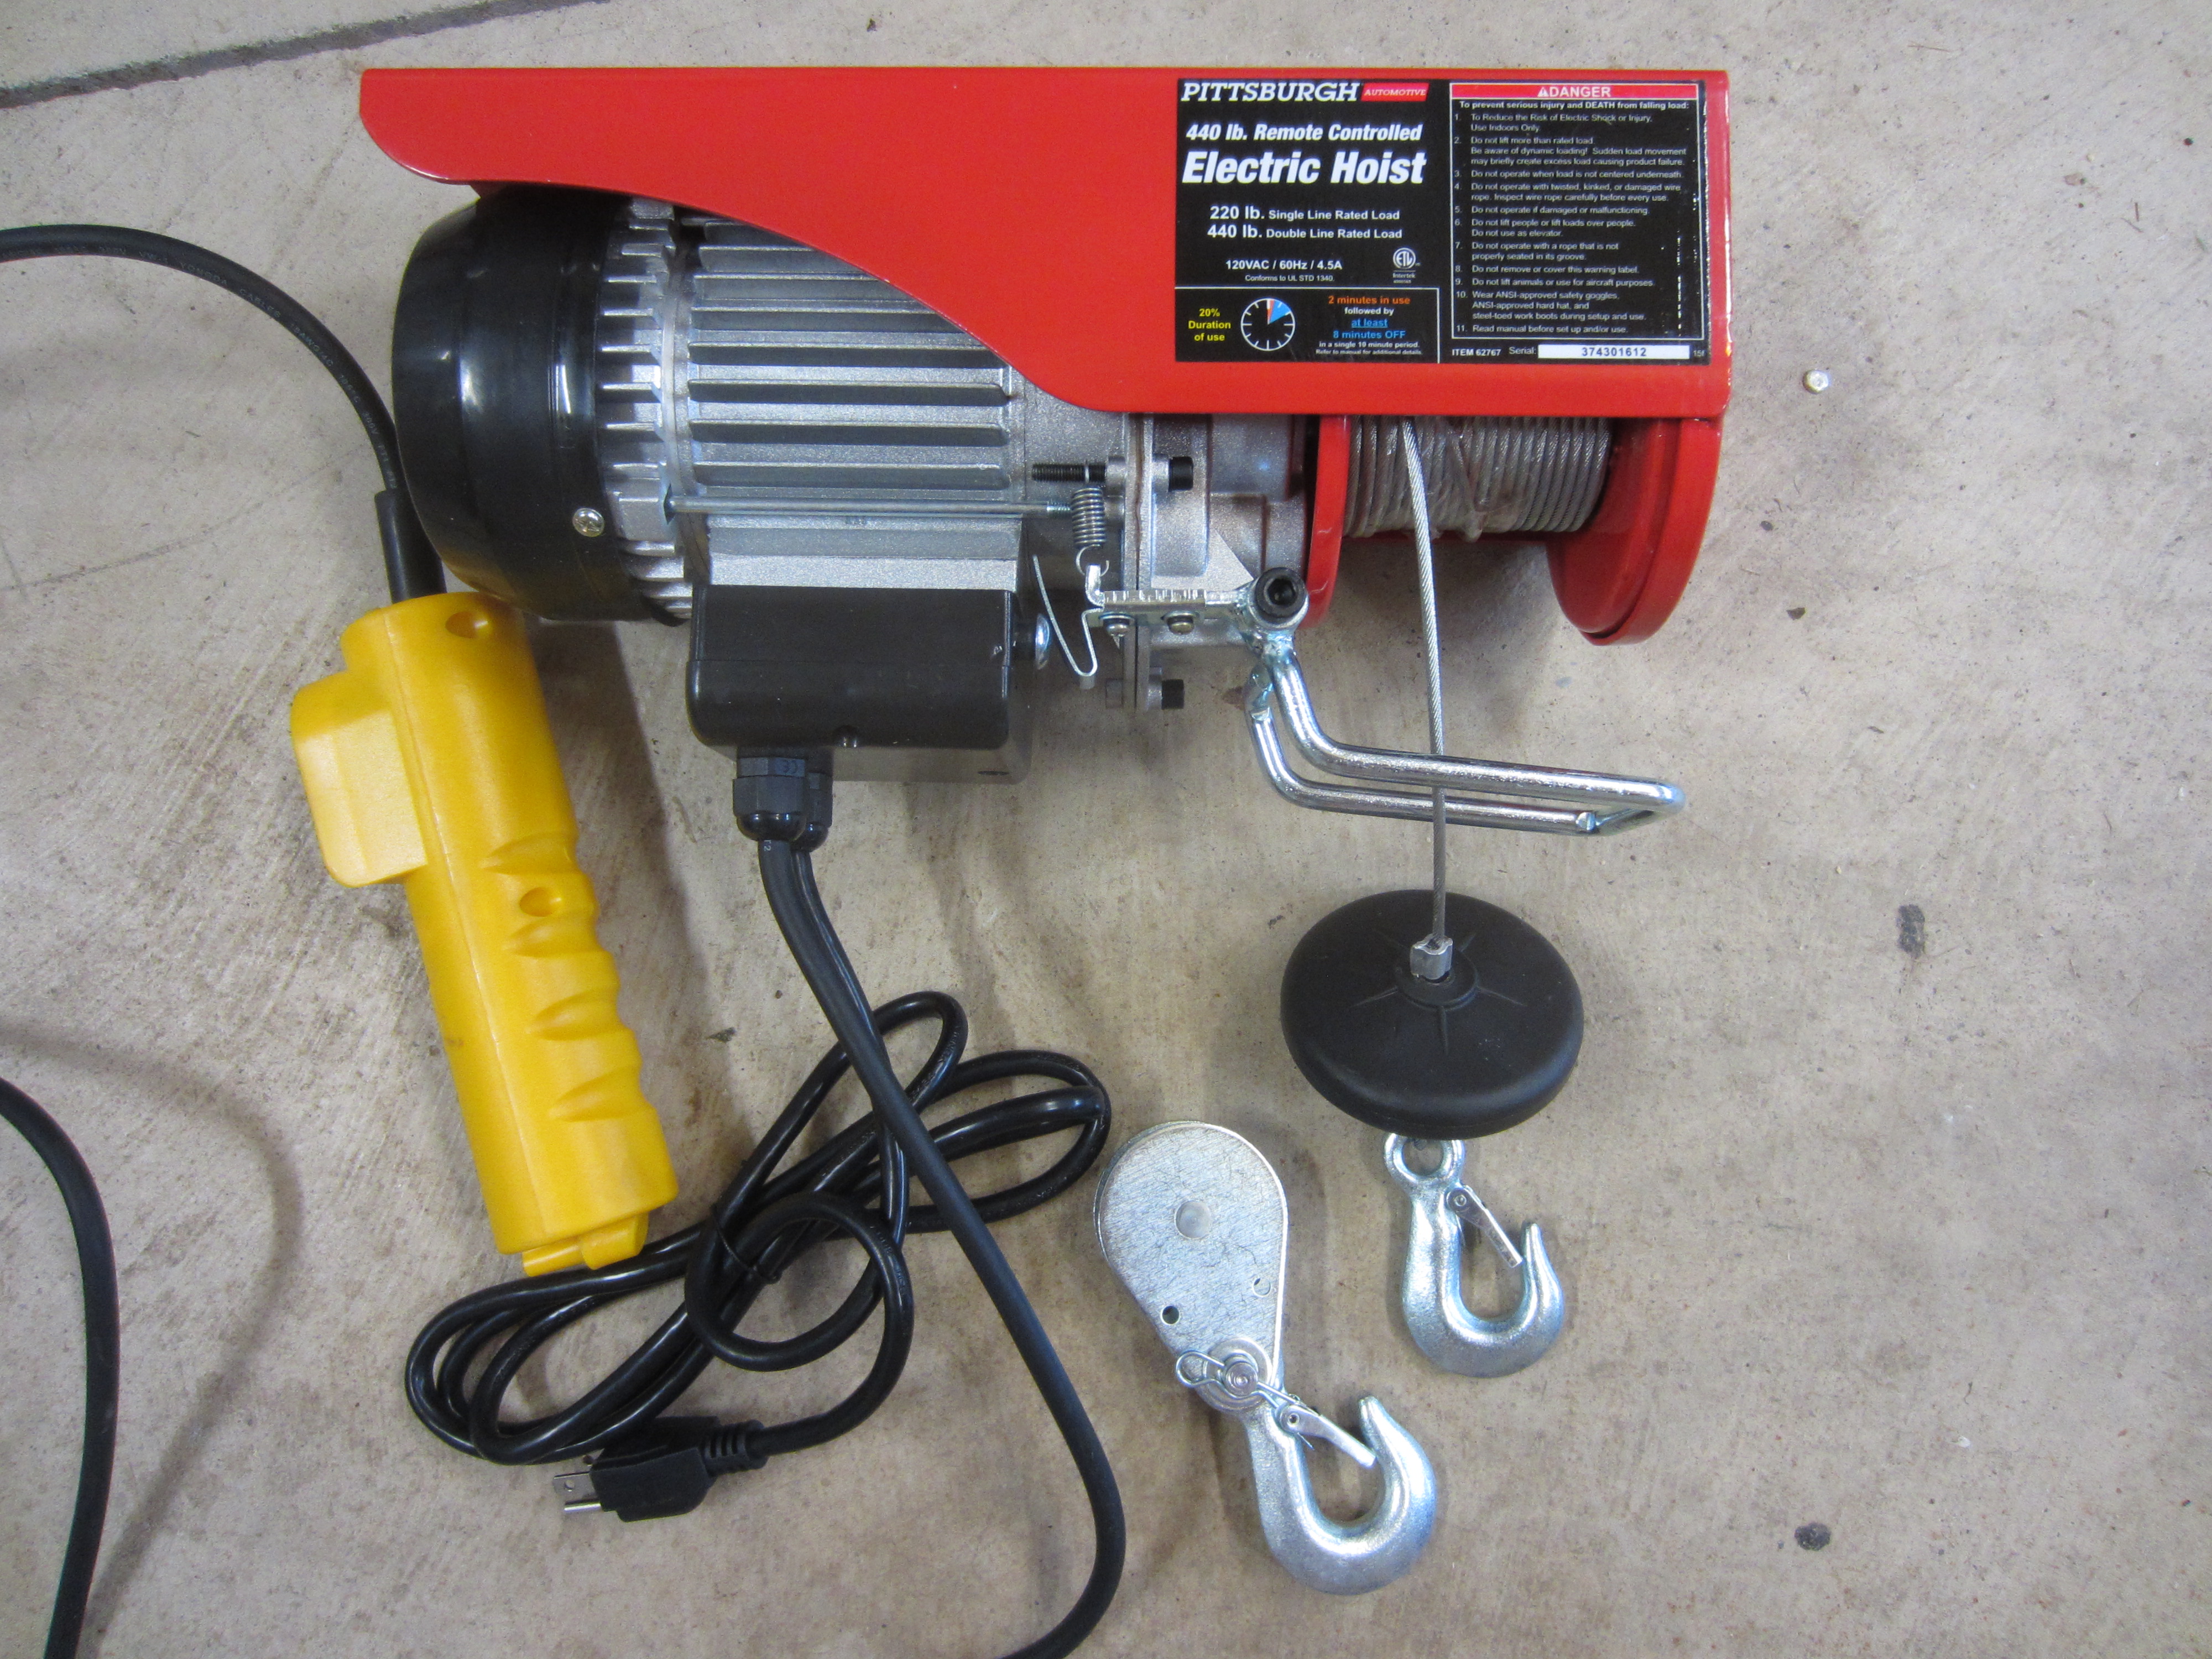
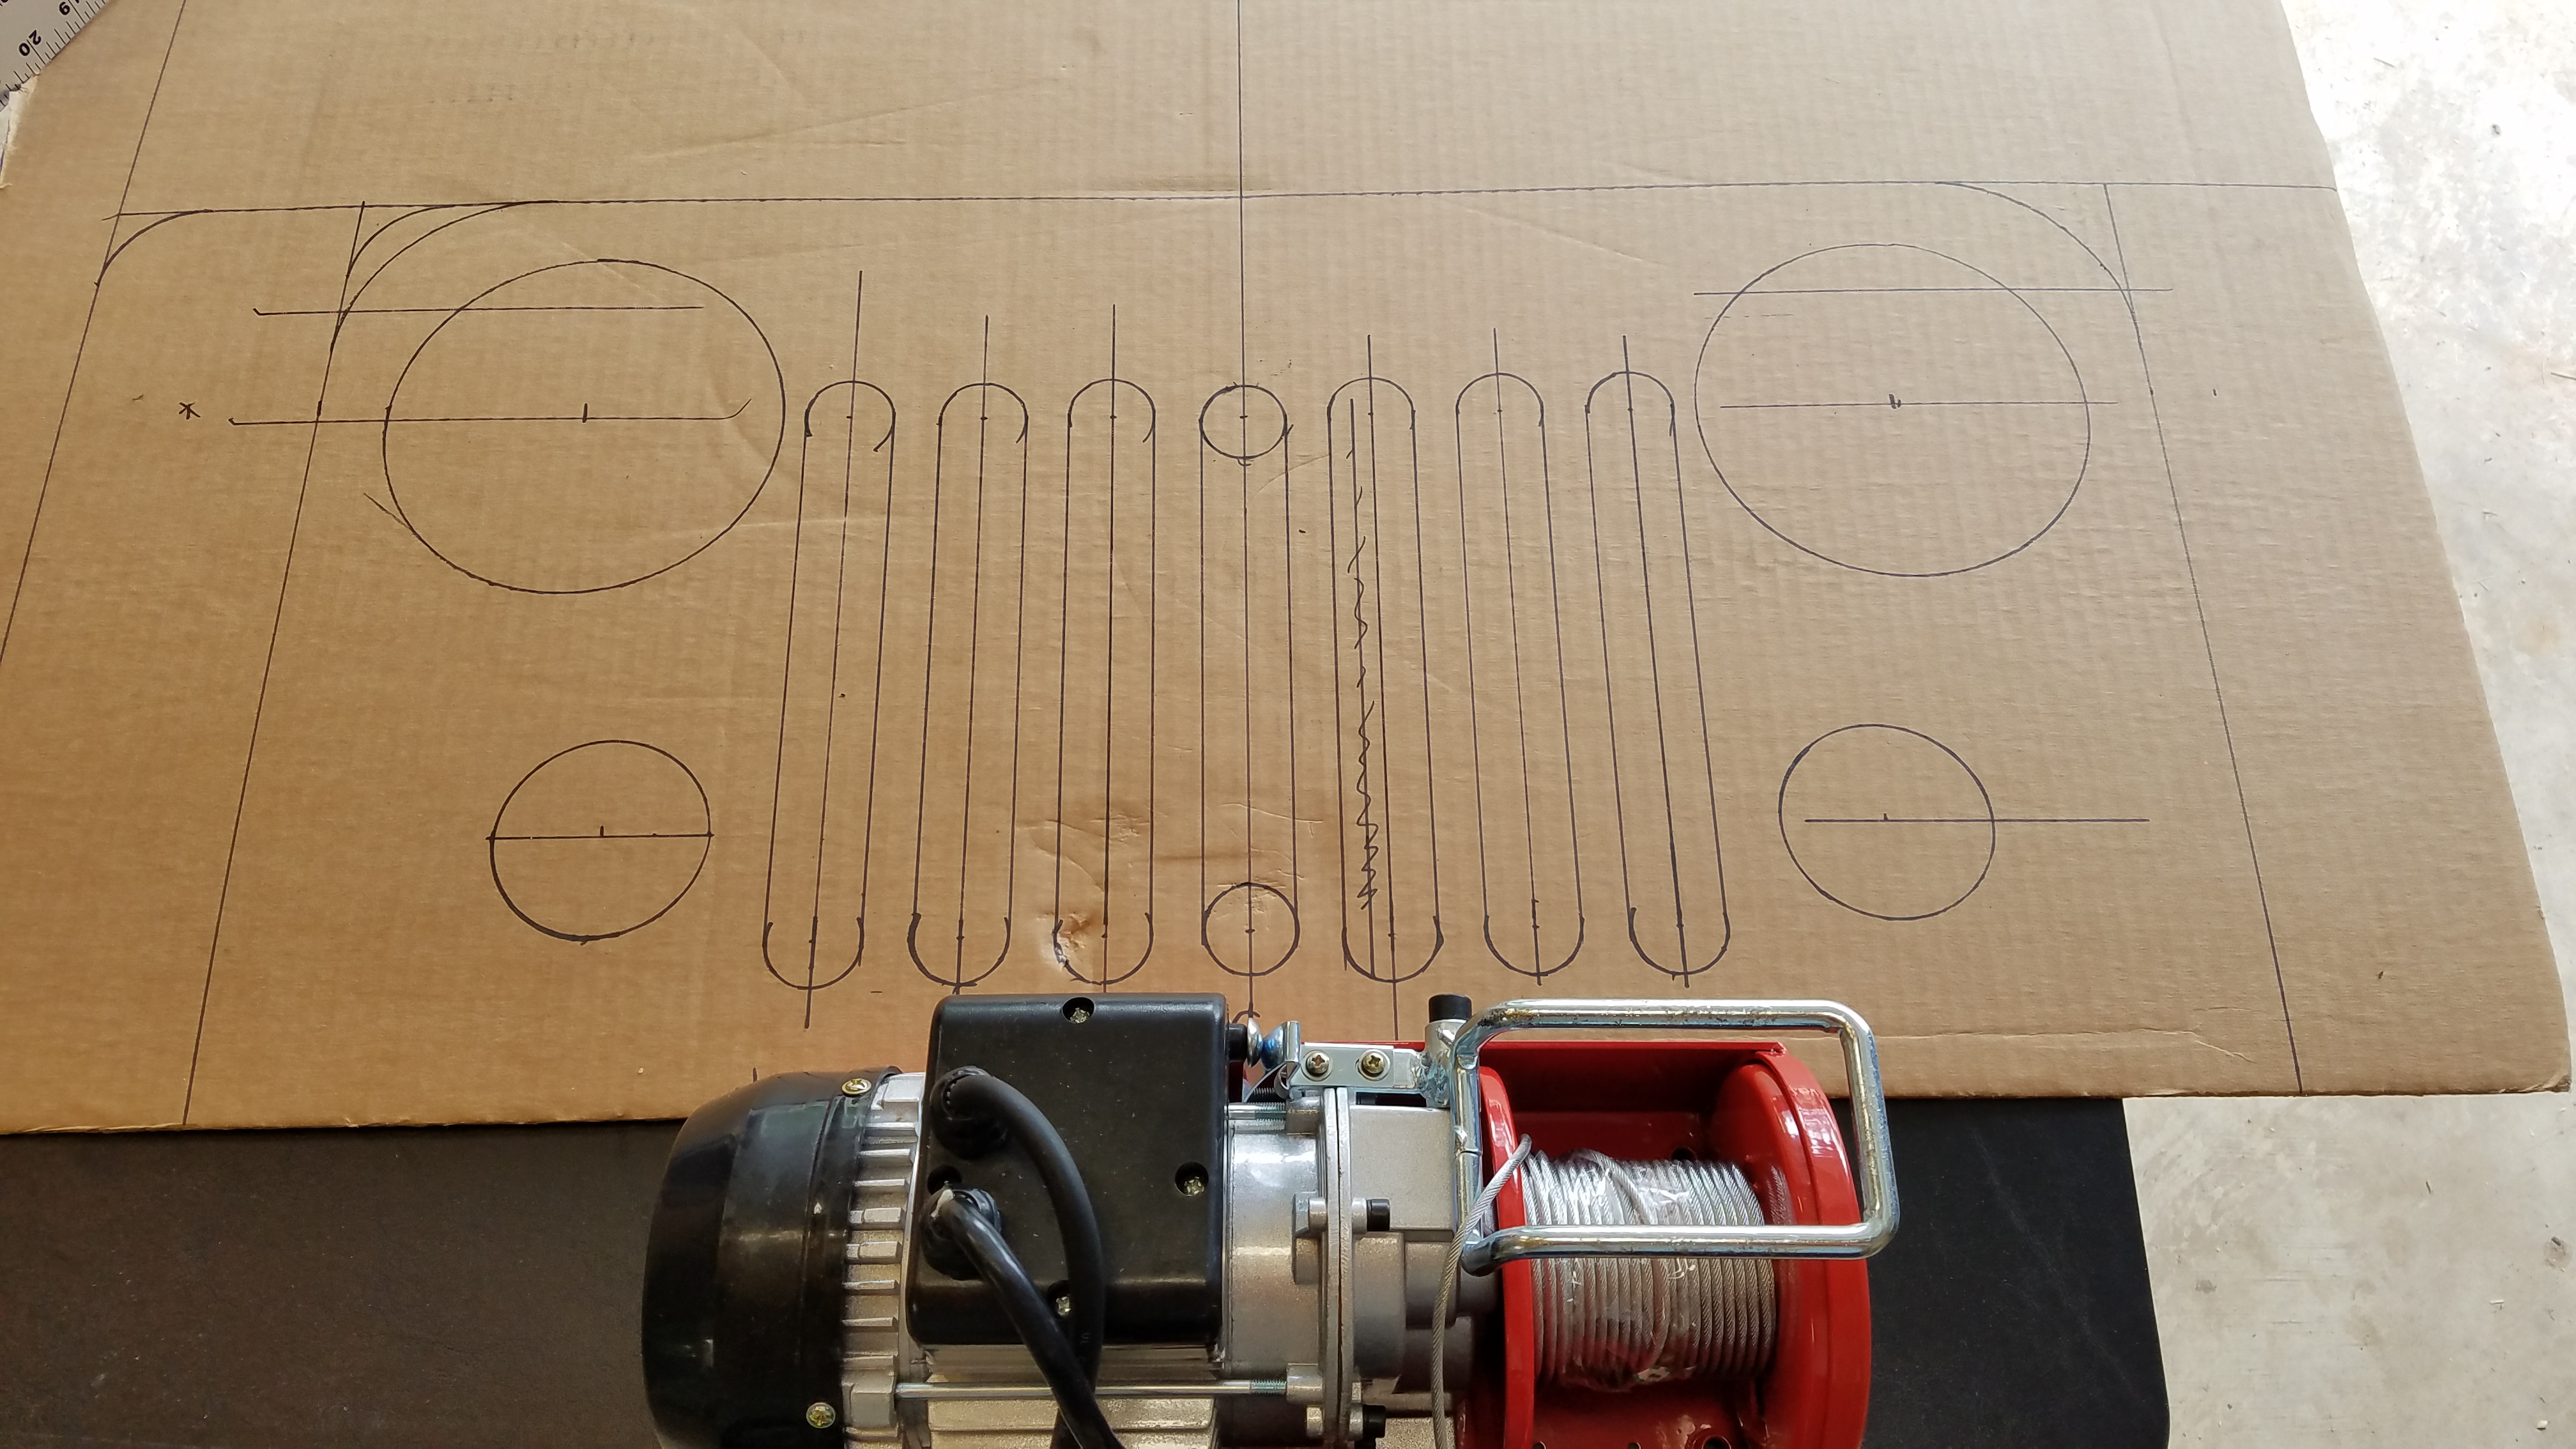
I bought an AC-powered hoist/winch from harbor freight when they were on sale, and I had a 20% coupon. Once I had that, I designed the “Jeep grill” on cardboard so I could work out the dimensions.
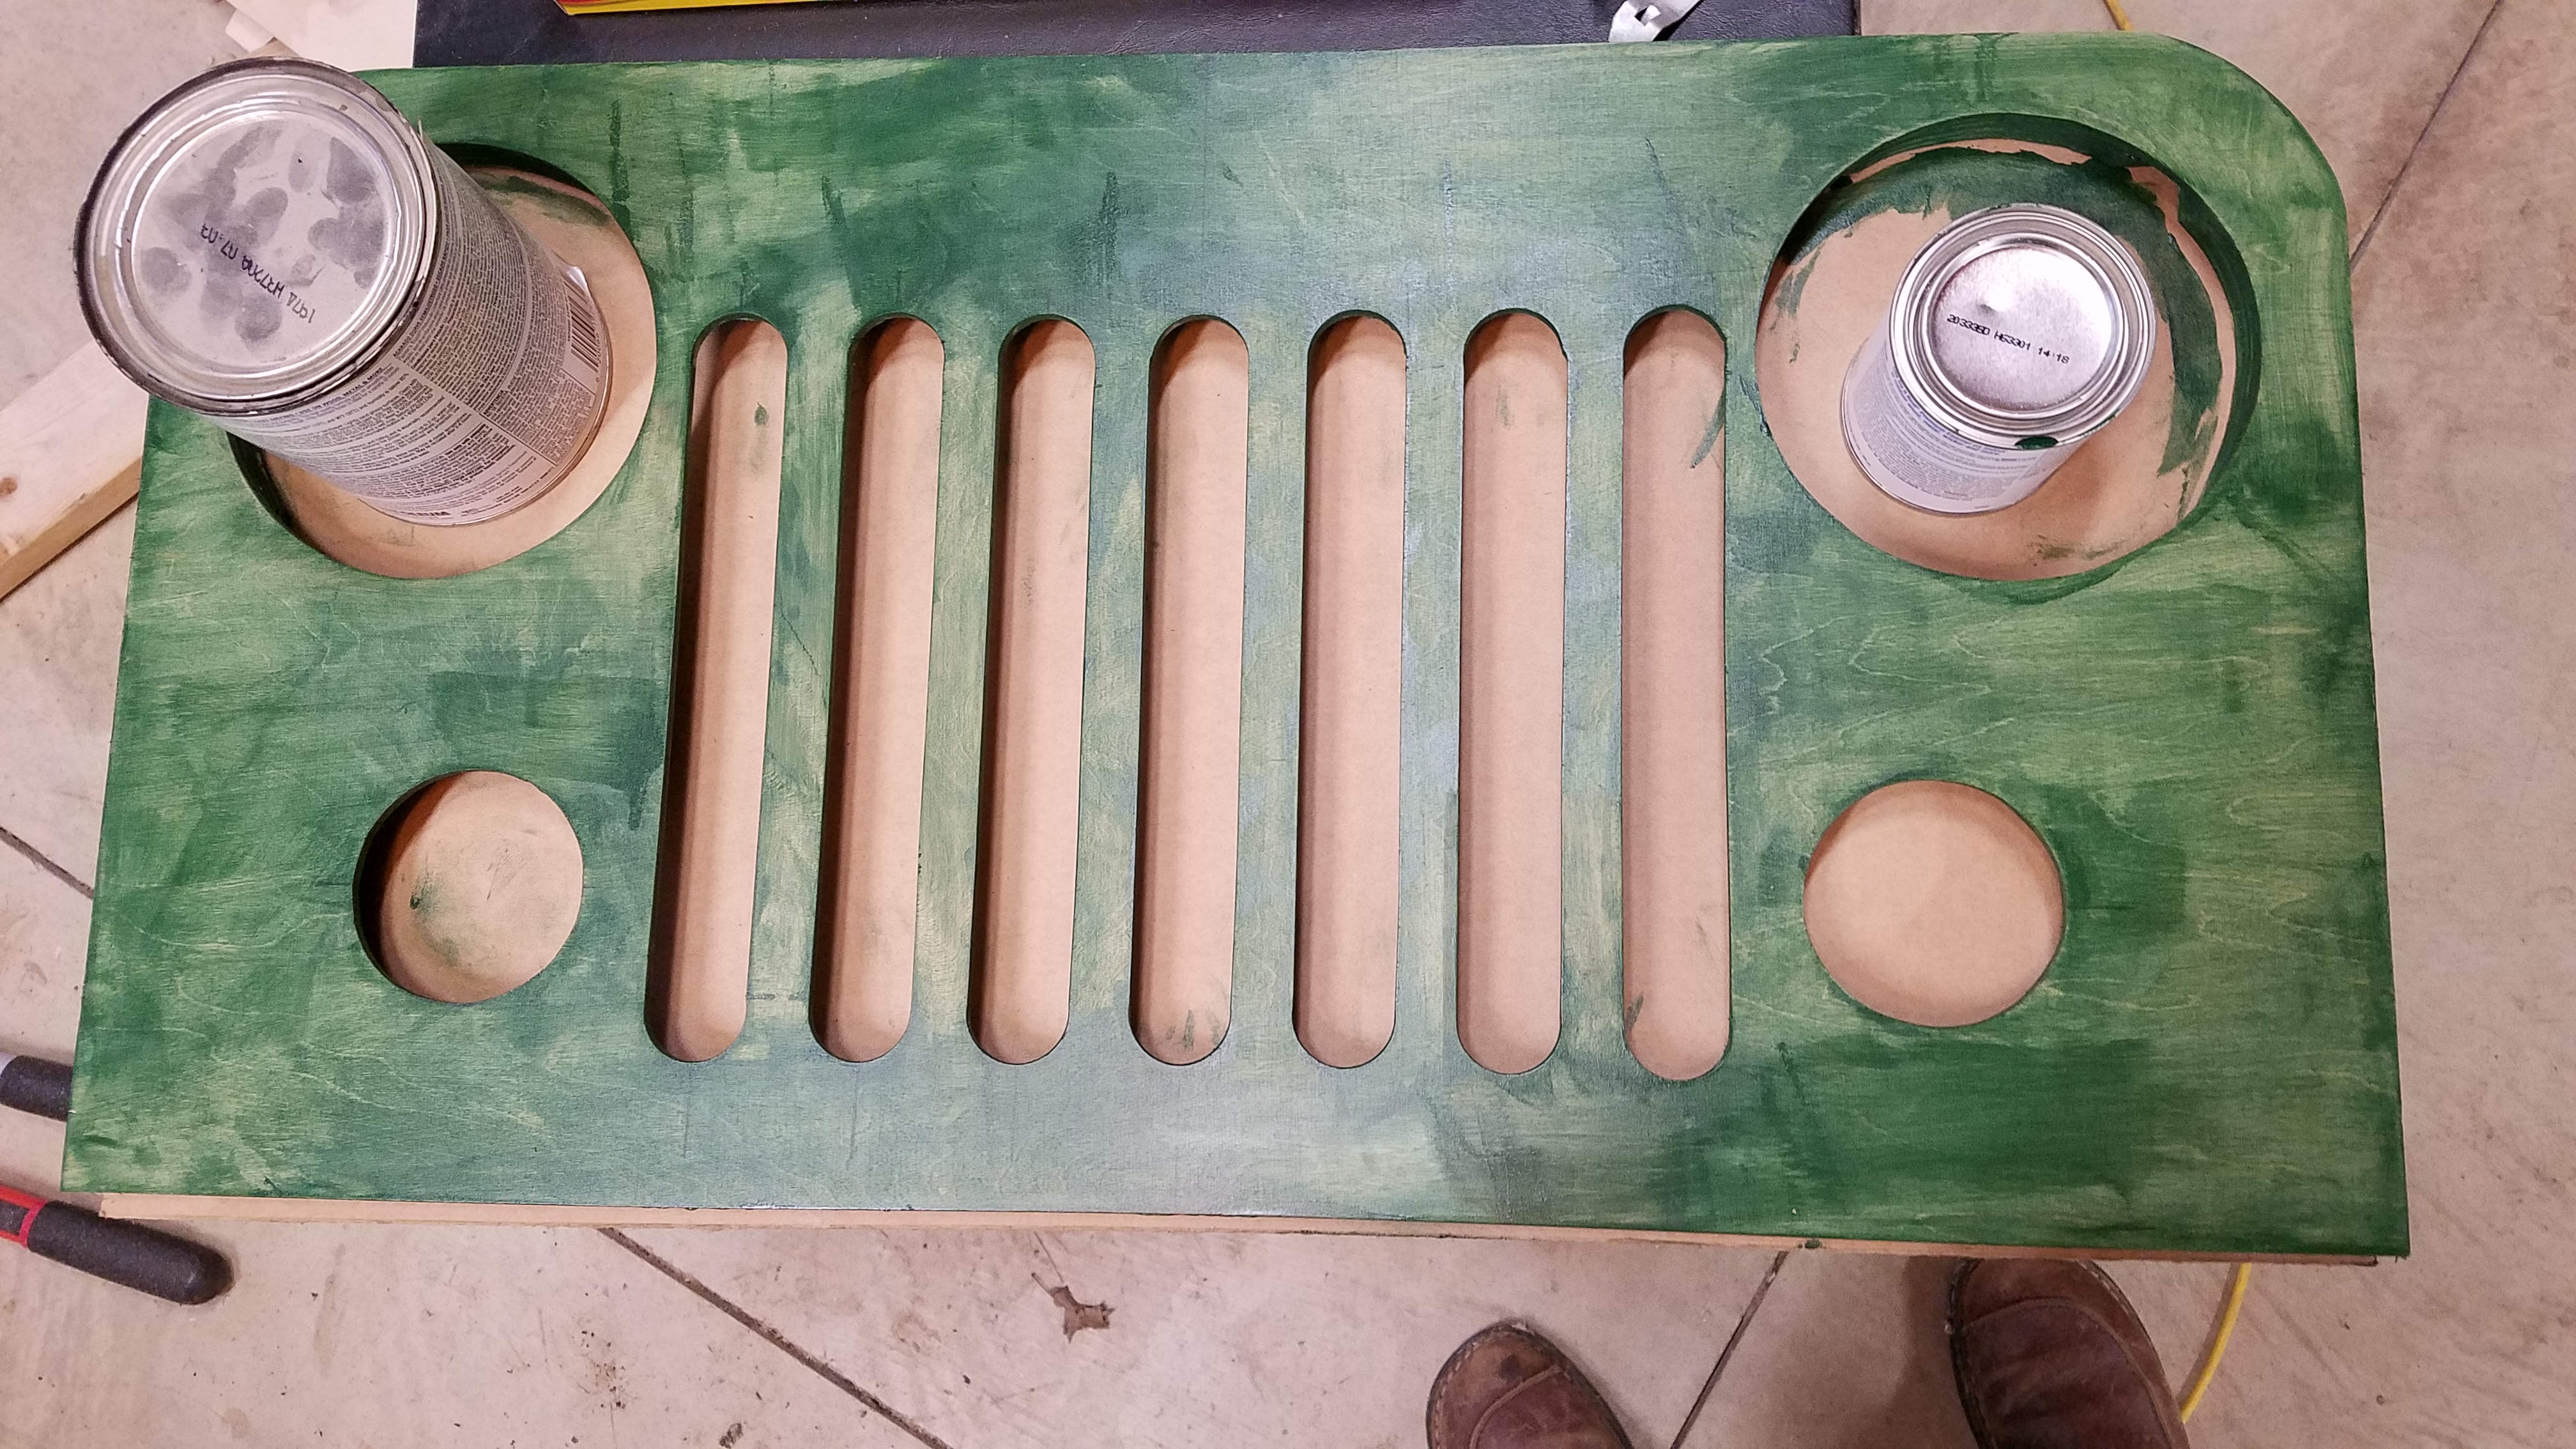
I transferred the pattern to plywood, cut it out, and painted it dark green (only one coat on it in this picture).
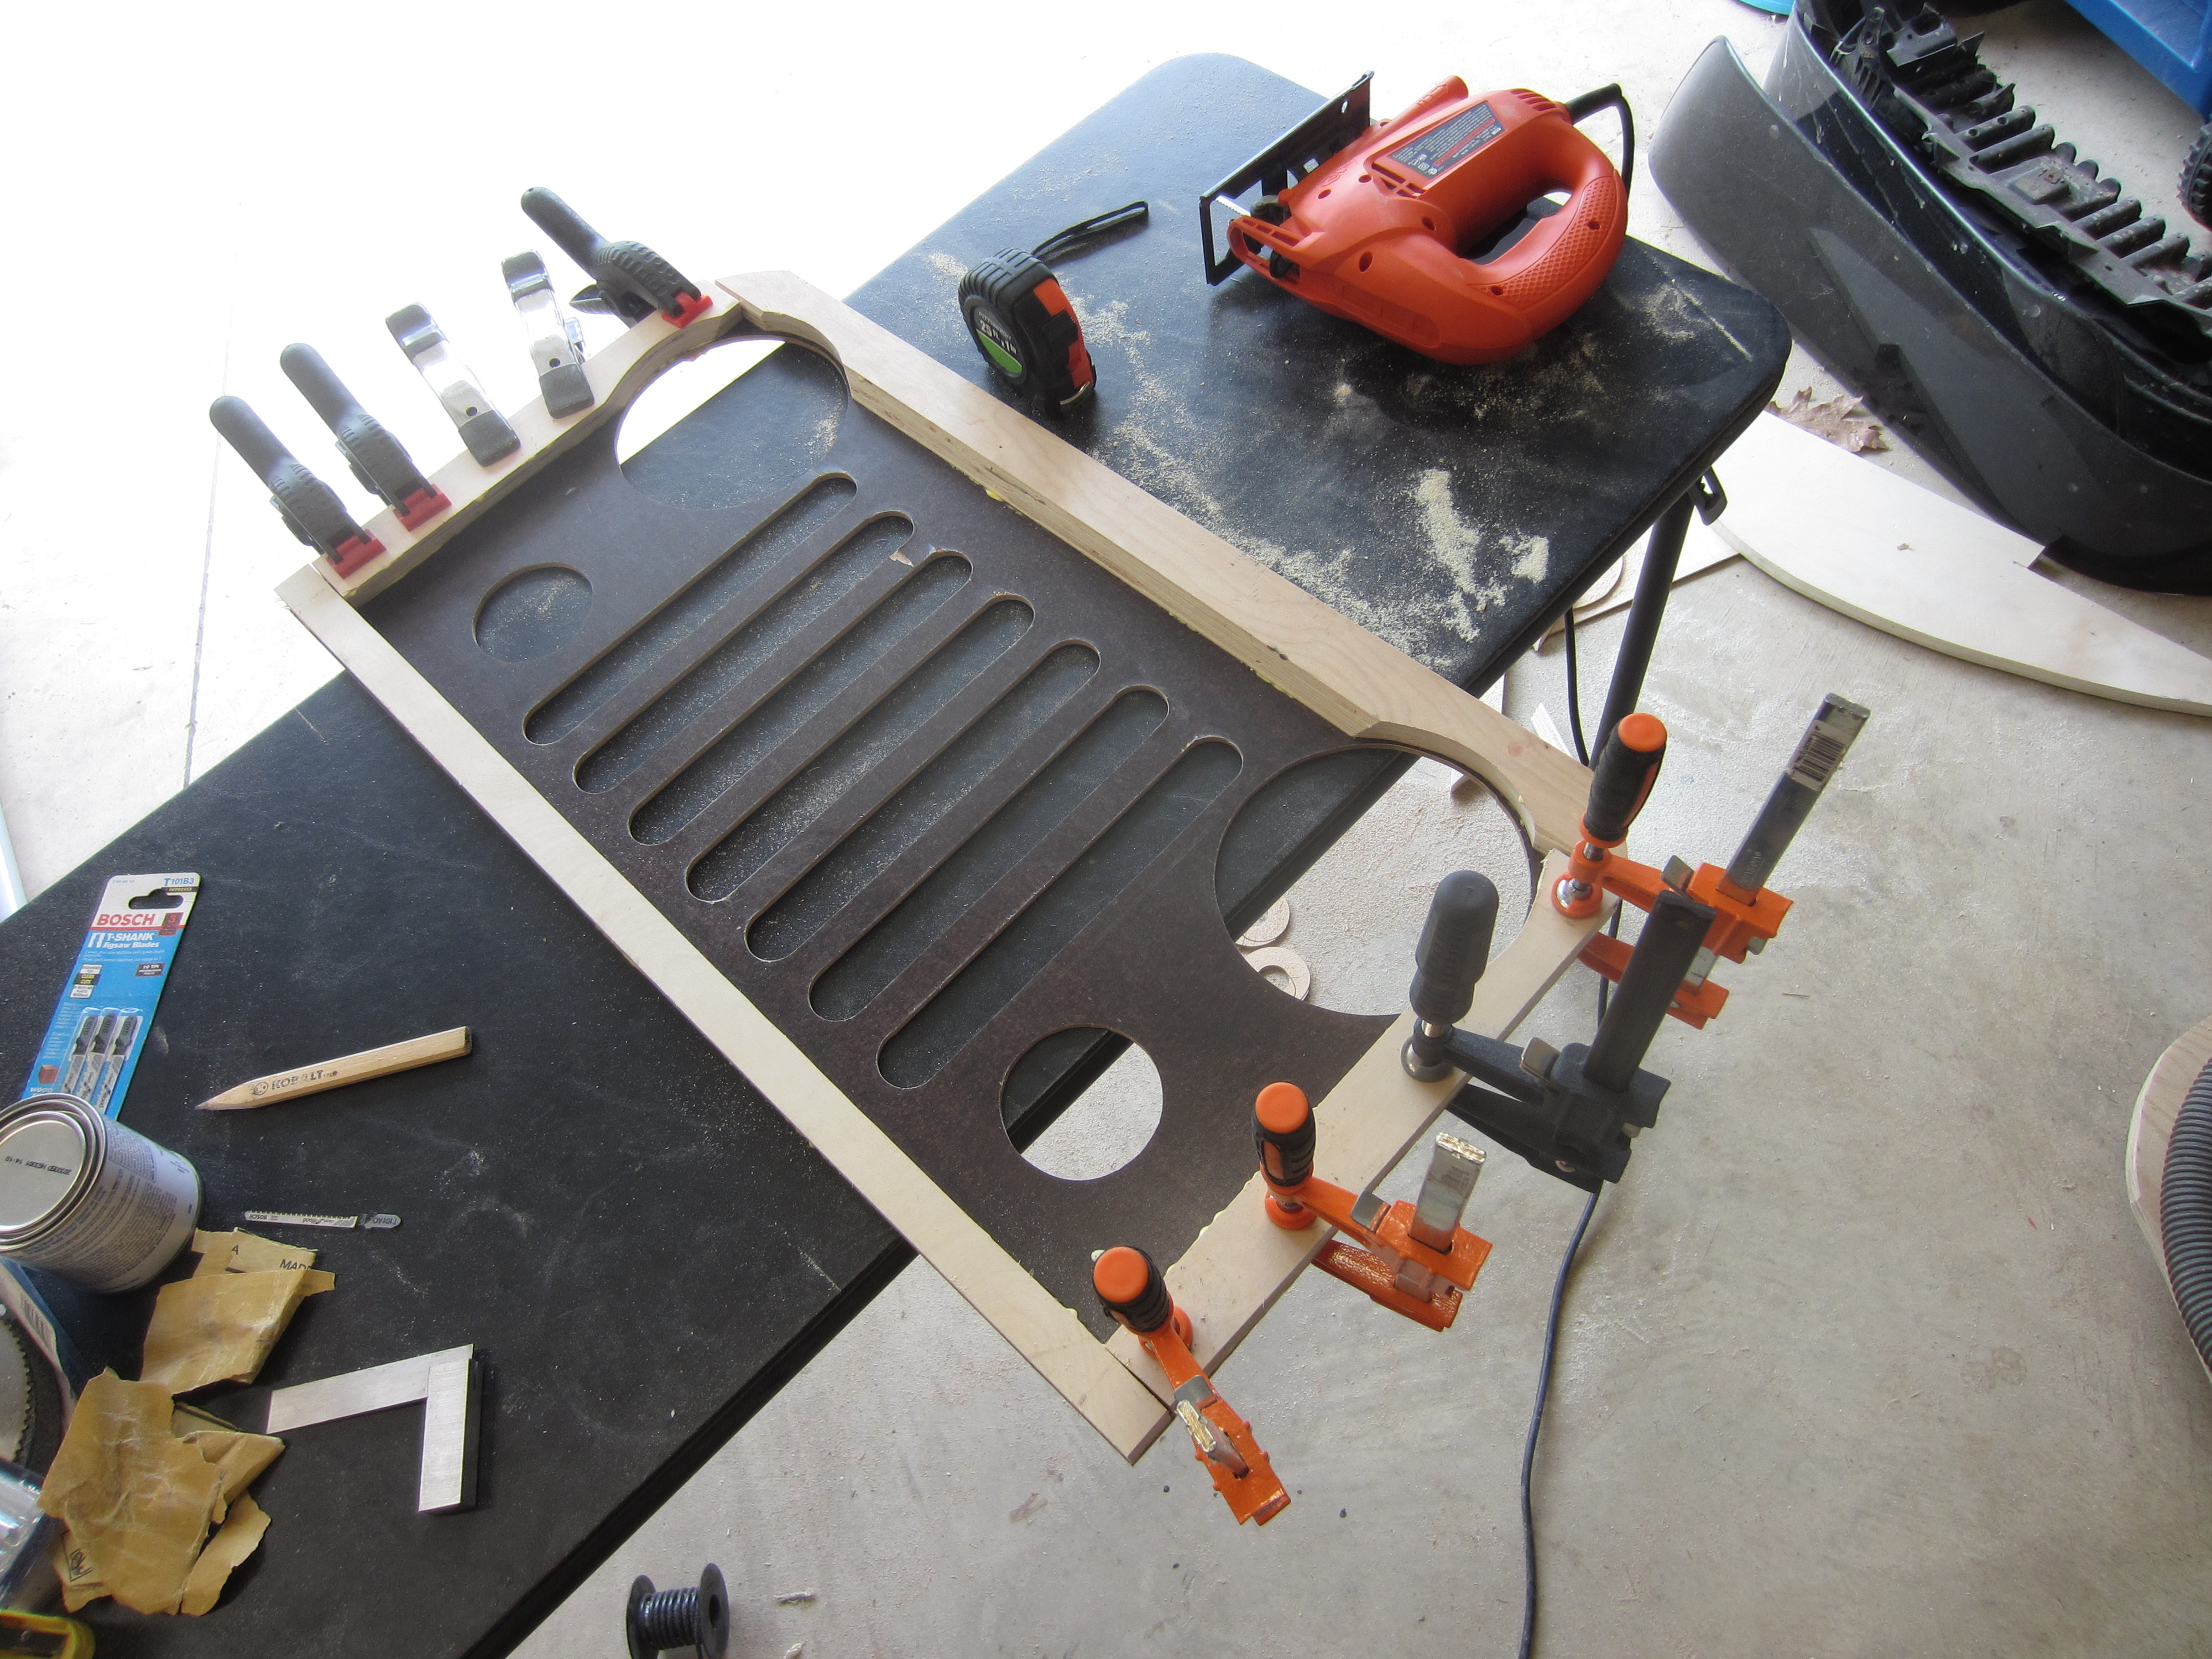
I added some material to the back so it would sit out away from the wall a bit.
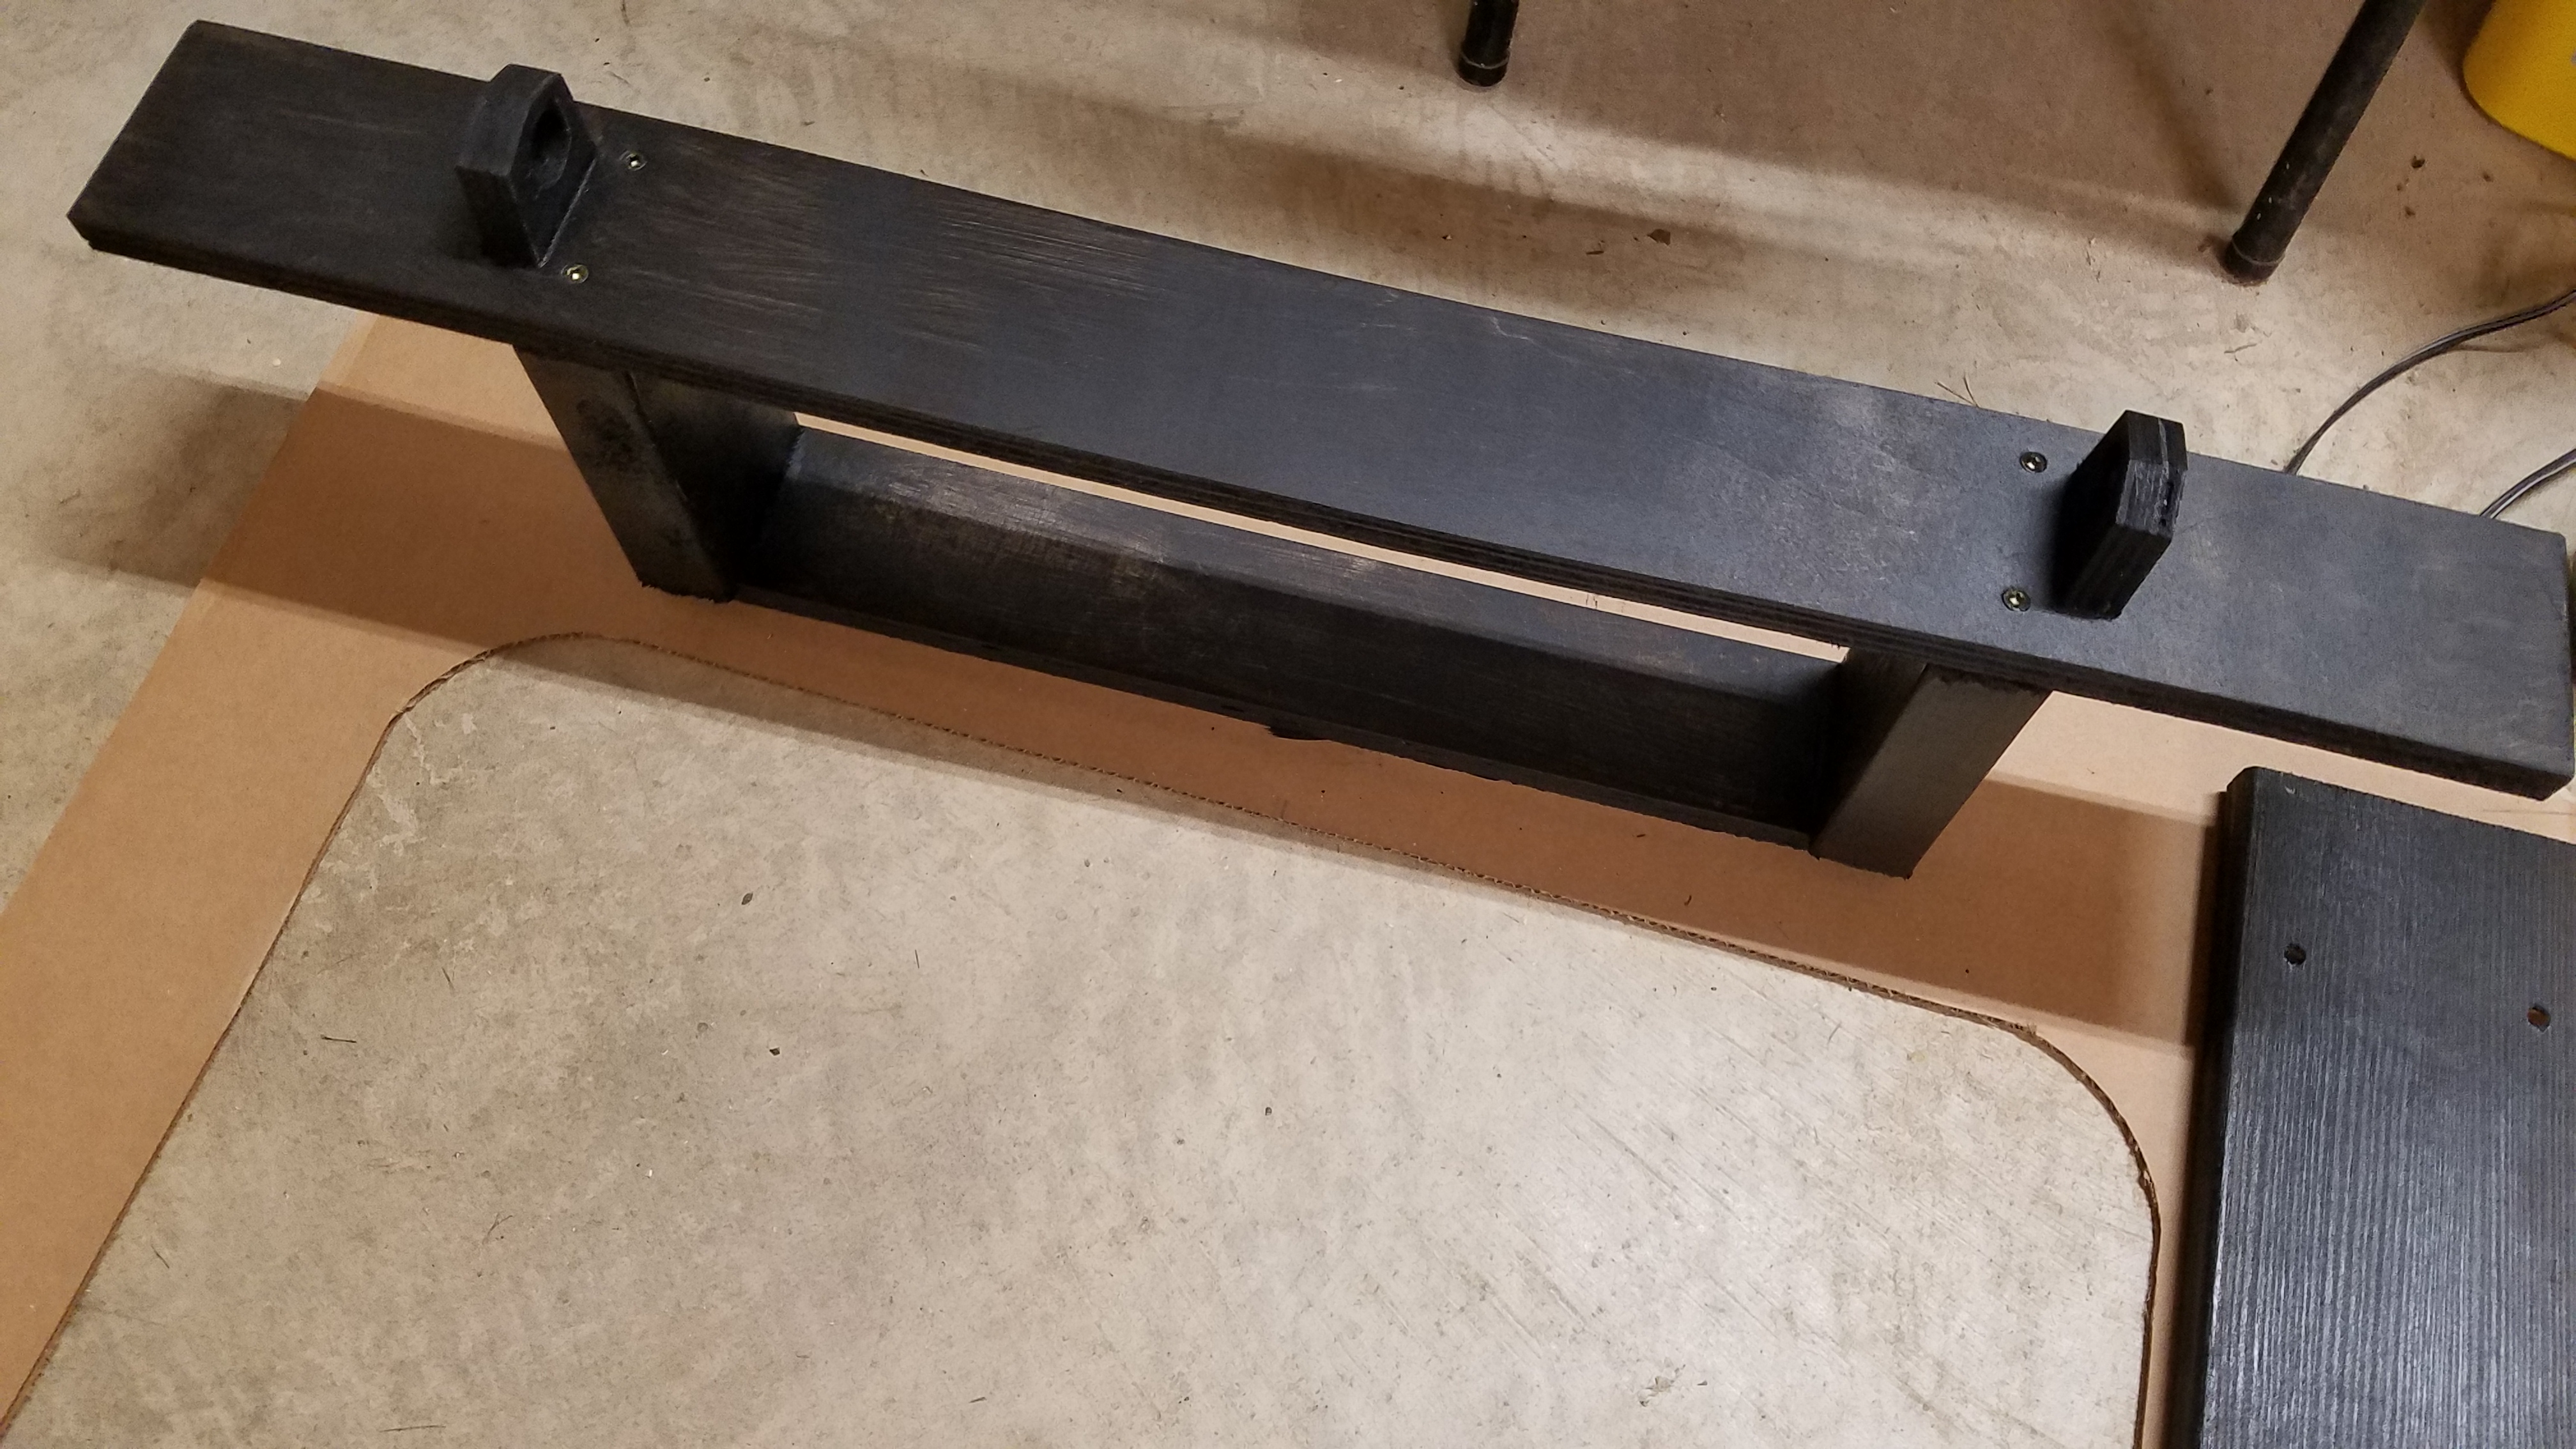
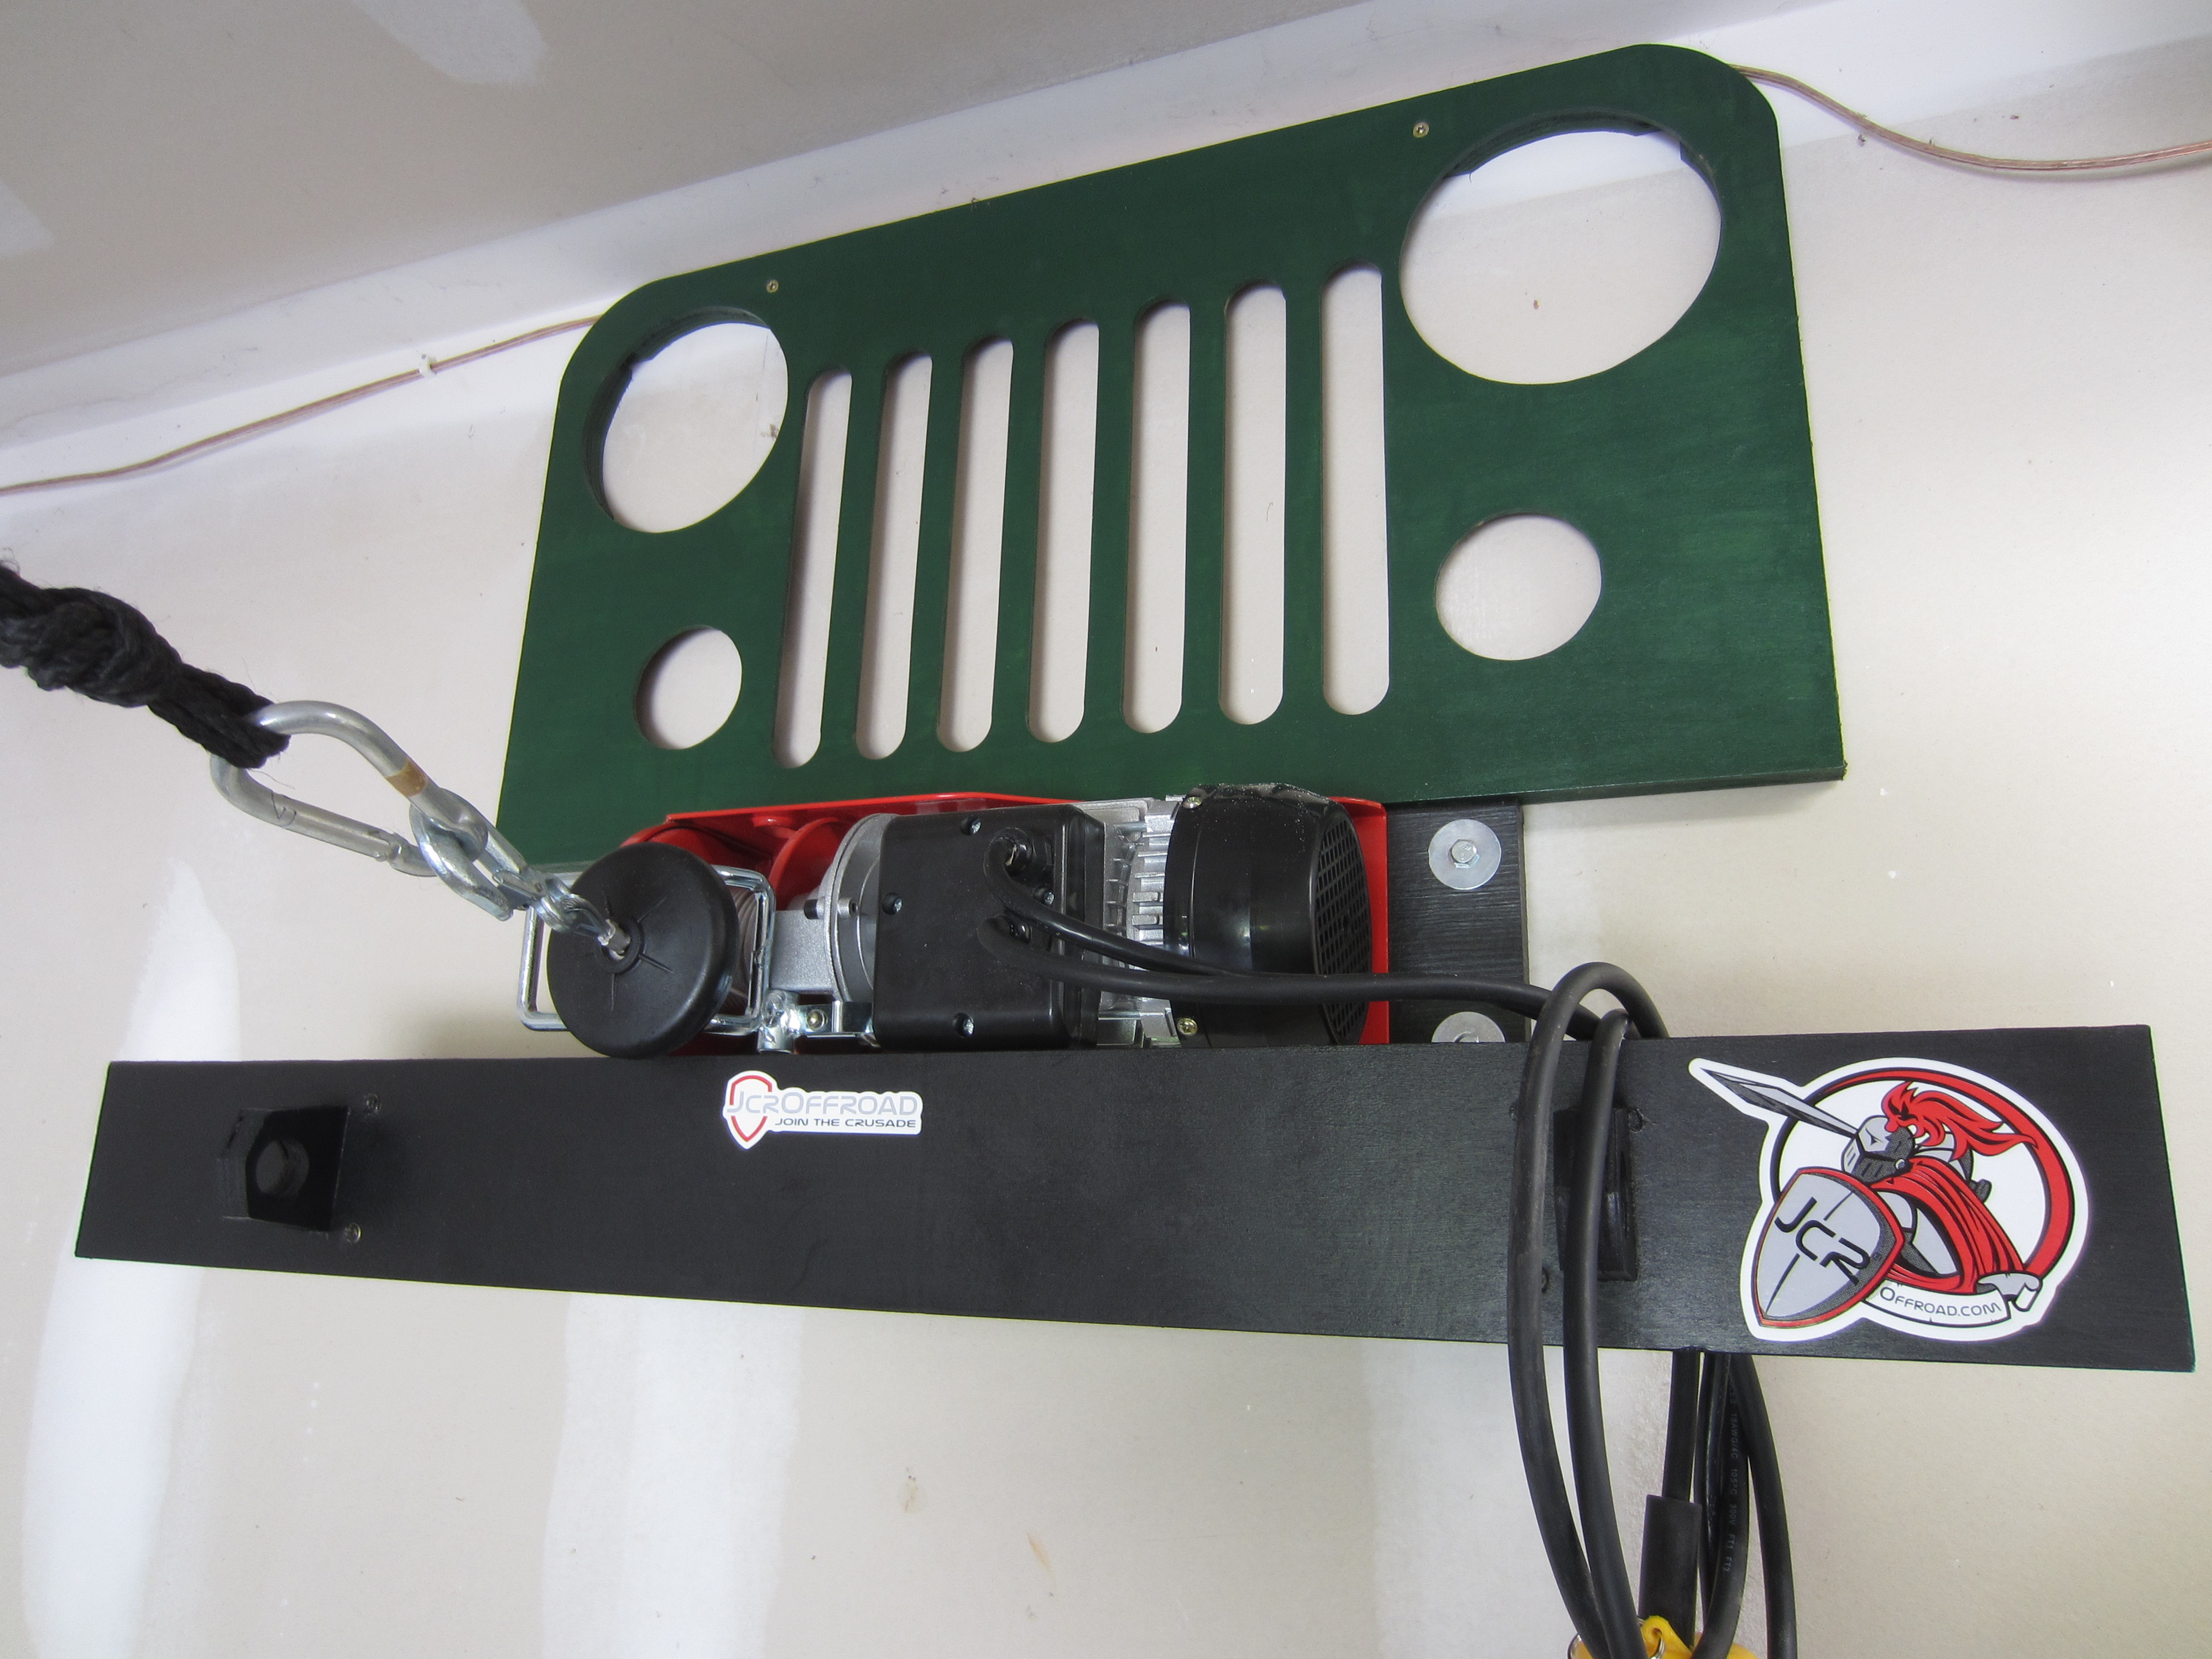
I built a very basic bumper that is more of a TJ/YJ style versus what I have on my 2011 JK. It even includes simulated D-ring shackle mounts/recovery points.
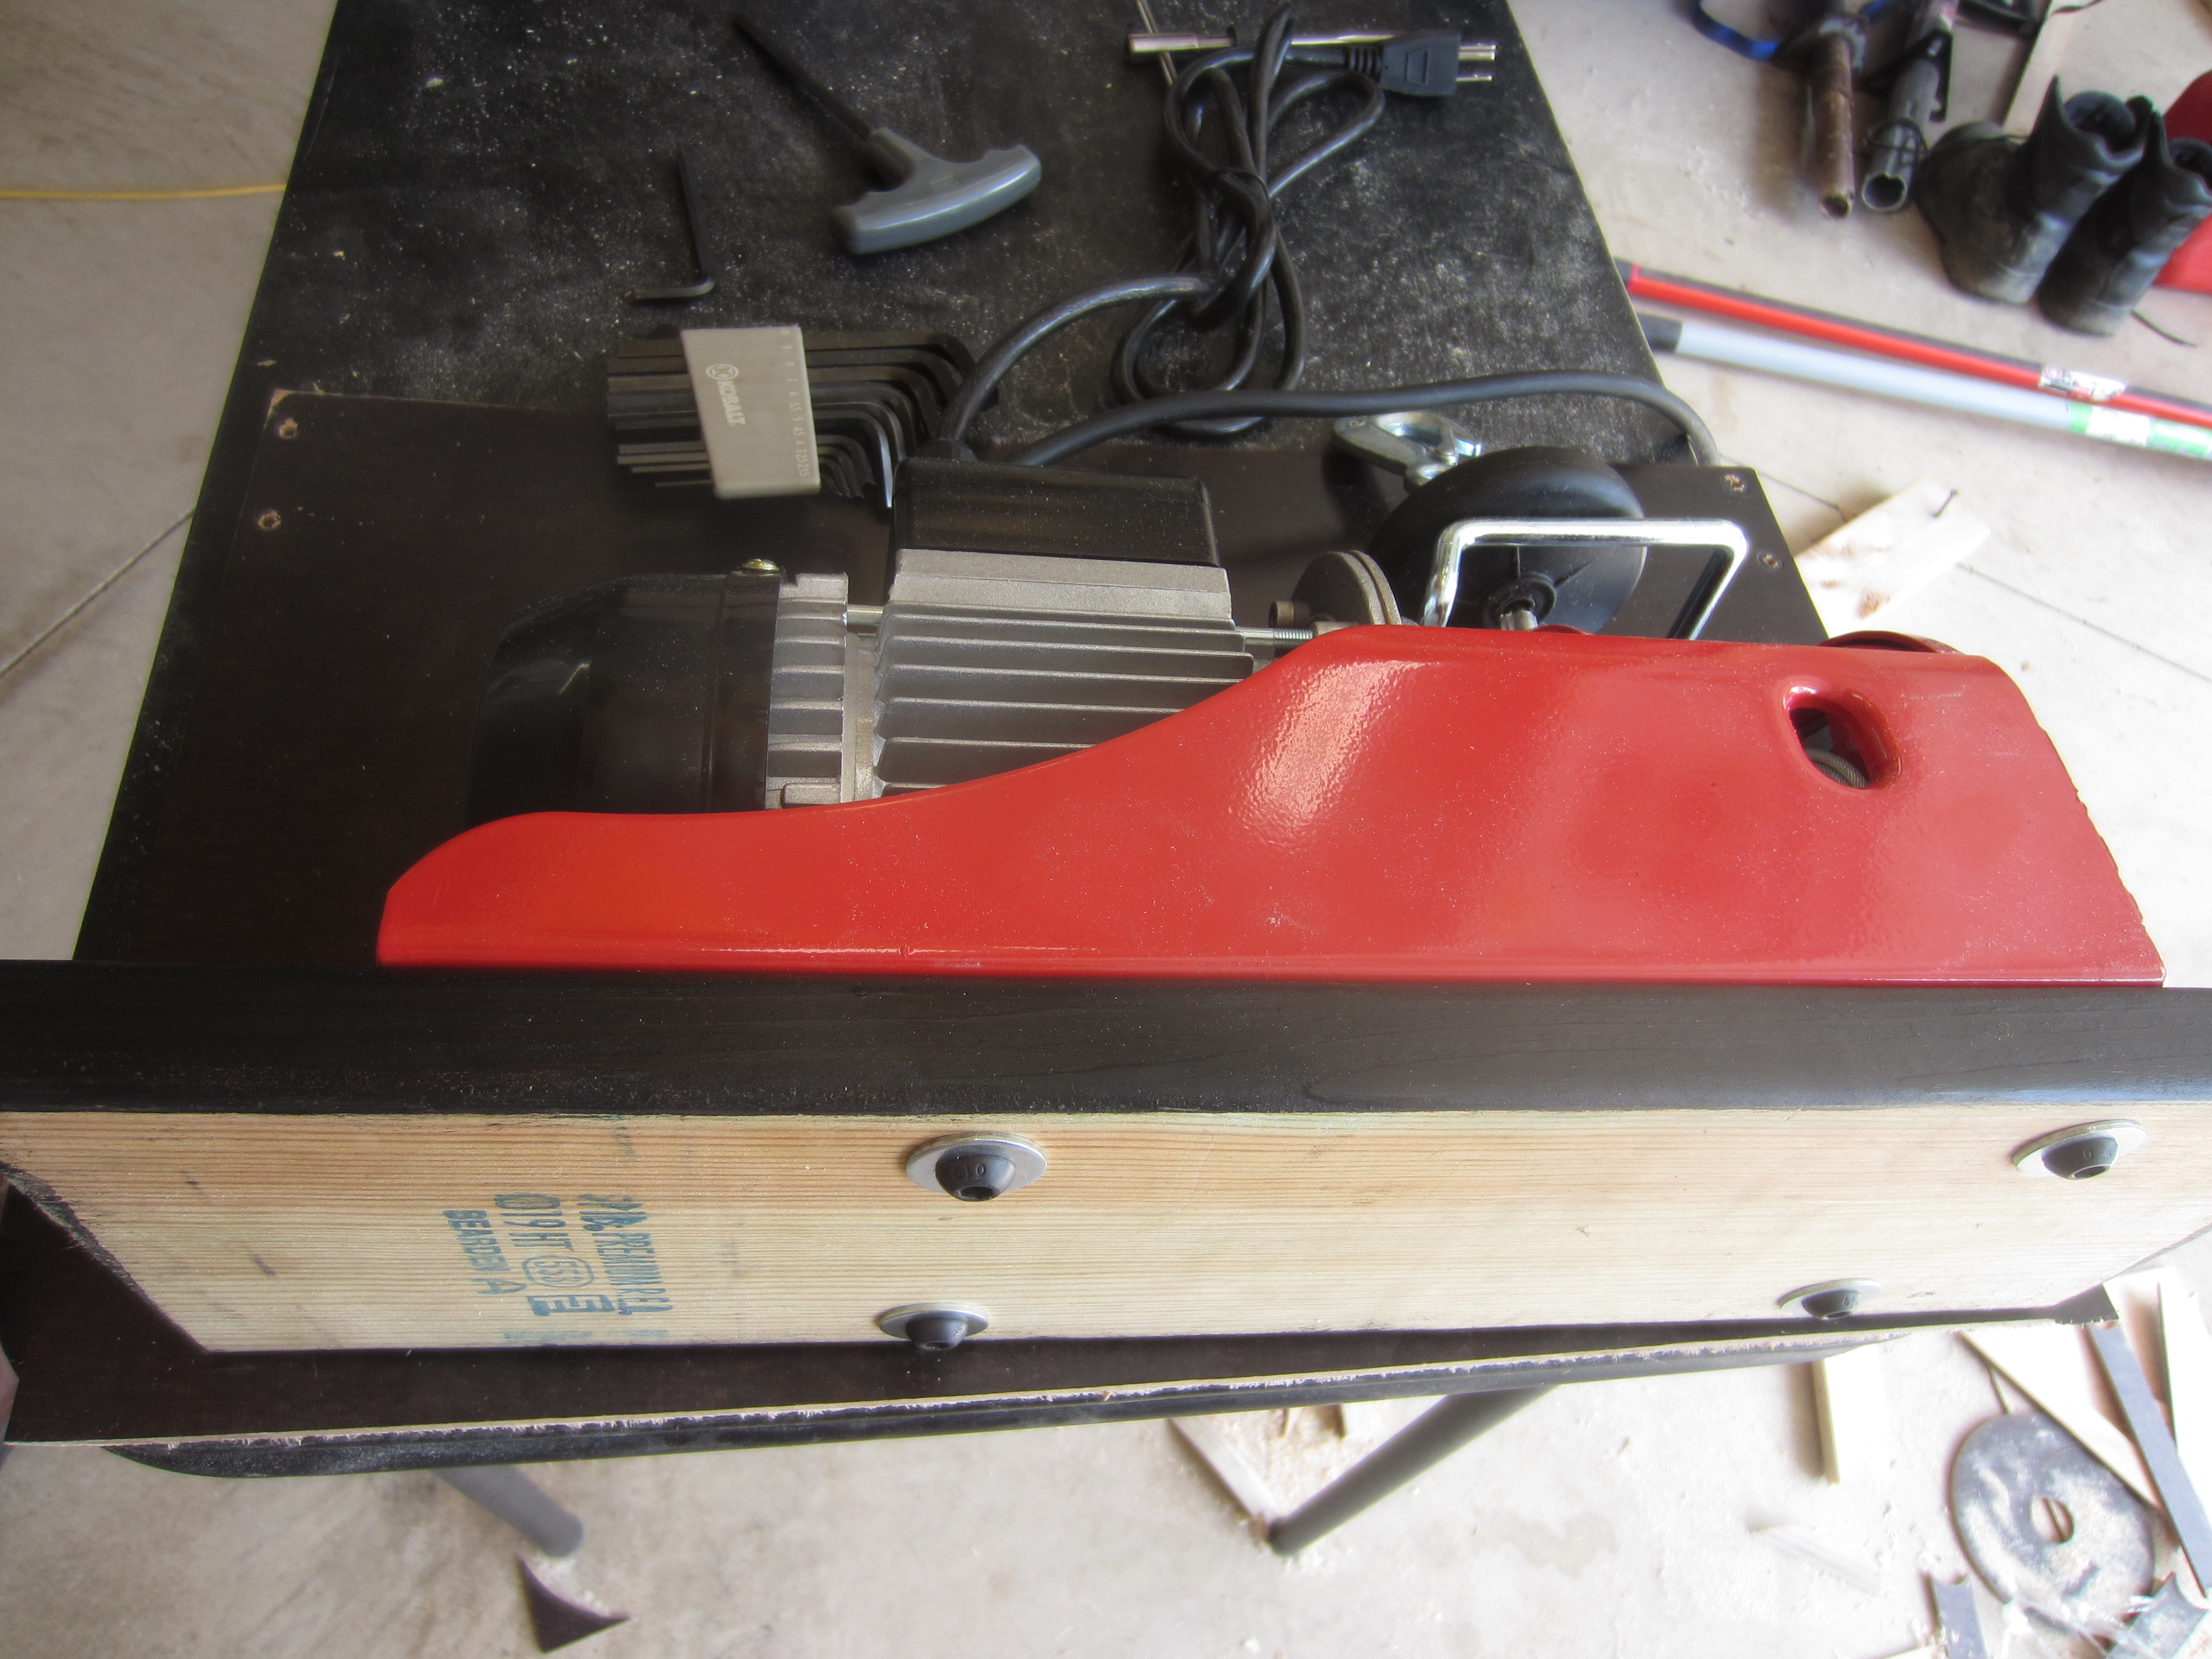
I attached the electric winch to a piece of solid scrap wood. The winch was not wide enough to span two wall studs and I was not willing to risk hanging it on only one stud or on drywall anchors.
After that it was time for installation on the wall. I hung the winch first so it could be lag-bolted into two adjacent studs. The winch placement then set the centerline for the rest of the parts which were pretty light and were purely decorative. I attached the bumper and grill to the wall, and added a spare JCR Offroad sticker to the fake bumper.
Going down:
And back up:
The winch line has an adjustable rubber stopper that hits a limit switch near the fairlead rollers. That kills the motor so you cannot over-spool the line and damage the winch or whatever it’s pulling. That is a very handy safety feature. Now I can raise or lower the kayaks in a fraction of the time it took before, and I’m not longer tired and sweaty after raising them back up to the ceiling. This project was a huge win for me.
