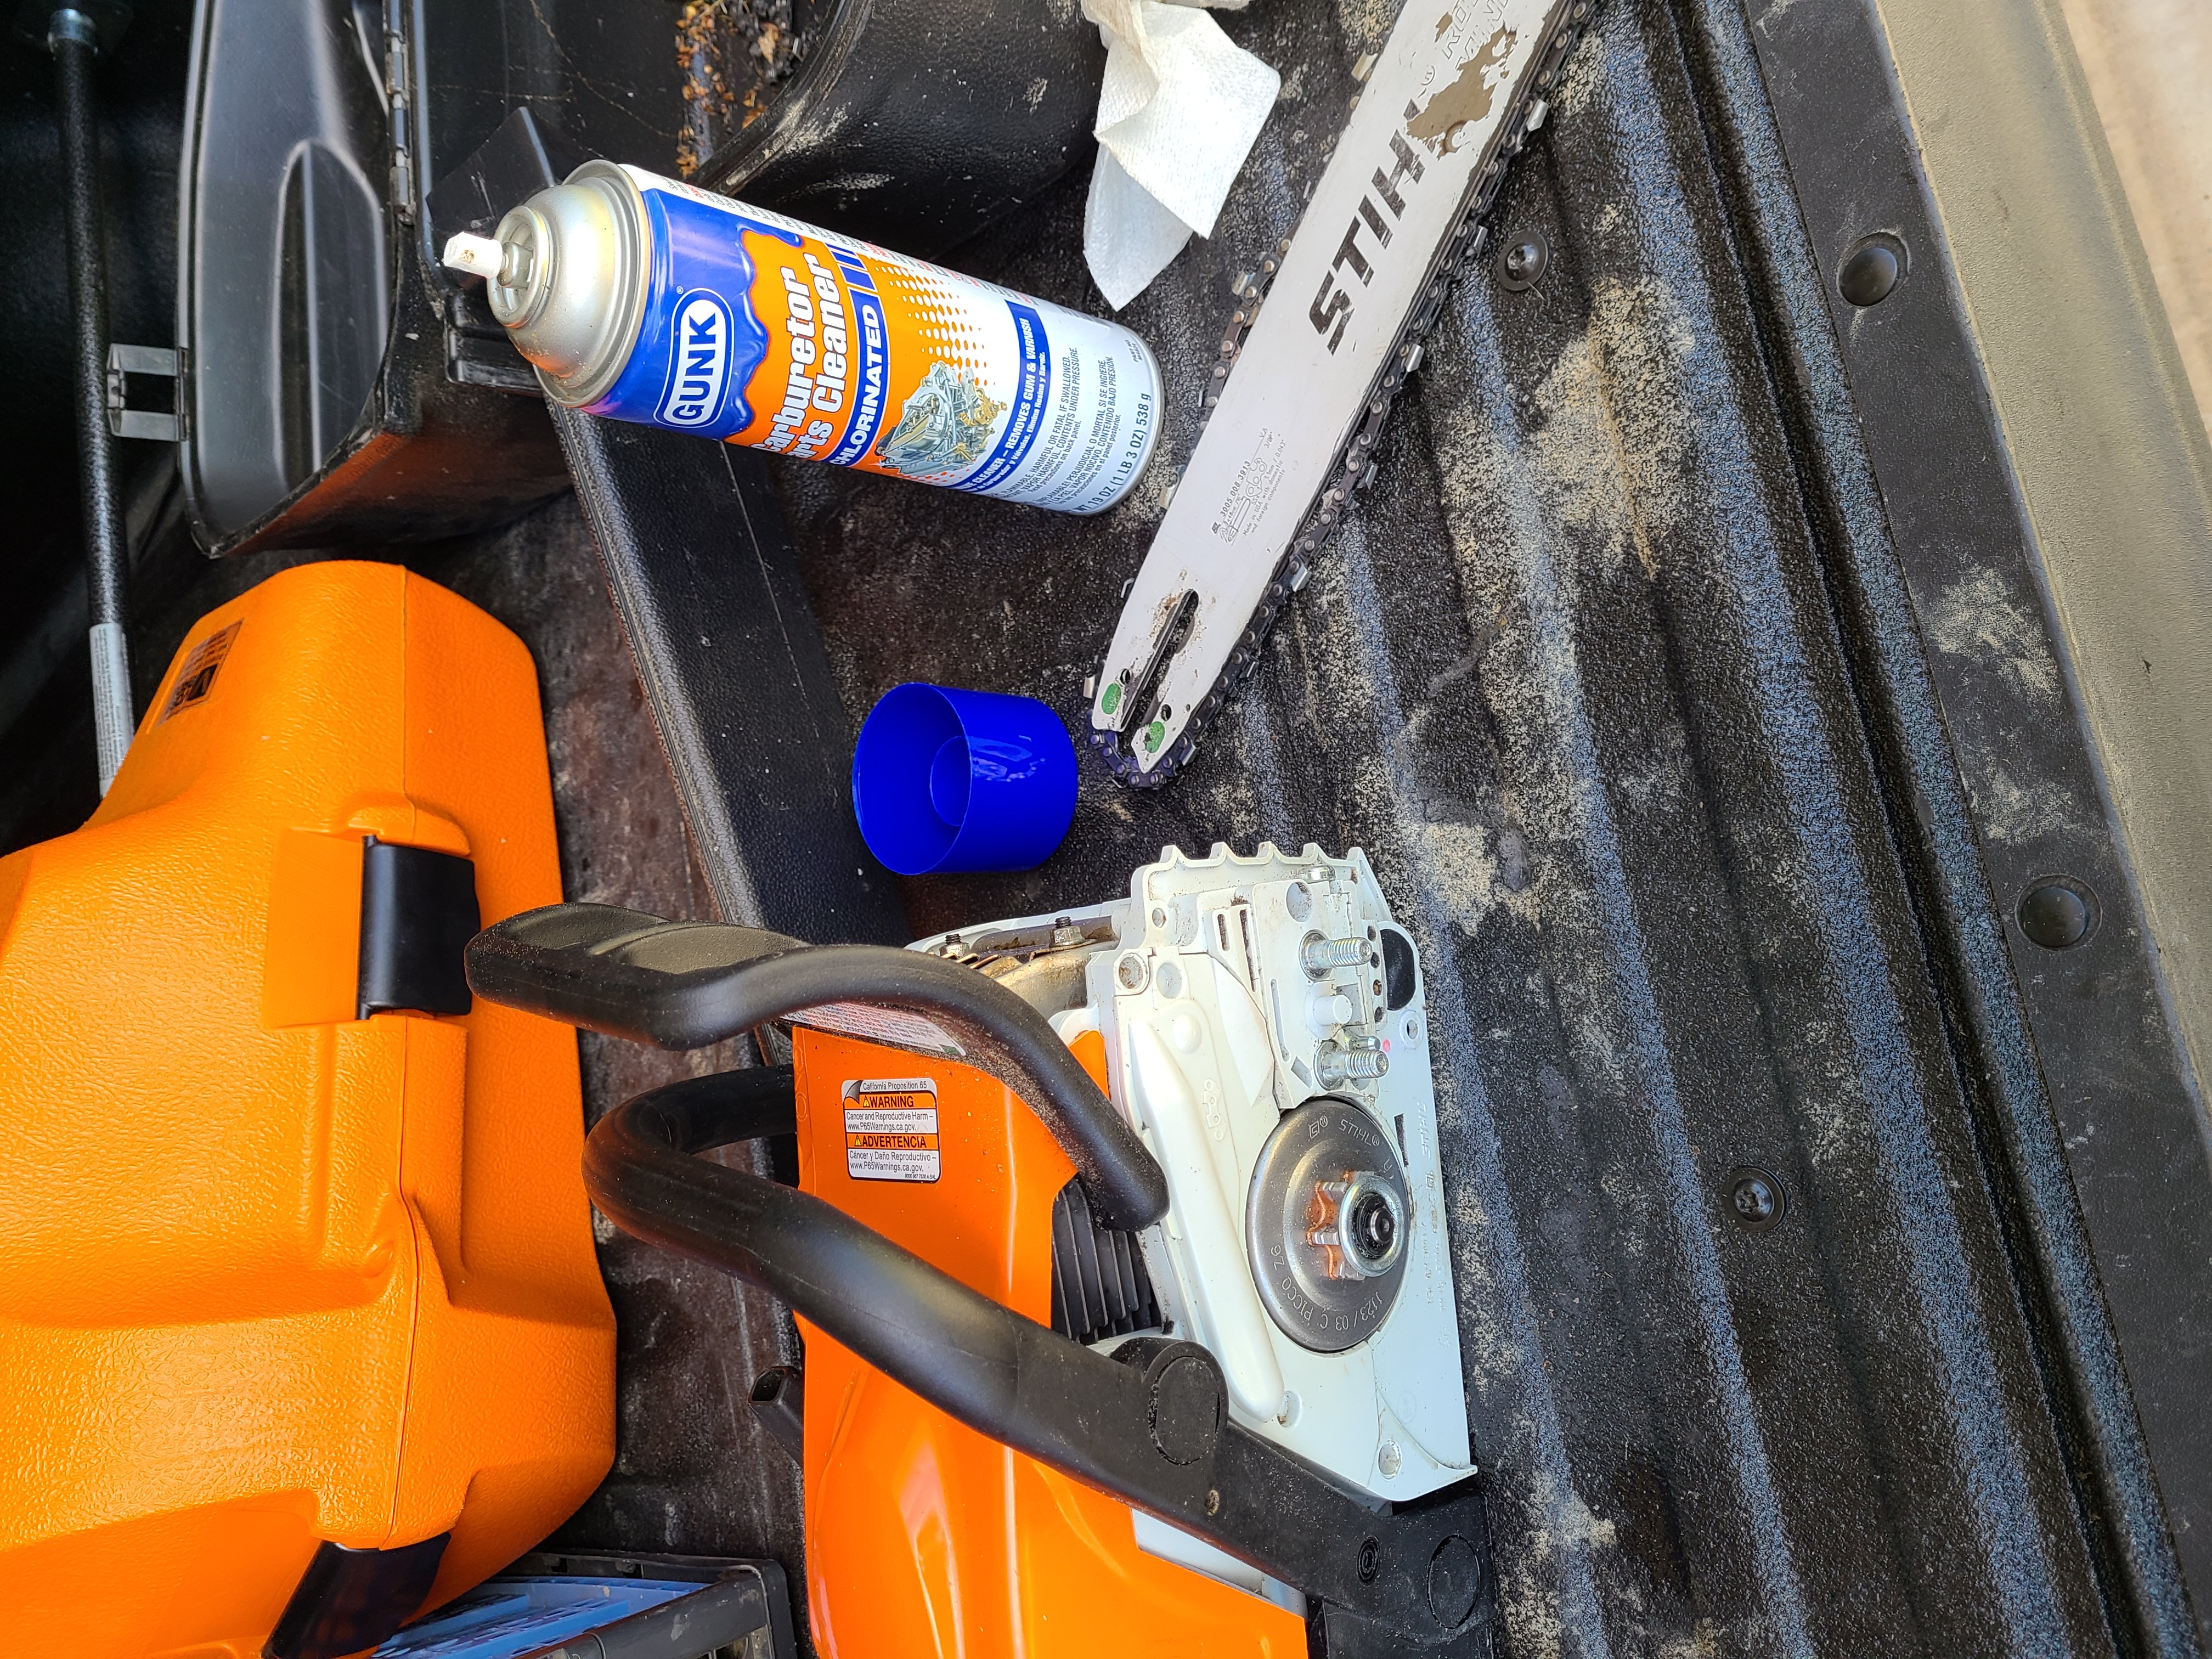
Today I added a few upgrades to my trusty Stihl MS170 chainsaw. I love this little saw. It is very reliable and is the perfect size for basic trimming and breaking down small trees or fallen branches. Earlier this year, I added a bigger Stihl MS211 to the arsenal, and I really like that saw too. It has a couple features that the 170 doesn’t, so I decided to add them. The first order of business was to clean up the saw. I try to knock the gunk out of the guide bar area every once in a while, but this saw has seen a lot of action lately, and it was pretty dirty. I’m not sure what cleaner is best for this job, but I used a little carb cleaner and a cheapo chip brush to clean out all of the little nooks and crannies. I’m not sure it’s been this clean since it was new.
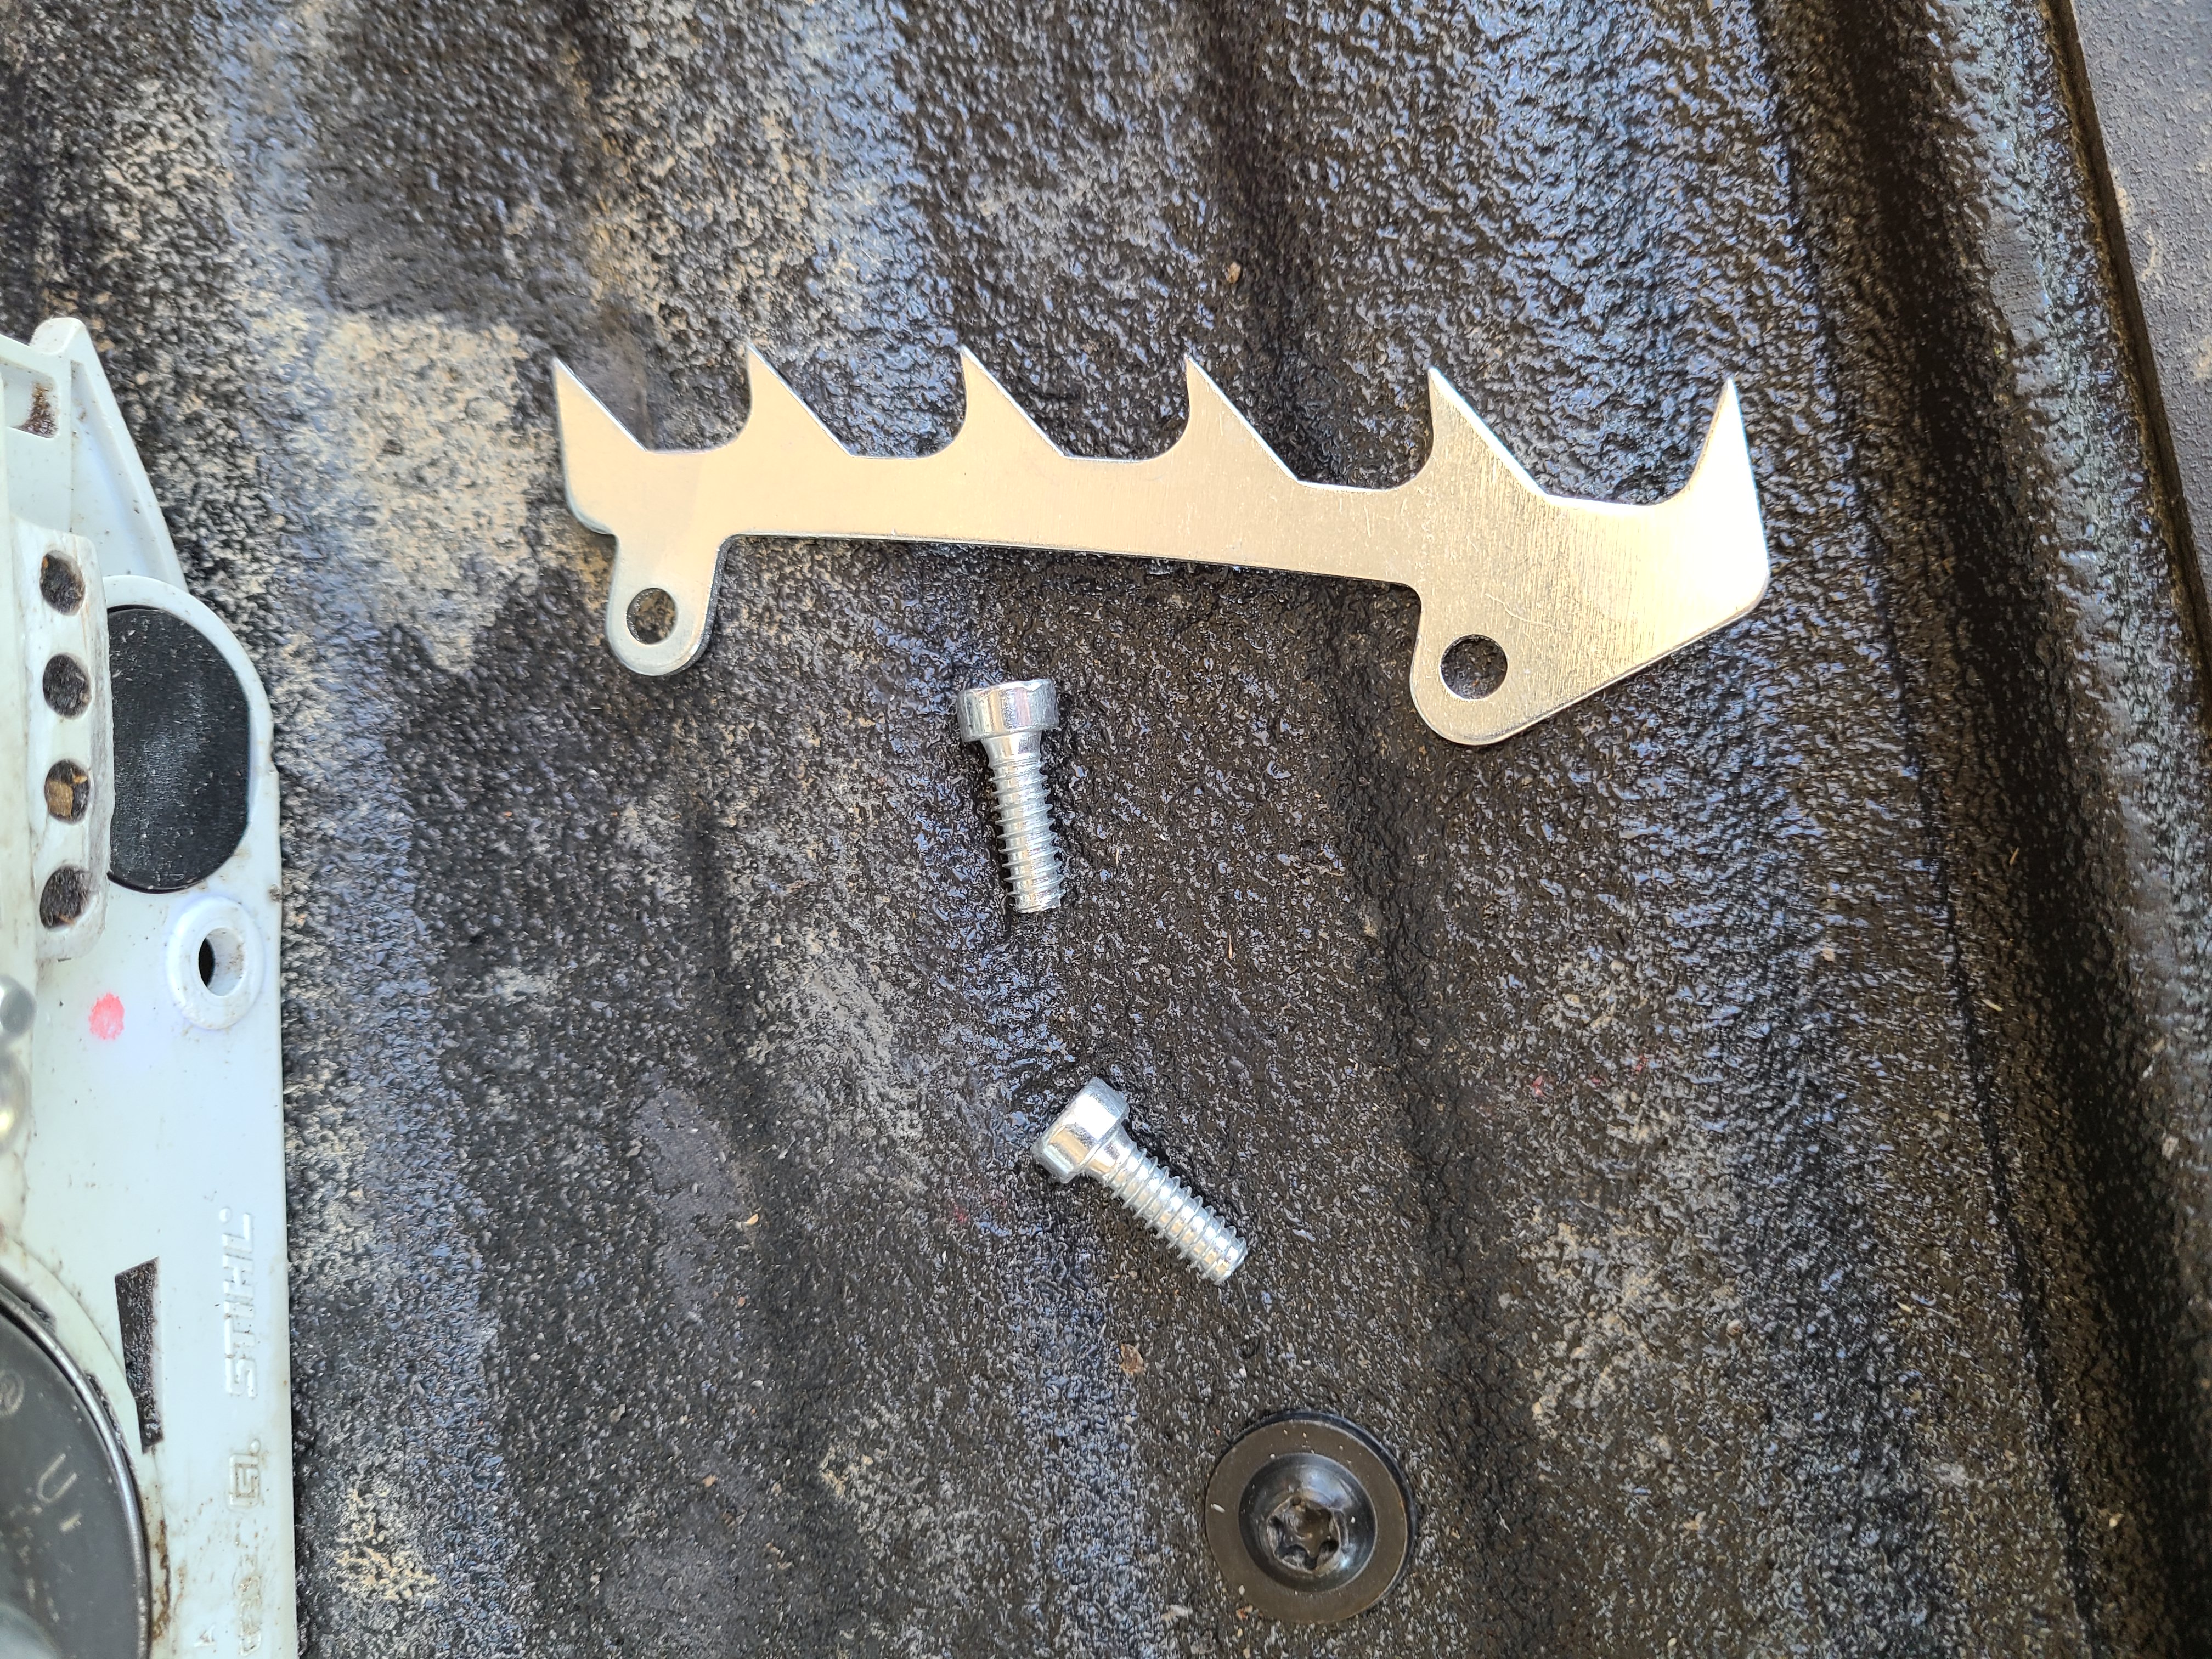
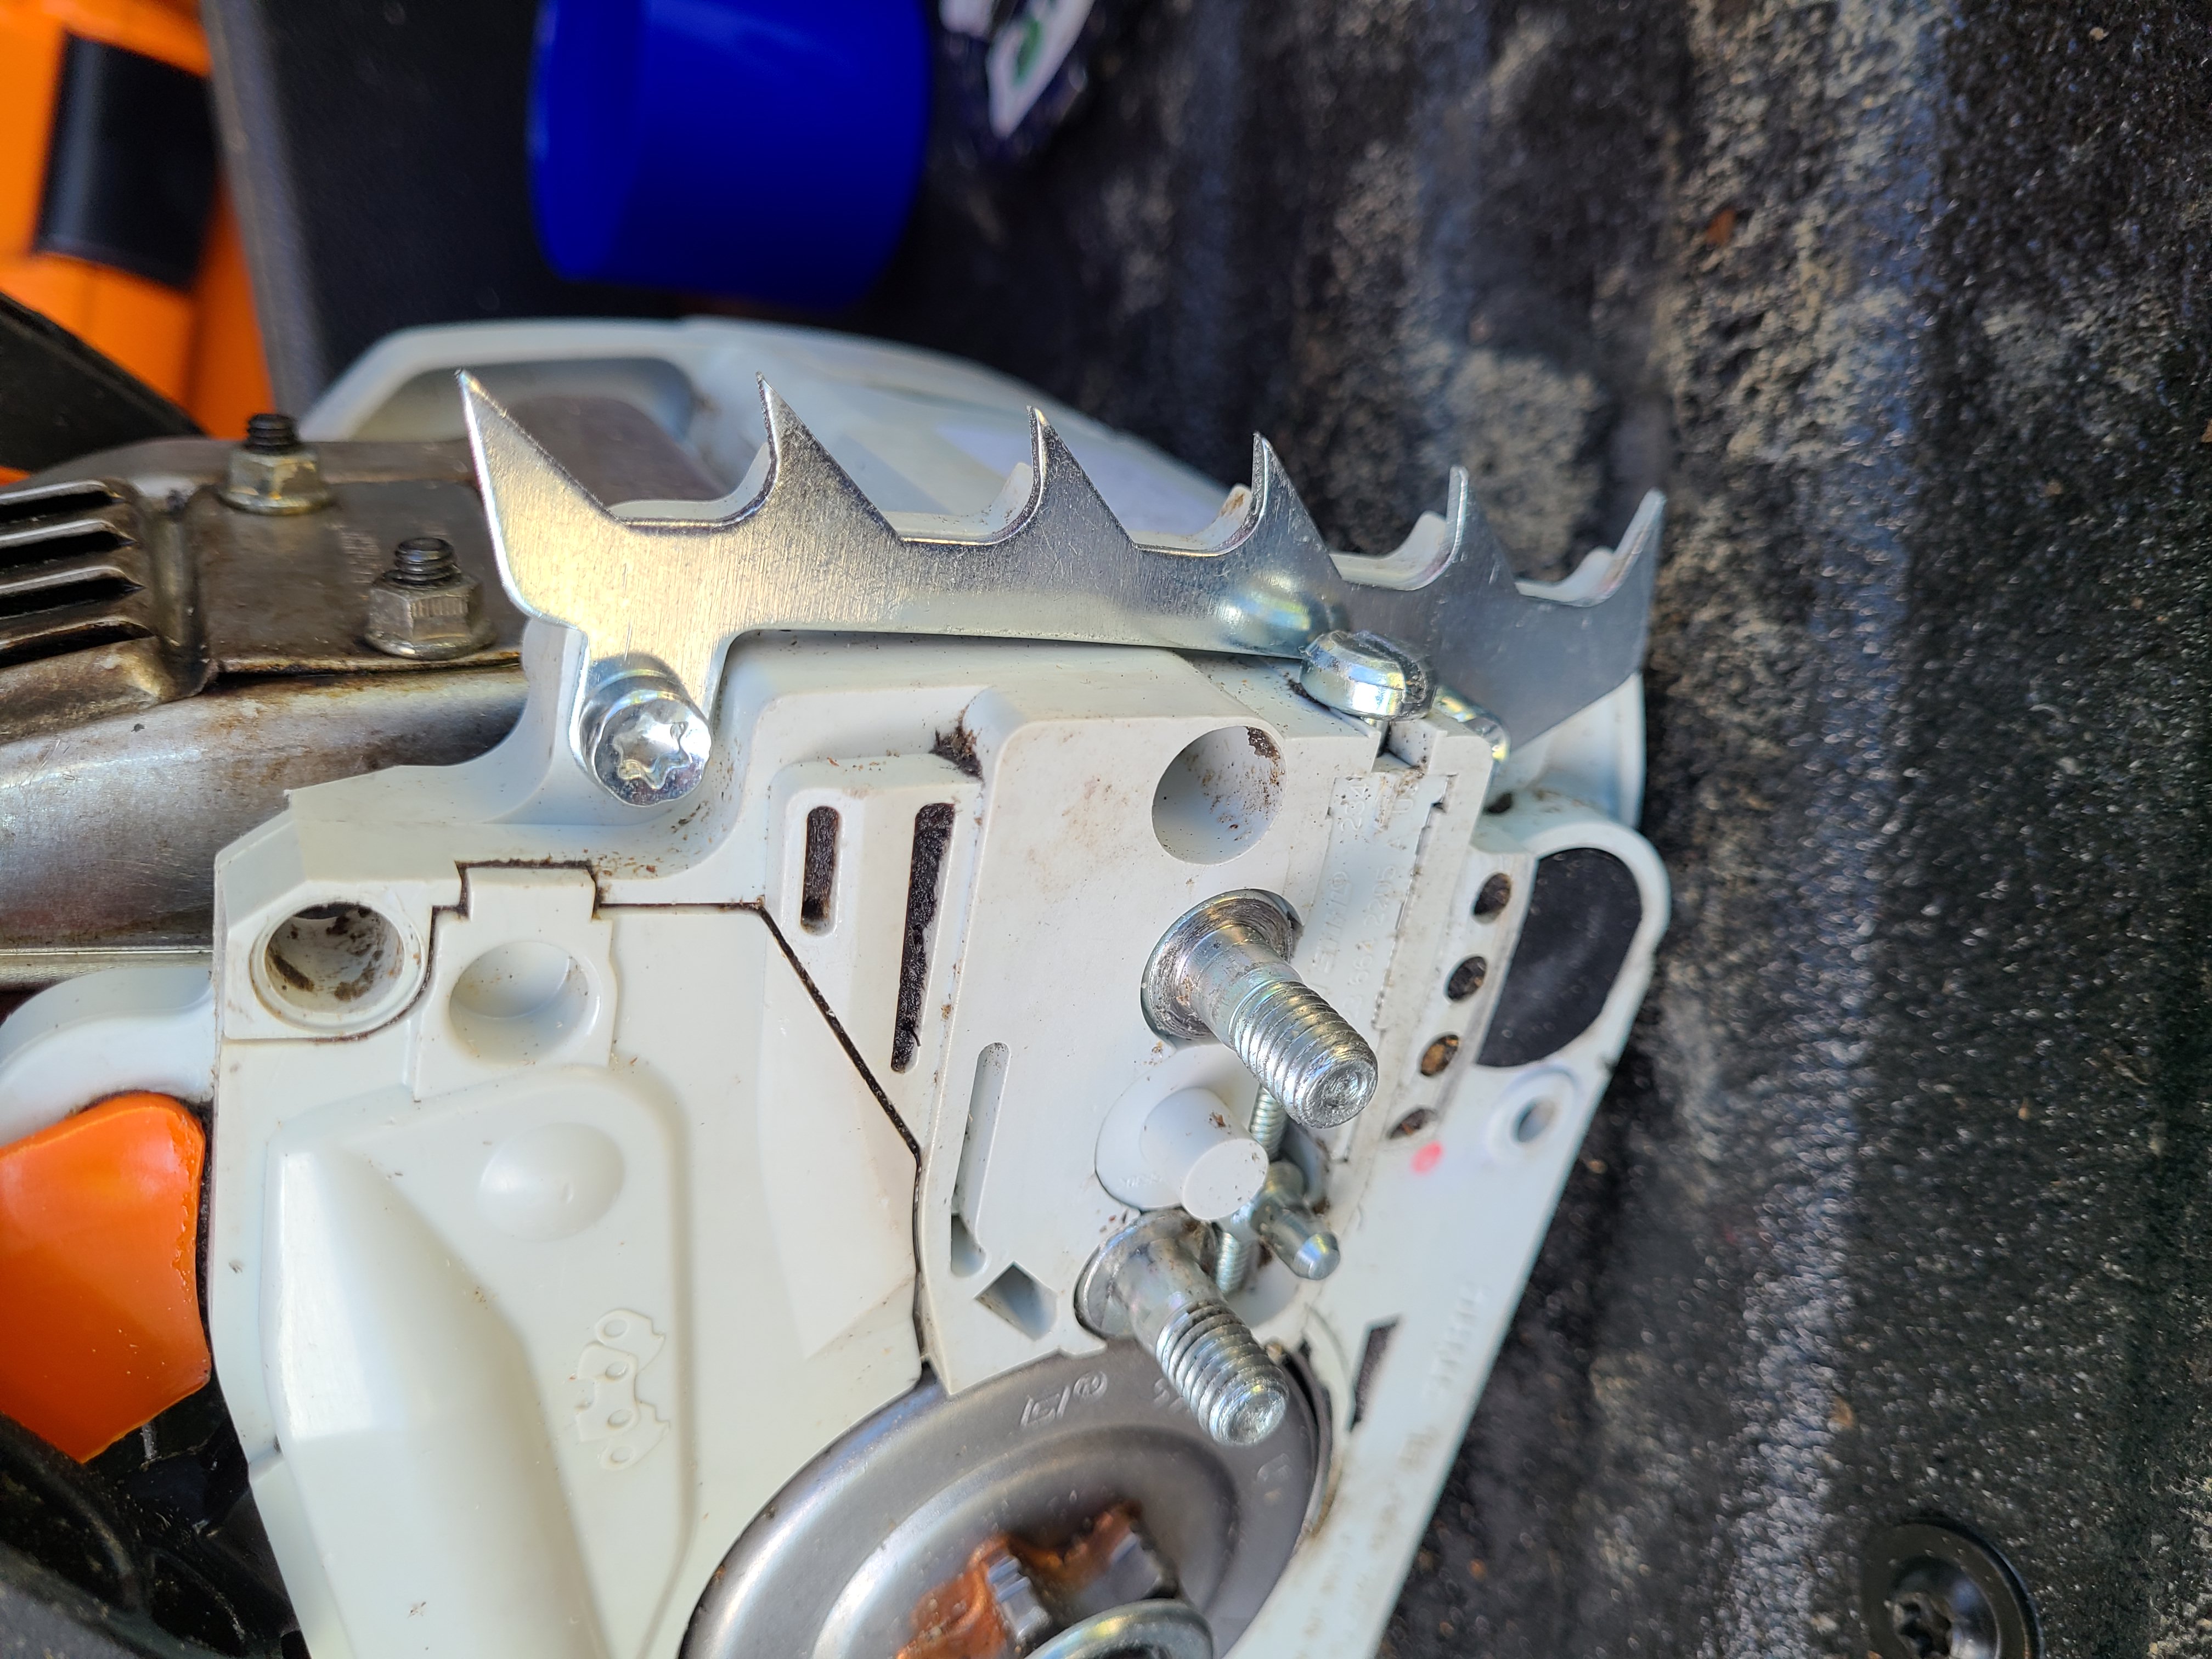
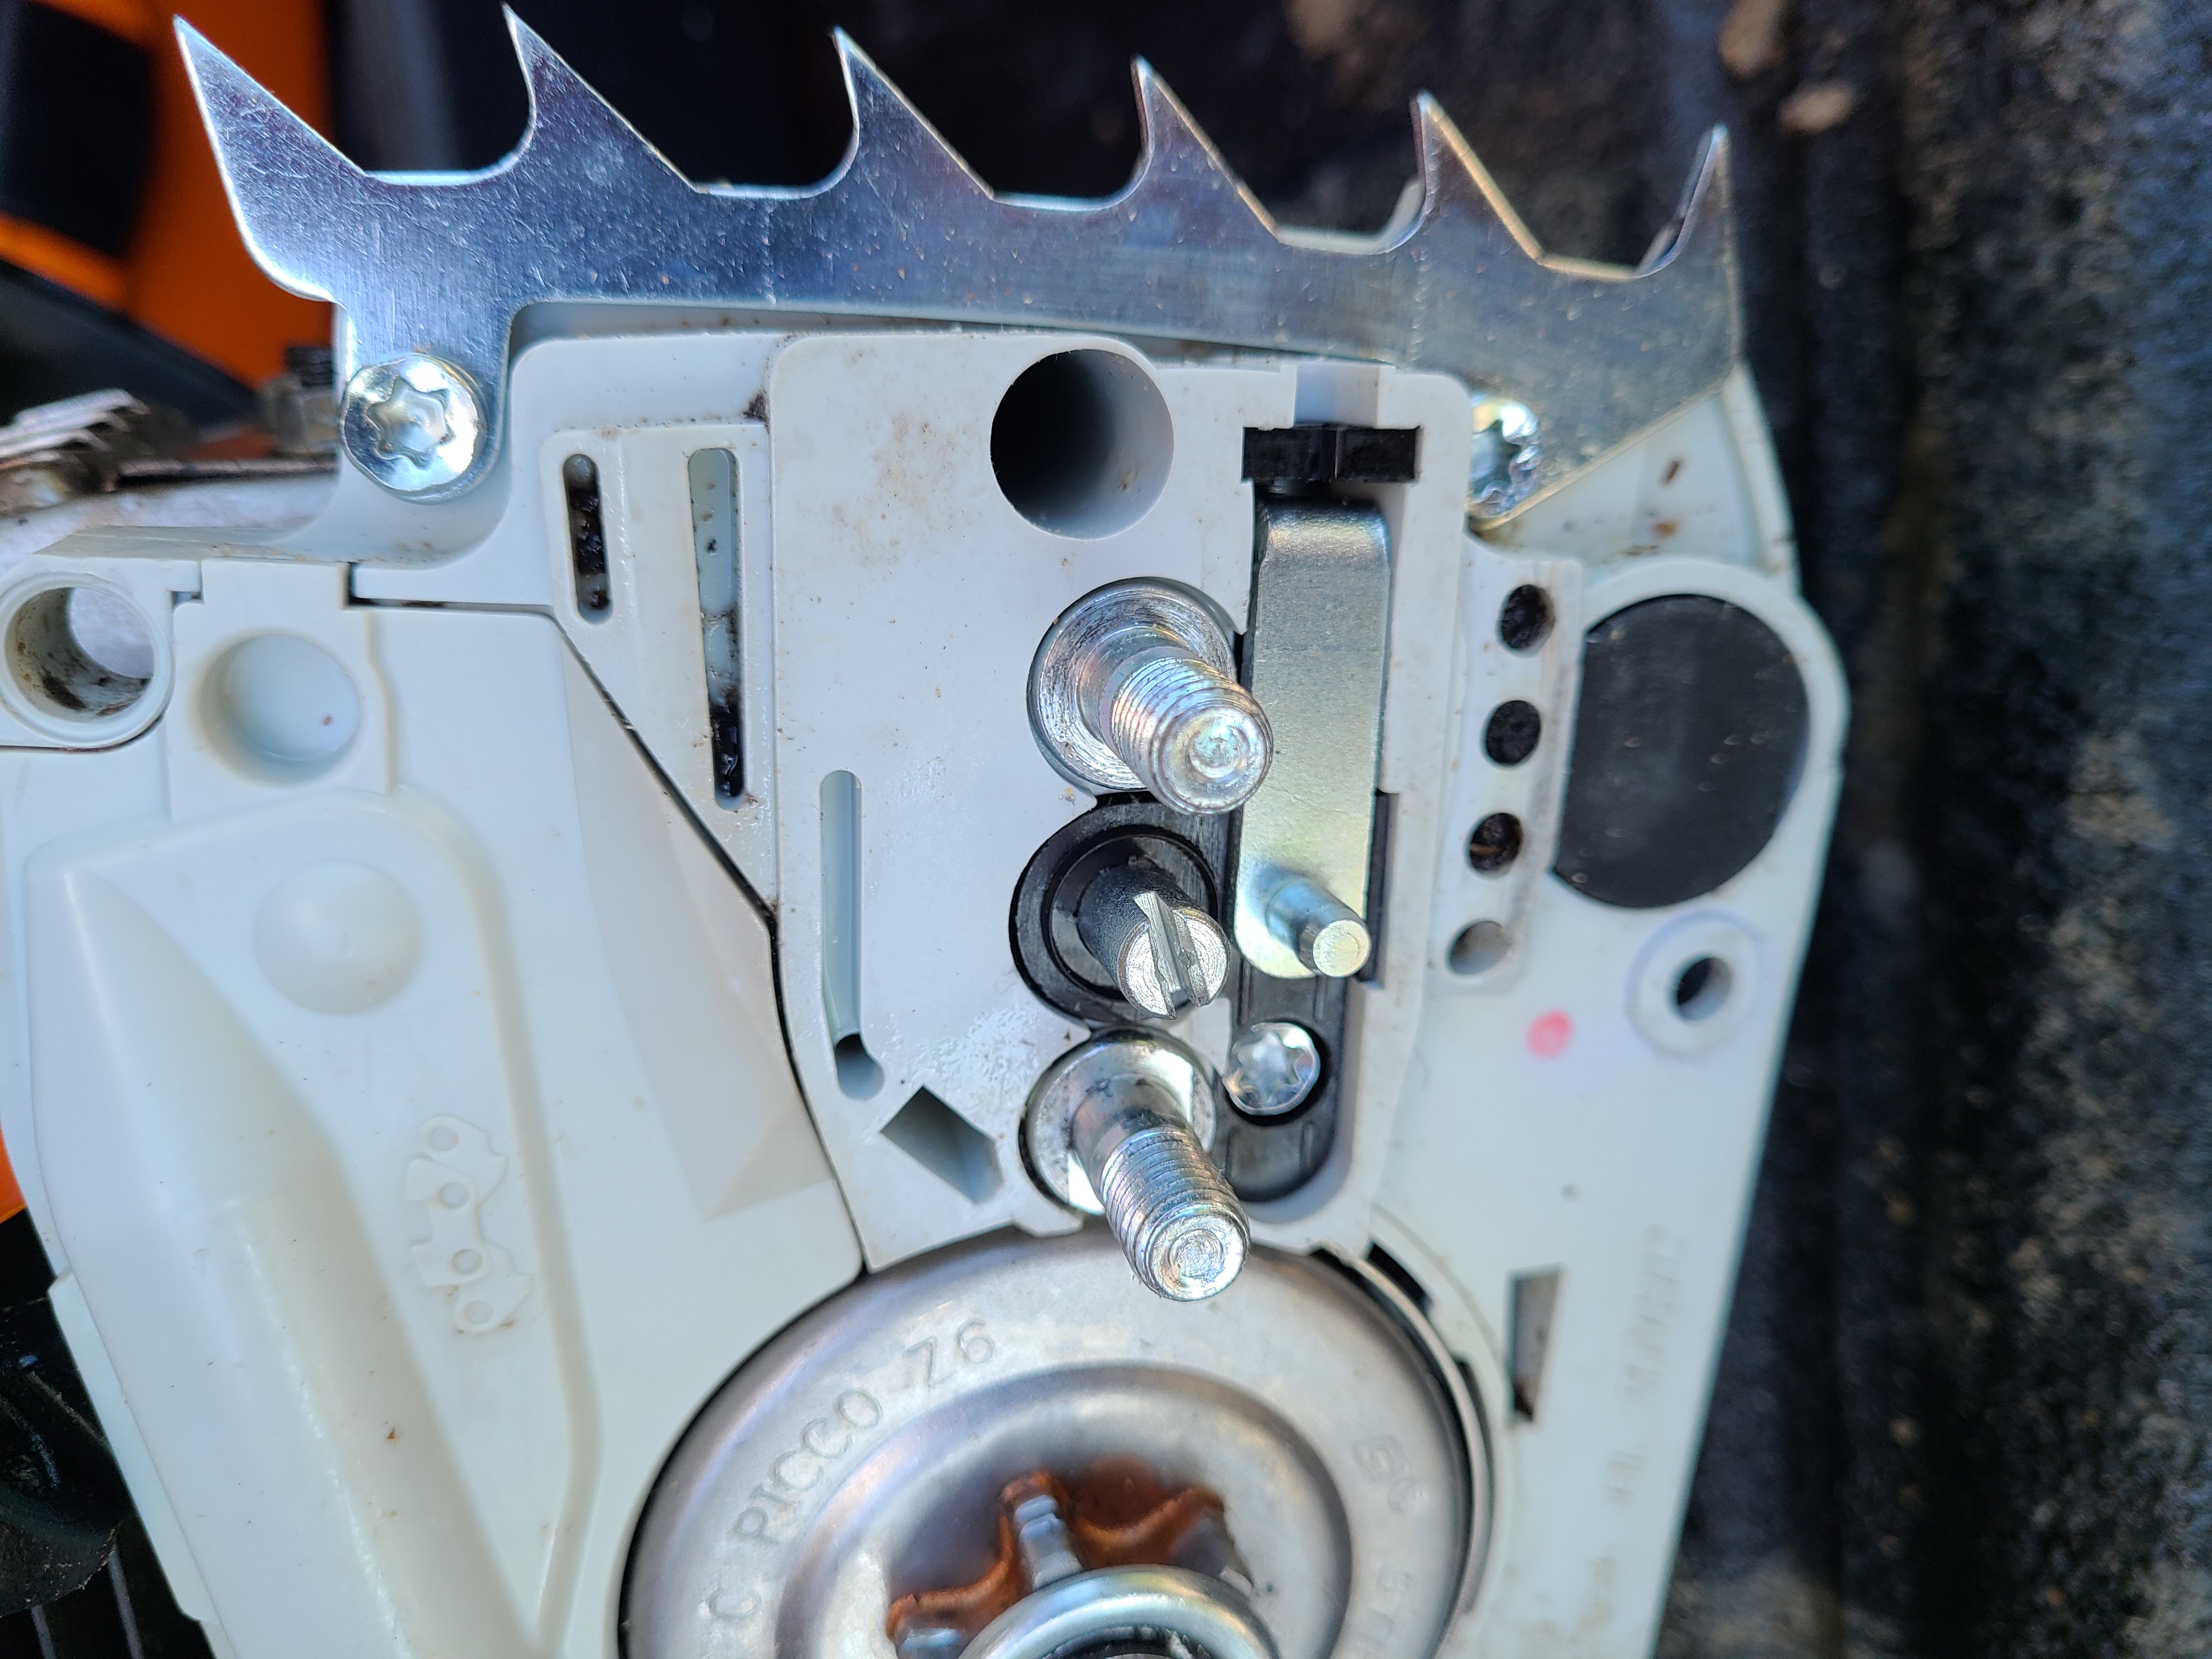
WIth the saw cleaned up, the first upgrade was to add a steel bucking spike bar in place of the plastic set that came on it. I think they’re technically called felling dogs, but I’ve never heard that term until I found these on Amazon. The plastic bucking bar was already starting to get beat up and damaged. The new metal bar should reinforce the saw and stop the damage to the case. The MS170 already has holes in place for the screws, but they aren’t threaded. The screws that come with the kit will cut threads as they go in. Be careful though. The screws have an aggressive thread, and they could strip out the holes if you overtighten them. The new bar goes on very easily. The second upgrade is the one I’m most excited about. It relocates the chain tensioner from the front of the saw beside the guide bar, over to the side of the saw between the guide bar clamping nuts.My MS211 has the tensioner in this same location, and it is much, much easier to adjust. The original tensioner is just press-fit into the saw body. I found it easiest to unscrew the tension adjuster screw almost all the way out and then just wiggle it back and forth until the whole tensioner pops out. Then the new one just pushes into place and is held in place by a new screw. There is also a plastic piece to cover the hole where the adjuster screw used to stick out the front of the case. It is the small black part in this picture: After securing the adjuster with the screw and snapping in the cover, it’s time to put the guide bar and chain back on as well as the cover.“We are a participant in the Amazon Services LLC Associates Program, an affiliate advertising program designed to provide a means for us to earn fees by linking to Amazon.com and affiliated sites.”


